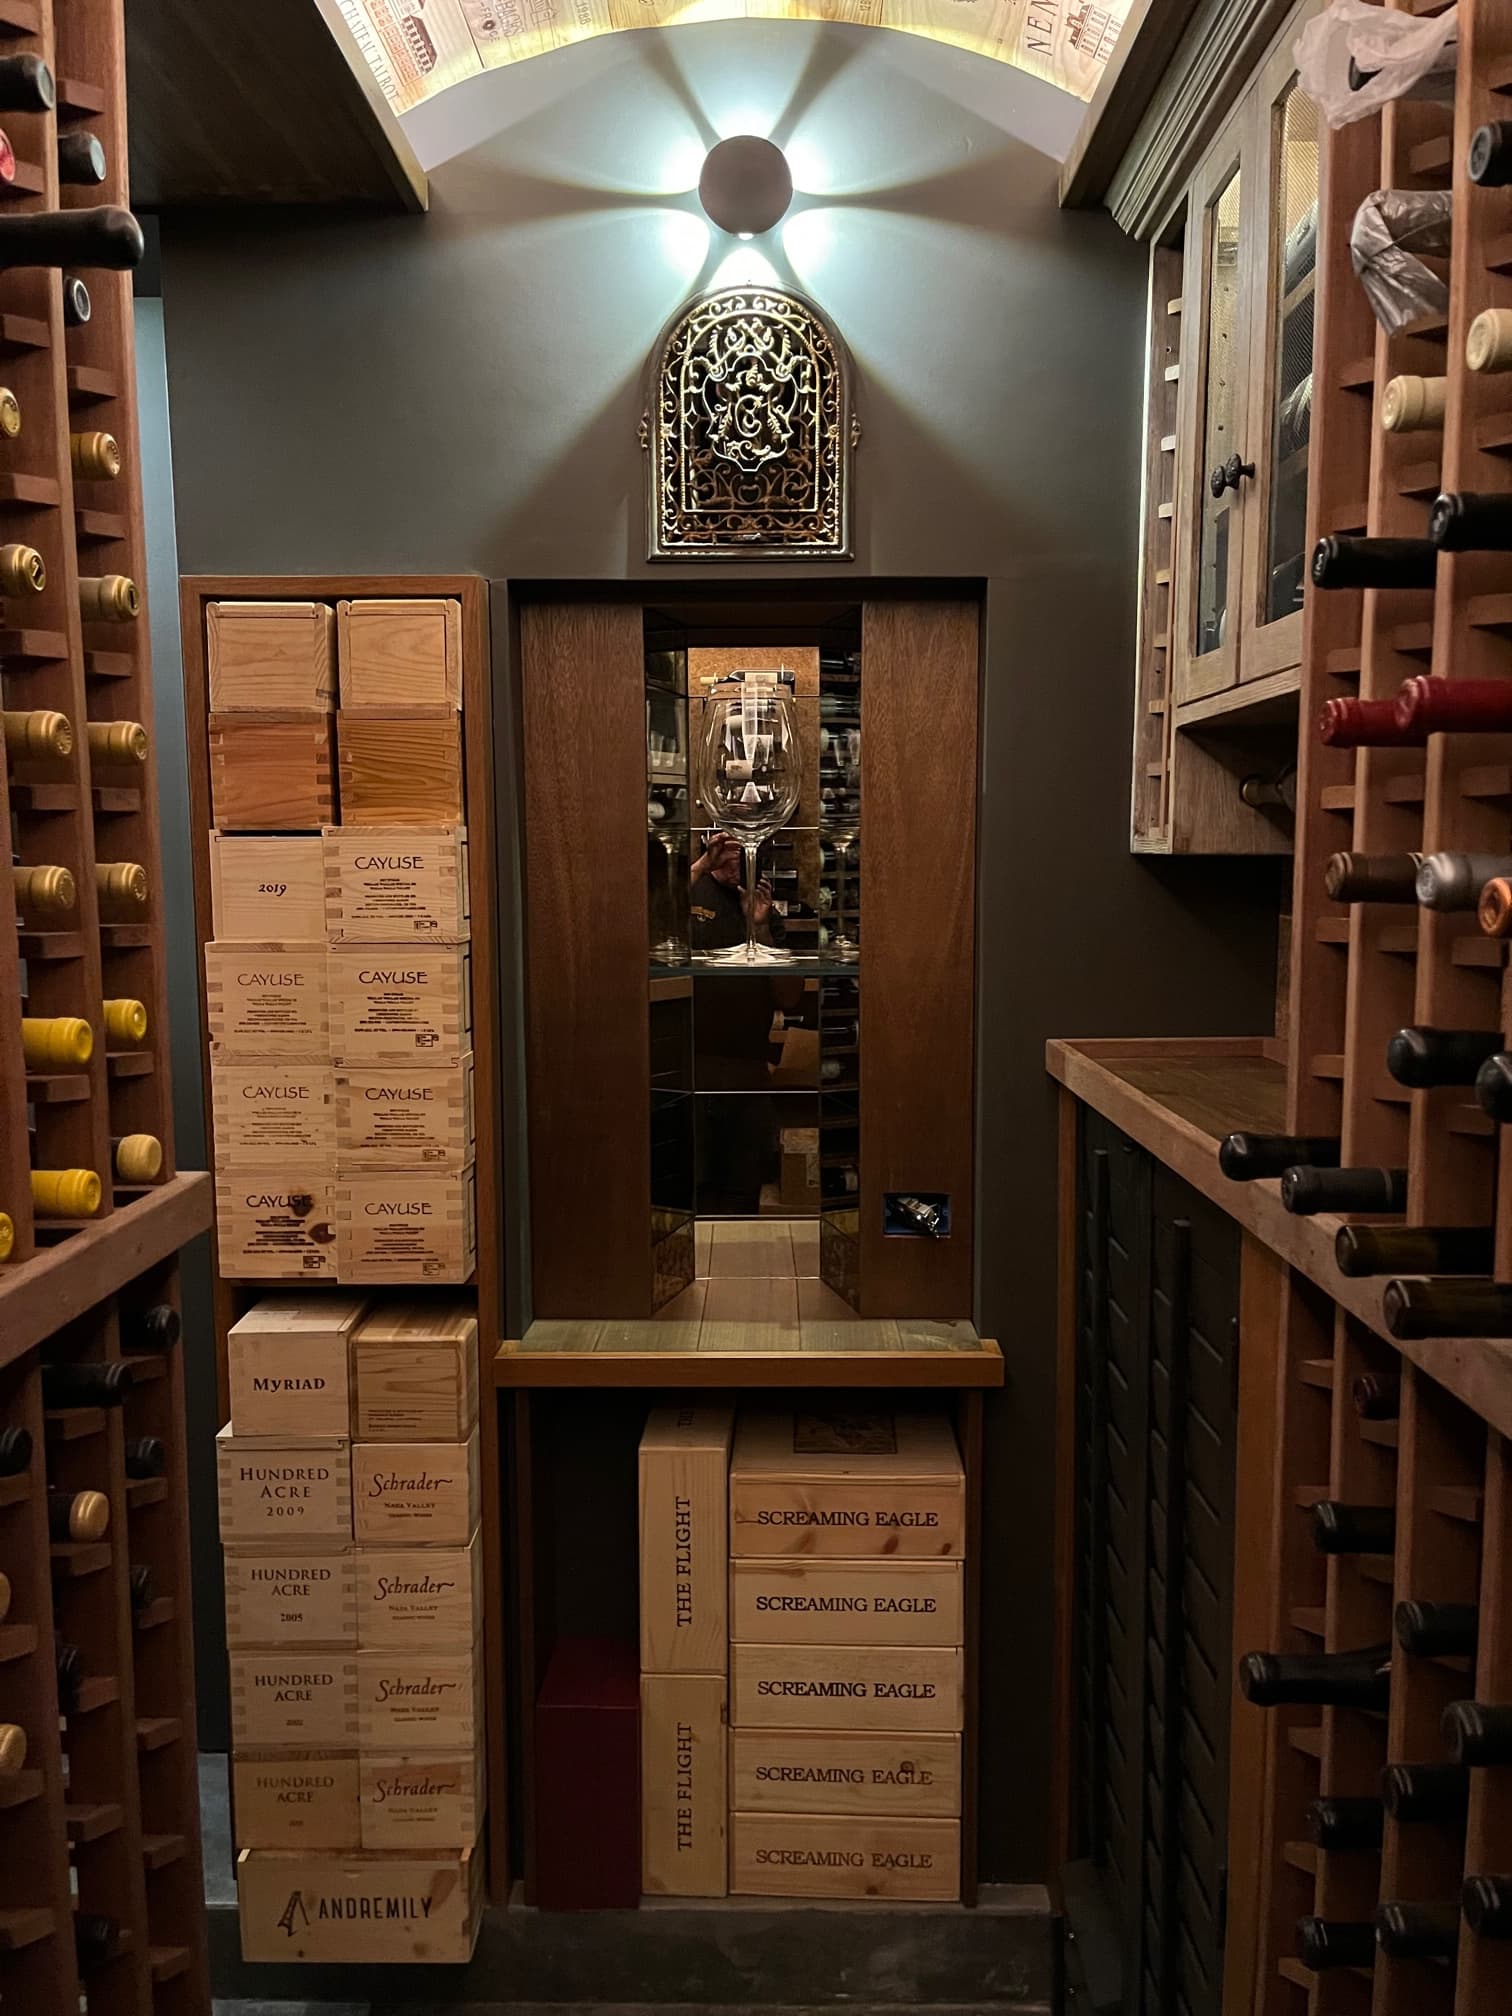
Thats an impressive pile of champagne boxes. Is it all Henin-Delouvin on the floor there?
Nice arches in the ceiling! Purpose-built? Or were they just there when you set up the room as a cellar?
Thats an impressive pile of champagne boxes. Is it all Henin-Delouvin on the floor there?
Nice arches in the ceiling! Purpose-built? Or were they just there when you set up the room as a cellar?
My kind of cellar ![]()
We have an import business from both Henin-Delouvin, Fabien Bergeronneau and Diot-Legras, so the 2-3 pallets (there’s some behind the Henin-Delouvin) are all company stock!
They were there as it’s an old out-house building from the late 1800’s, where part of the building now has been closed off and a modified heat pump has been installed for cooling!
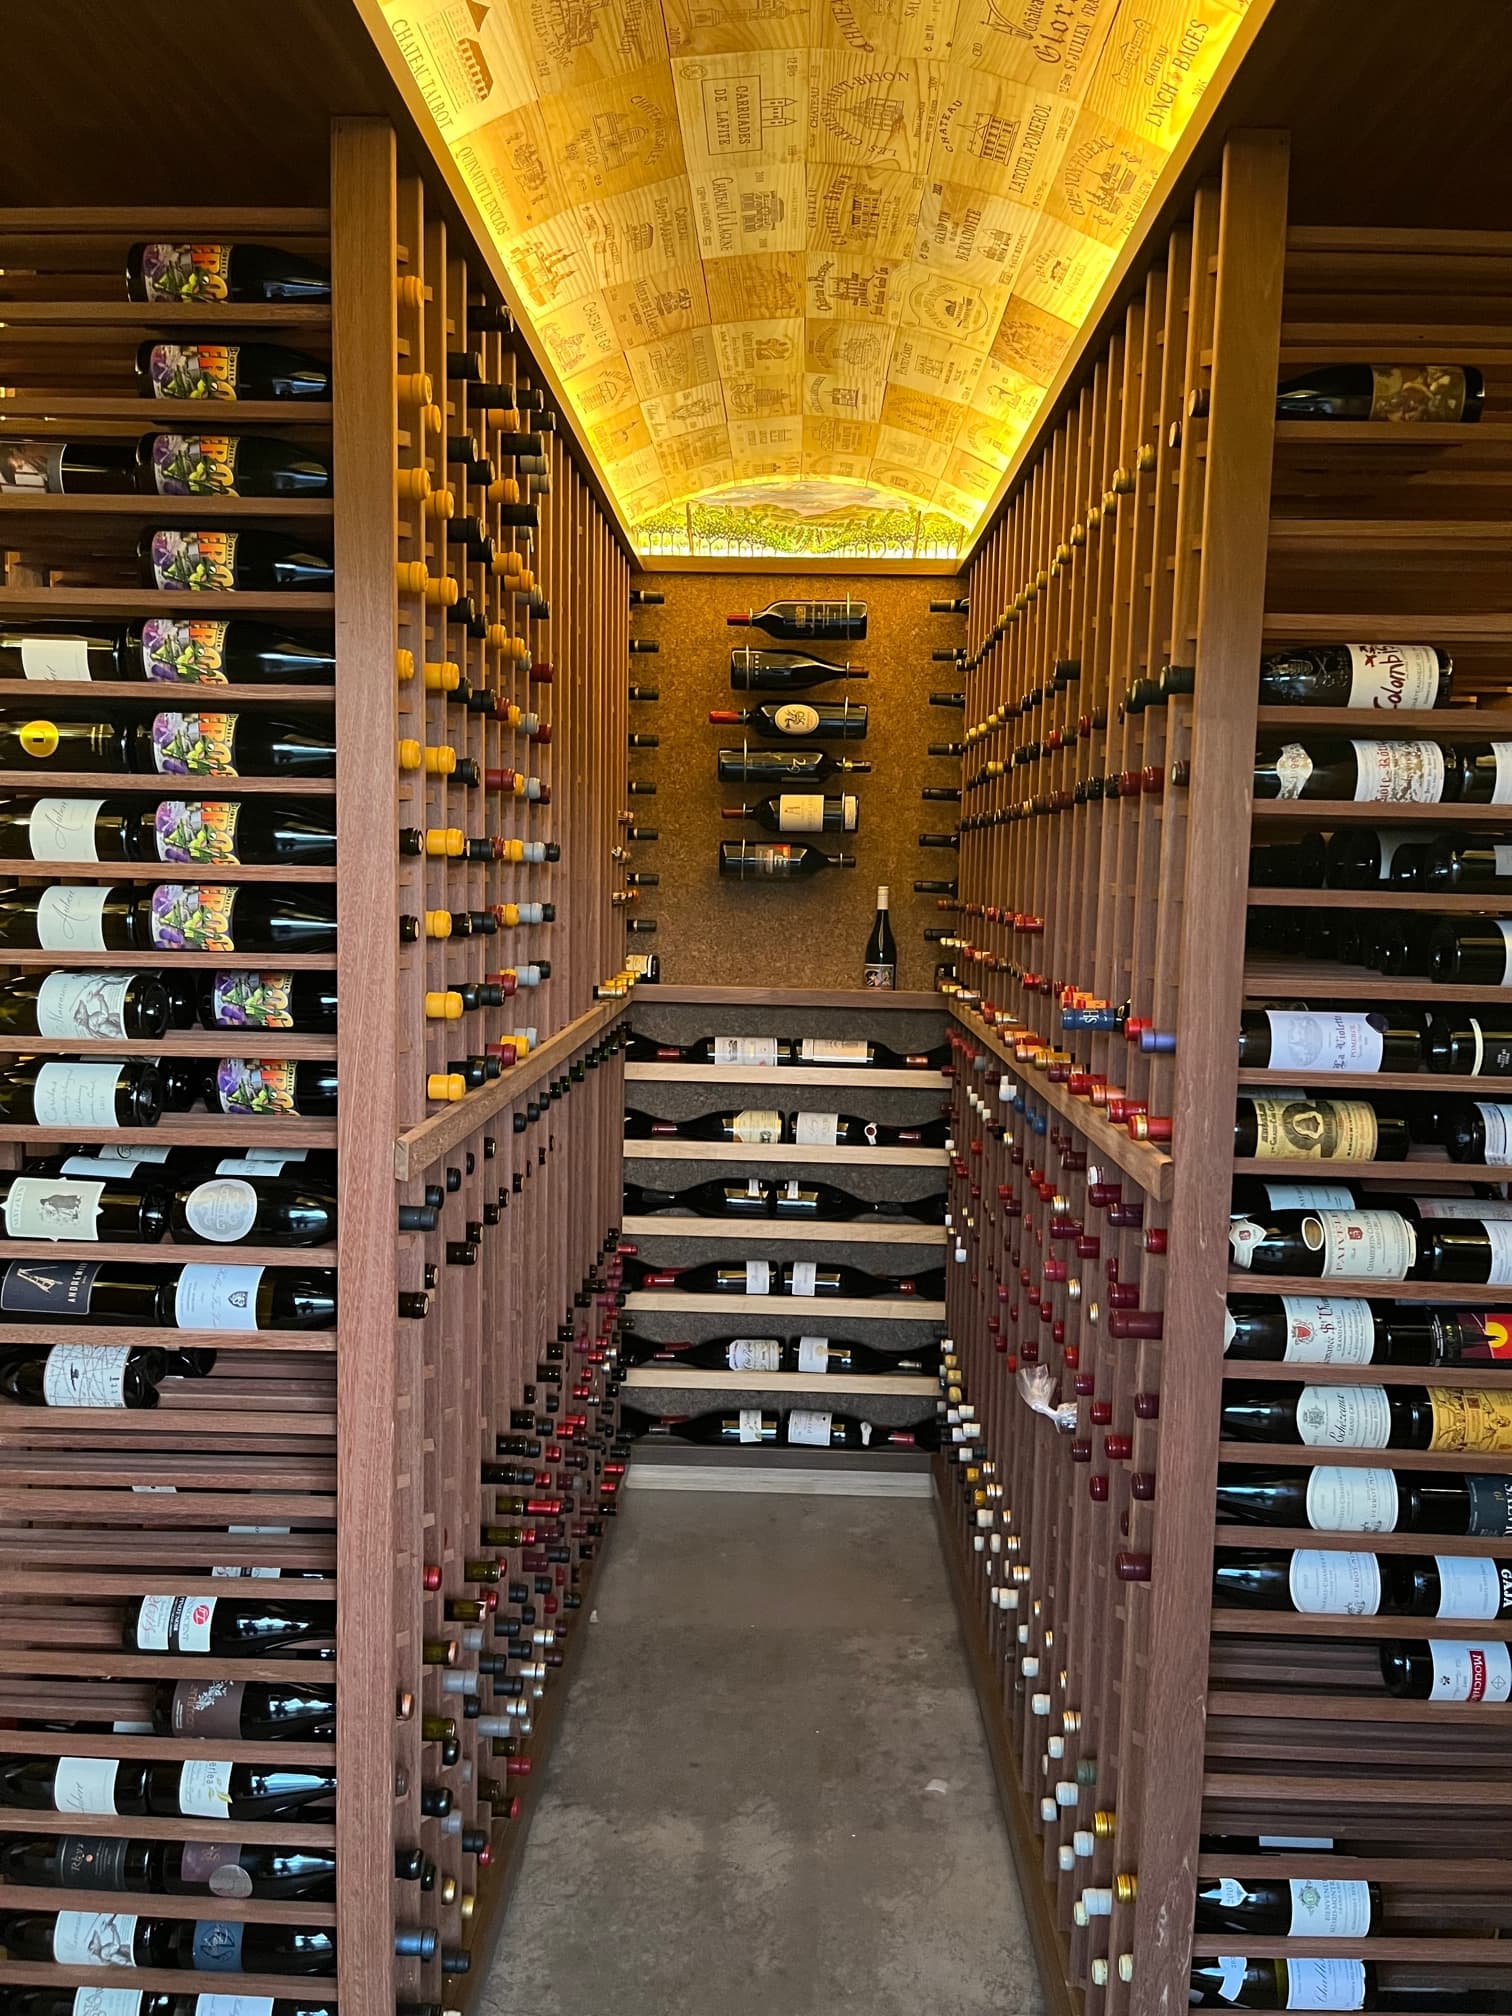
My wine room, nearly complete, includes three vaulted ceilings, one over each double-loaded rack aisle and clad with bordeaux case end panels. I built all of the racking using (200) 1x4 red balau mahogany boards ripped into 1x1s and 1X2s. I went through 3 carbide-tip saw blades- that mahogany is hard! 10,000 or so brad nails to connect them all. Cooling unit is a water-cooled M.A.N unit in an adjacent alcove behind the louvered doors lower right in the second photo with the supply air introduced through the old 1889 cast-iron grill in that photo. Capacity is (3000) 750mL and 200 or so magnums.
We know it’s not complete because you don’t have a bunch of random bottles on the floor. ![]()
Also, it’s beautiful!
Holy moly, that’s gorgeous.
Love the vaulted ceilings! Your work?
Yes, all mine from concept through construction. I have enjoyed working on the project these past six months. A benefit of retirement to have the time to do so!
This is really impressive craftsmanship. Thank you for sharing this. I dream of getting this good at carpentry as well as just having the time to work on something this grand. This is so damn cool to see. There’s something special about doing this work yourself. A sense of pride and an emotional connection. Again, well done.
Thanks so much for the kudos- the sense of accomplishing something close to expectations is indeed fulfilling!
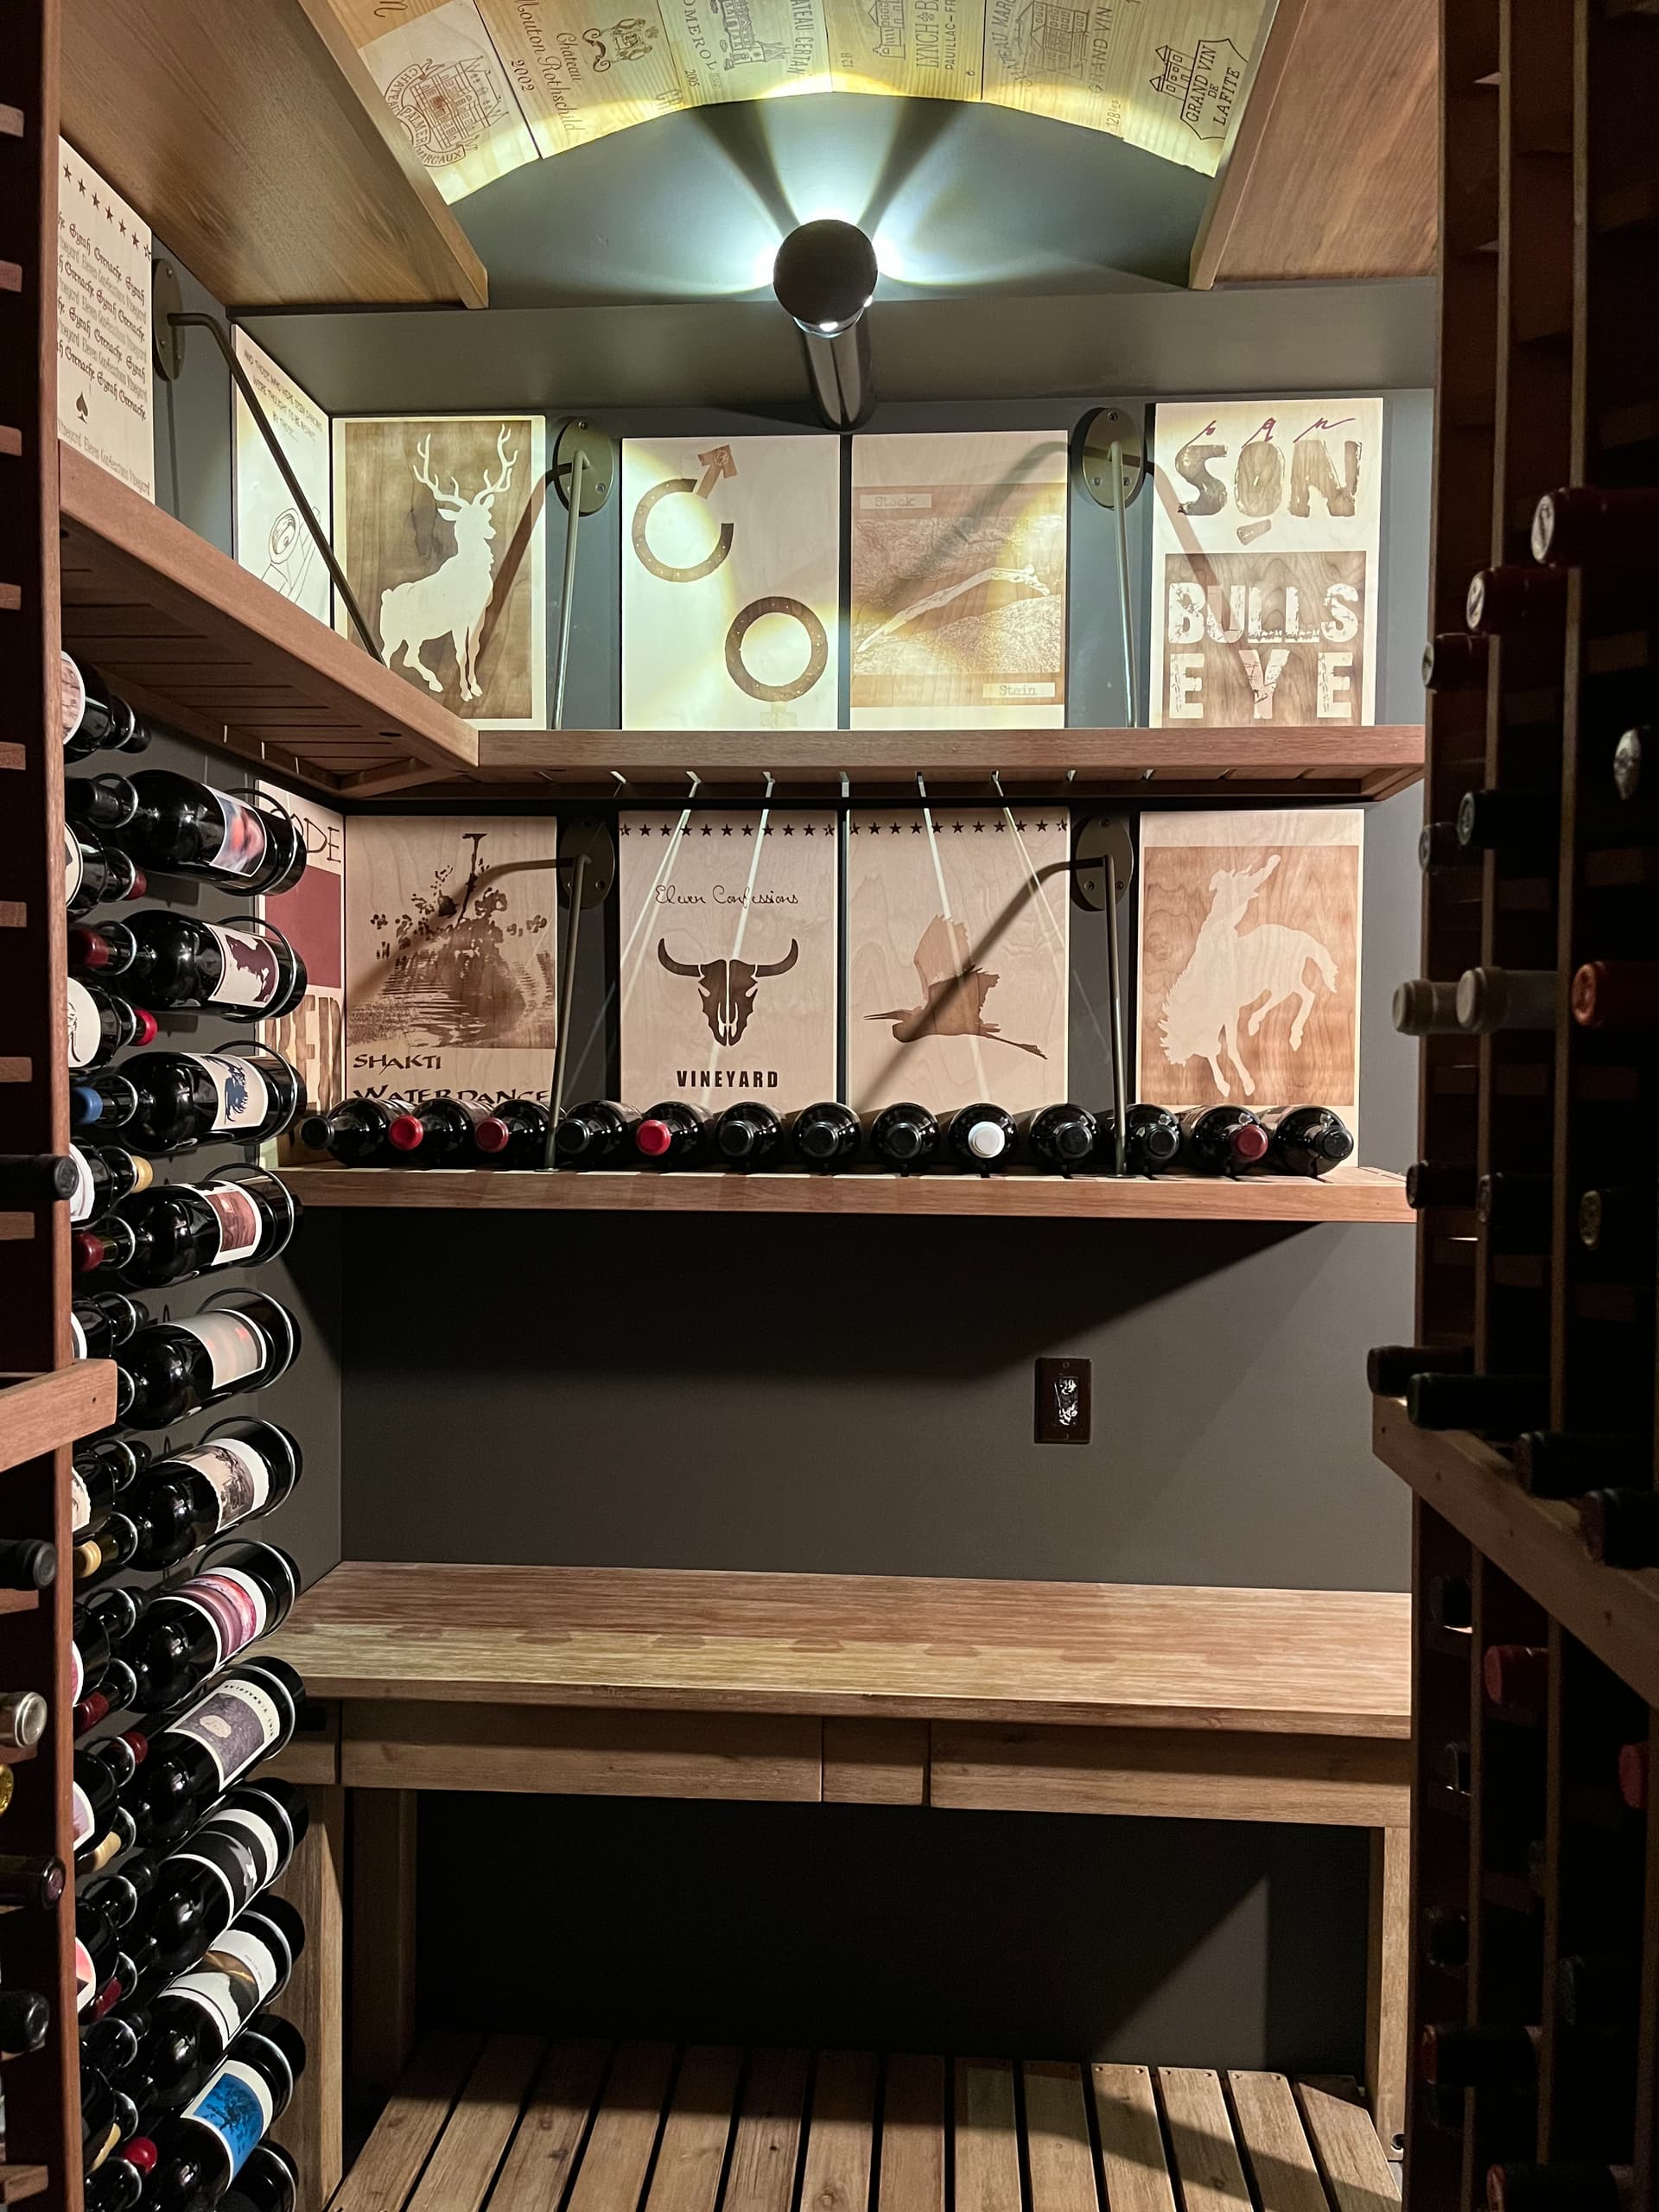
One more shot of the room at SQN corner, with the landing table for “processing” deliveries.
Hoping to never complete the project per Patrick’s definition (random bottles and boxes on the floor) but it is already filling up faster than I ever expected. No more room for magnums and the empty racking slots are rapidly disappearing.
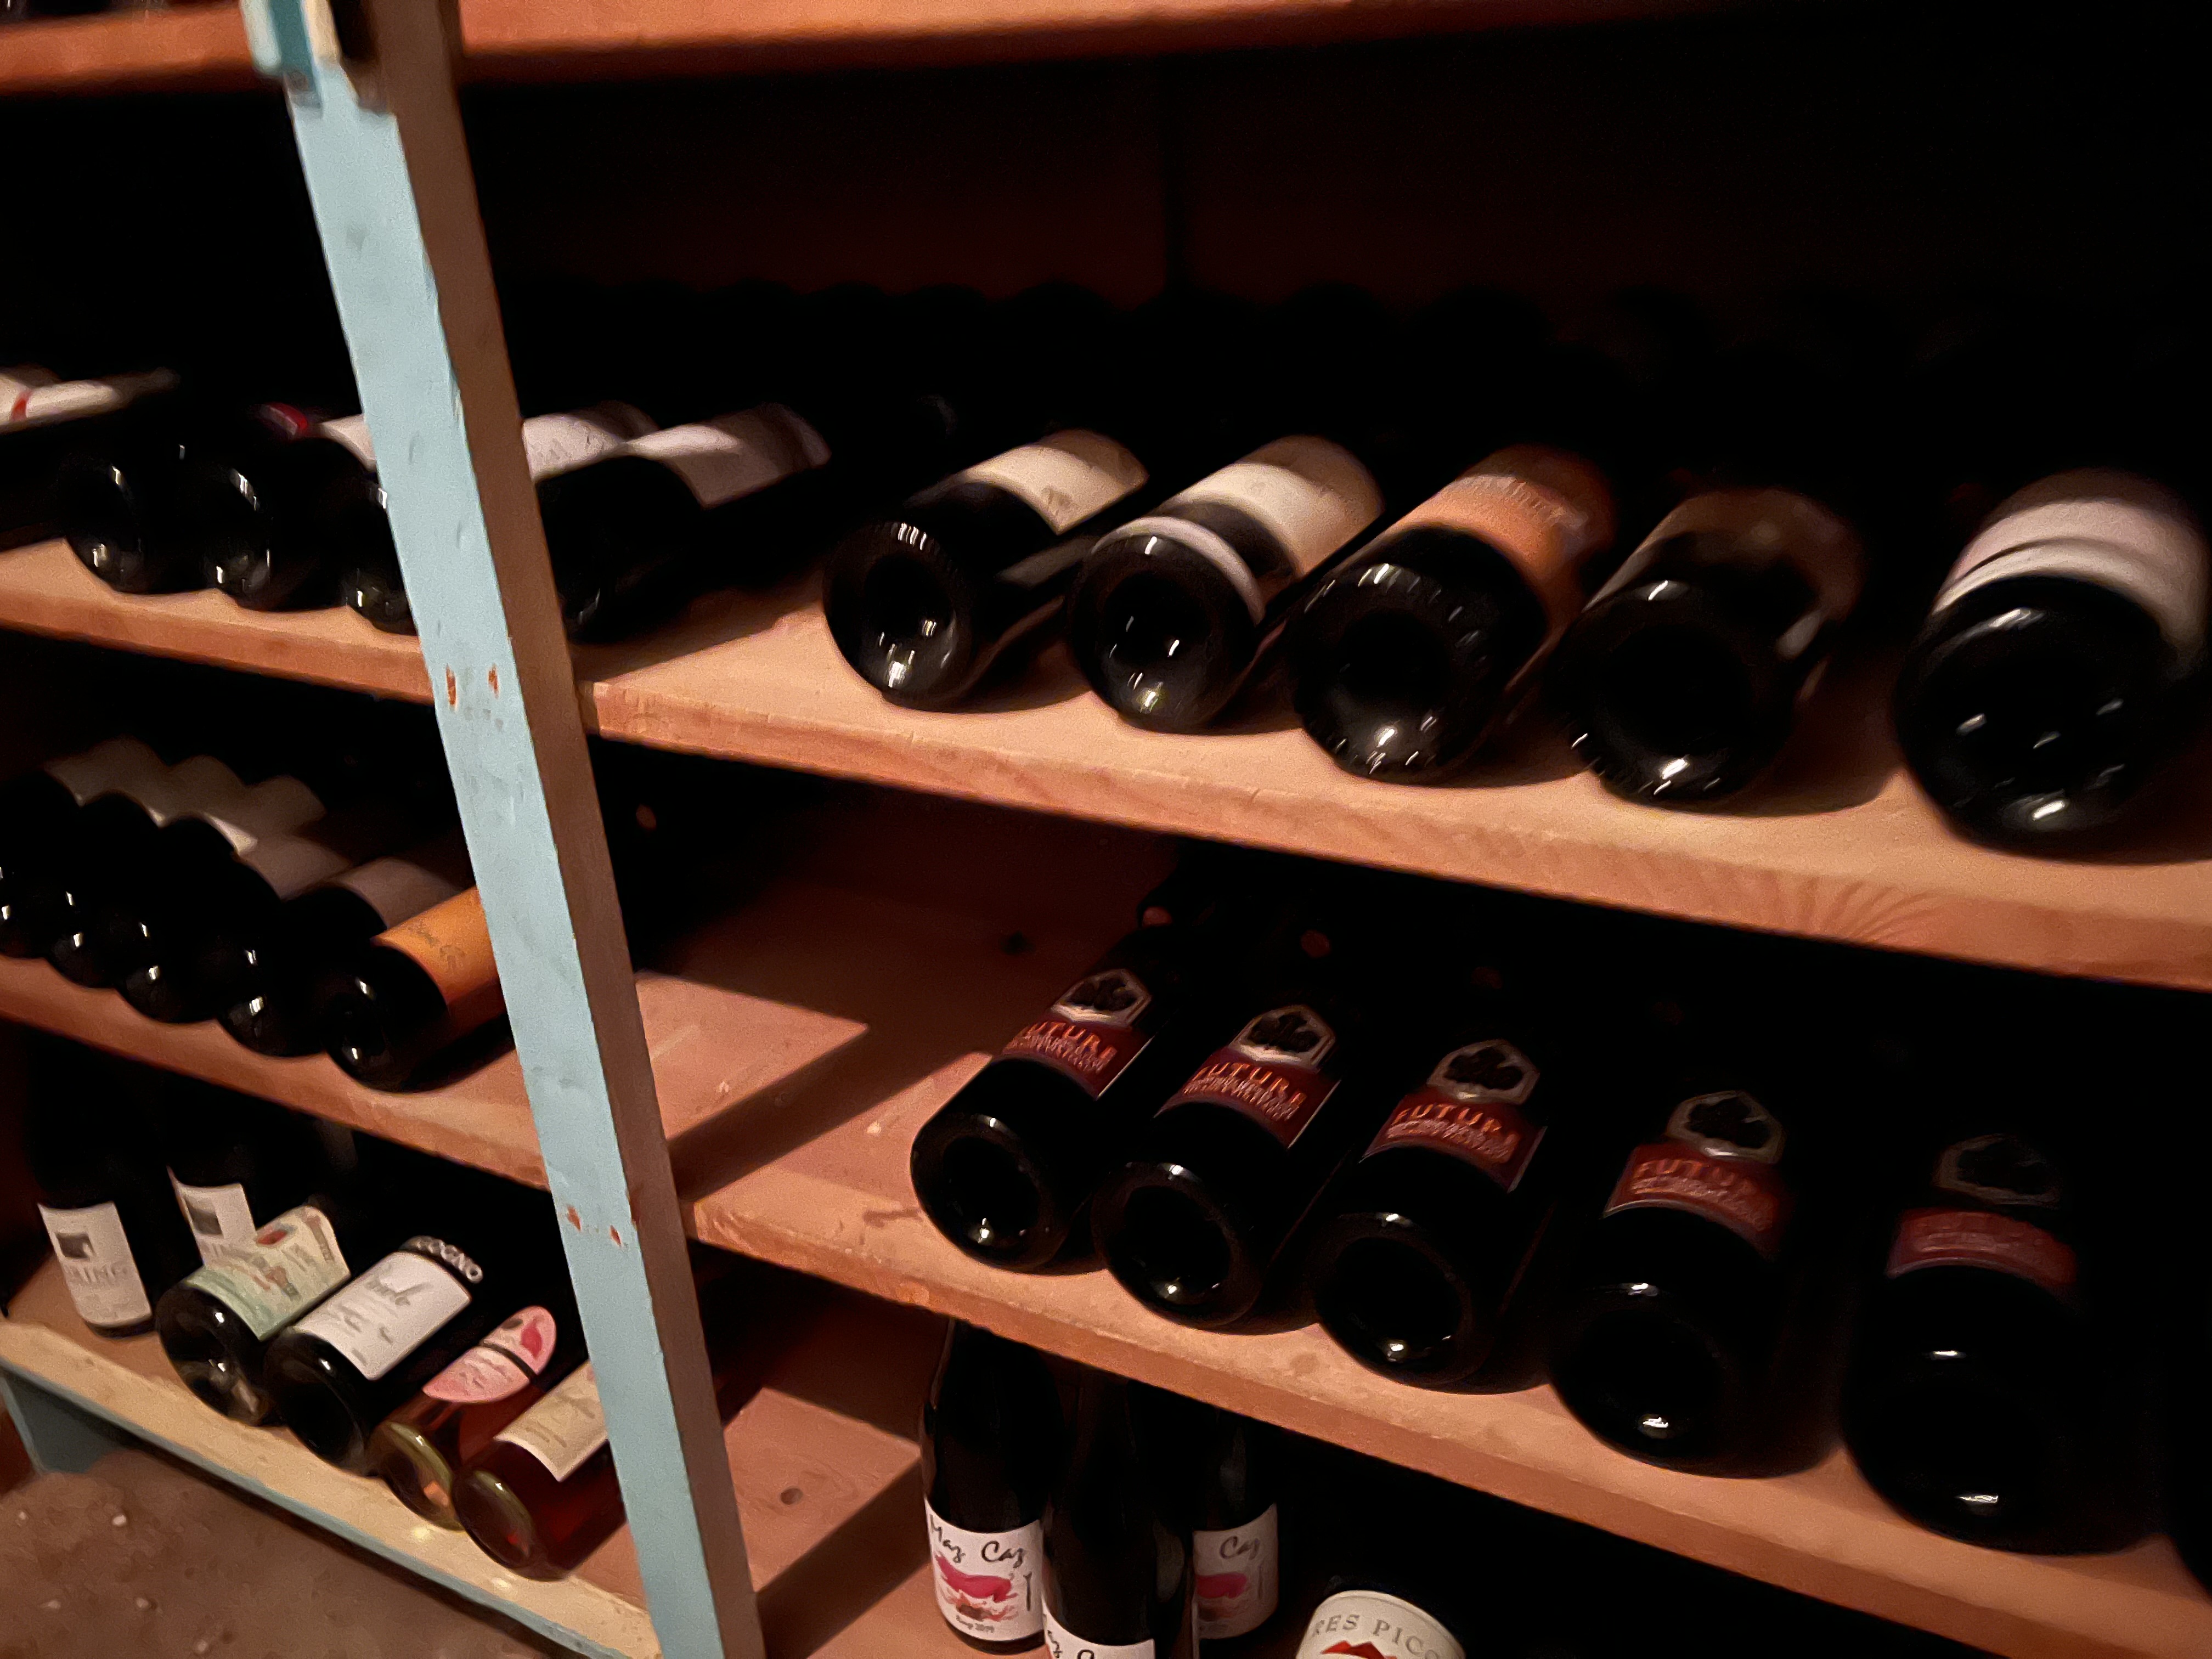
One of the supports for a shelf in the old repurposed tool cabinet failed the other day. My mixed case of Once and Again Merlot and Cabs, along with some other bottles, ended up on the cellar floor. Repairs (and reinforcements/wood screws for the shelving supports) are on order. ![]()
No bottles were broken!! ![]()
First accident/failure in over 30 years of keeping it cheap! ![]()
Edit/update: fixed!!
How long can I expect these to last? I have a few 6 packs from when they were released (circa 2012??), drank a few, and forgot about them until now. They are somewhere in my cellar though…
I’ve had it maybe 6 years old, but since it’s bottle conditioned and doesn’t have any flavor adjuncts and aren’t hopped like IPAs, I’d guess several years, maybe decades if cellared properly as some websites say.
Most of the Trappist bottles print a best by date 3 or 5 years past the brew date, and those are conservative. Westvleteren/Chimay Blue/Rochefort 10 can go a decade+ no problem, especially when cellared in wine quality conditions. They do get drier on the palate as they age, and capped finished ones may lose a bit of carbonation faster than corked (seen this with Chimay on occasion) but wouldn’t discourage you from letting at least one of those Westy packs hit the 10 year mark.
That’s when I got mine as well (brought back many from a little shop in France I used to go to when I was there for work). I drink a couple a year, and they are still deep, rich, spicy and caramelly. About the most complex beer you can open in my experience. The ones I have left I have no worries about aging another 5 years. We’ll see-Thai weekend I’m opening another one so I’ll report back.
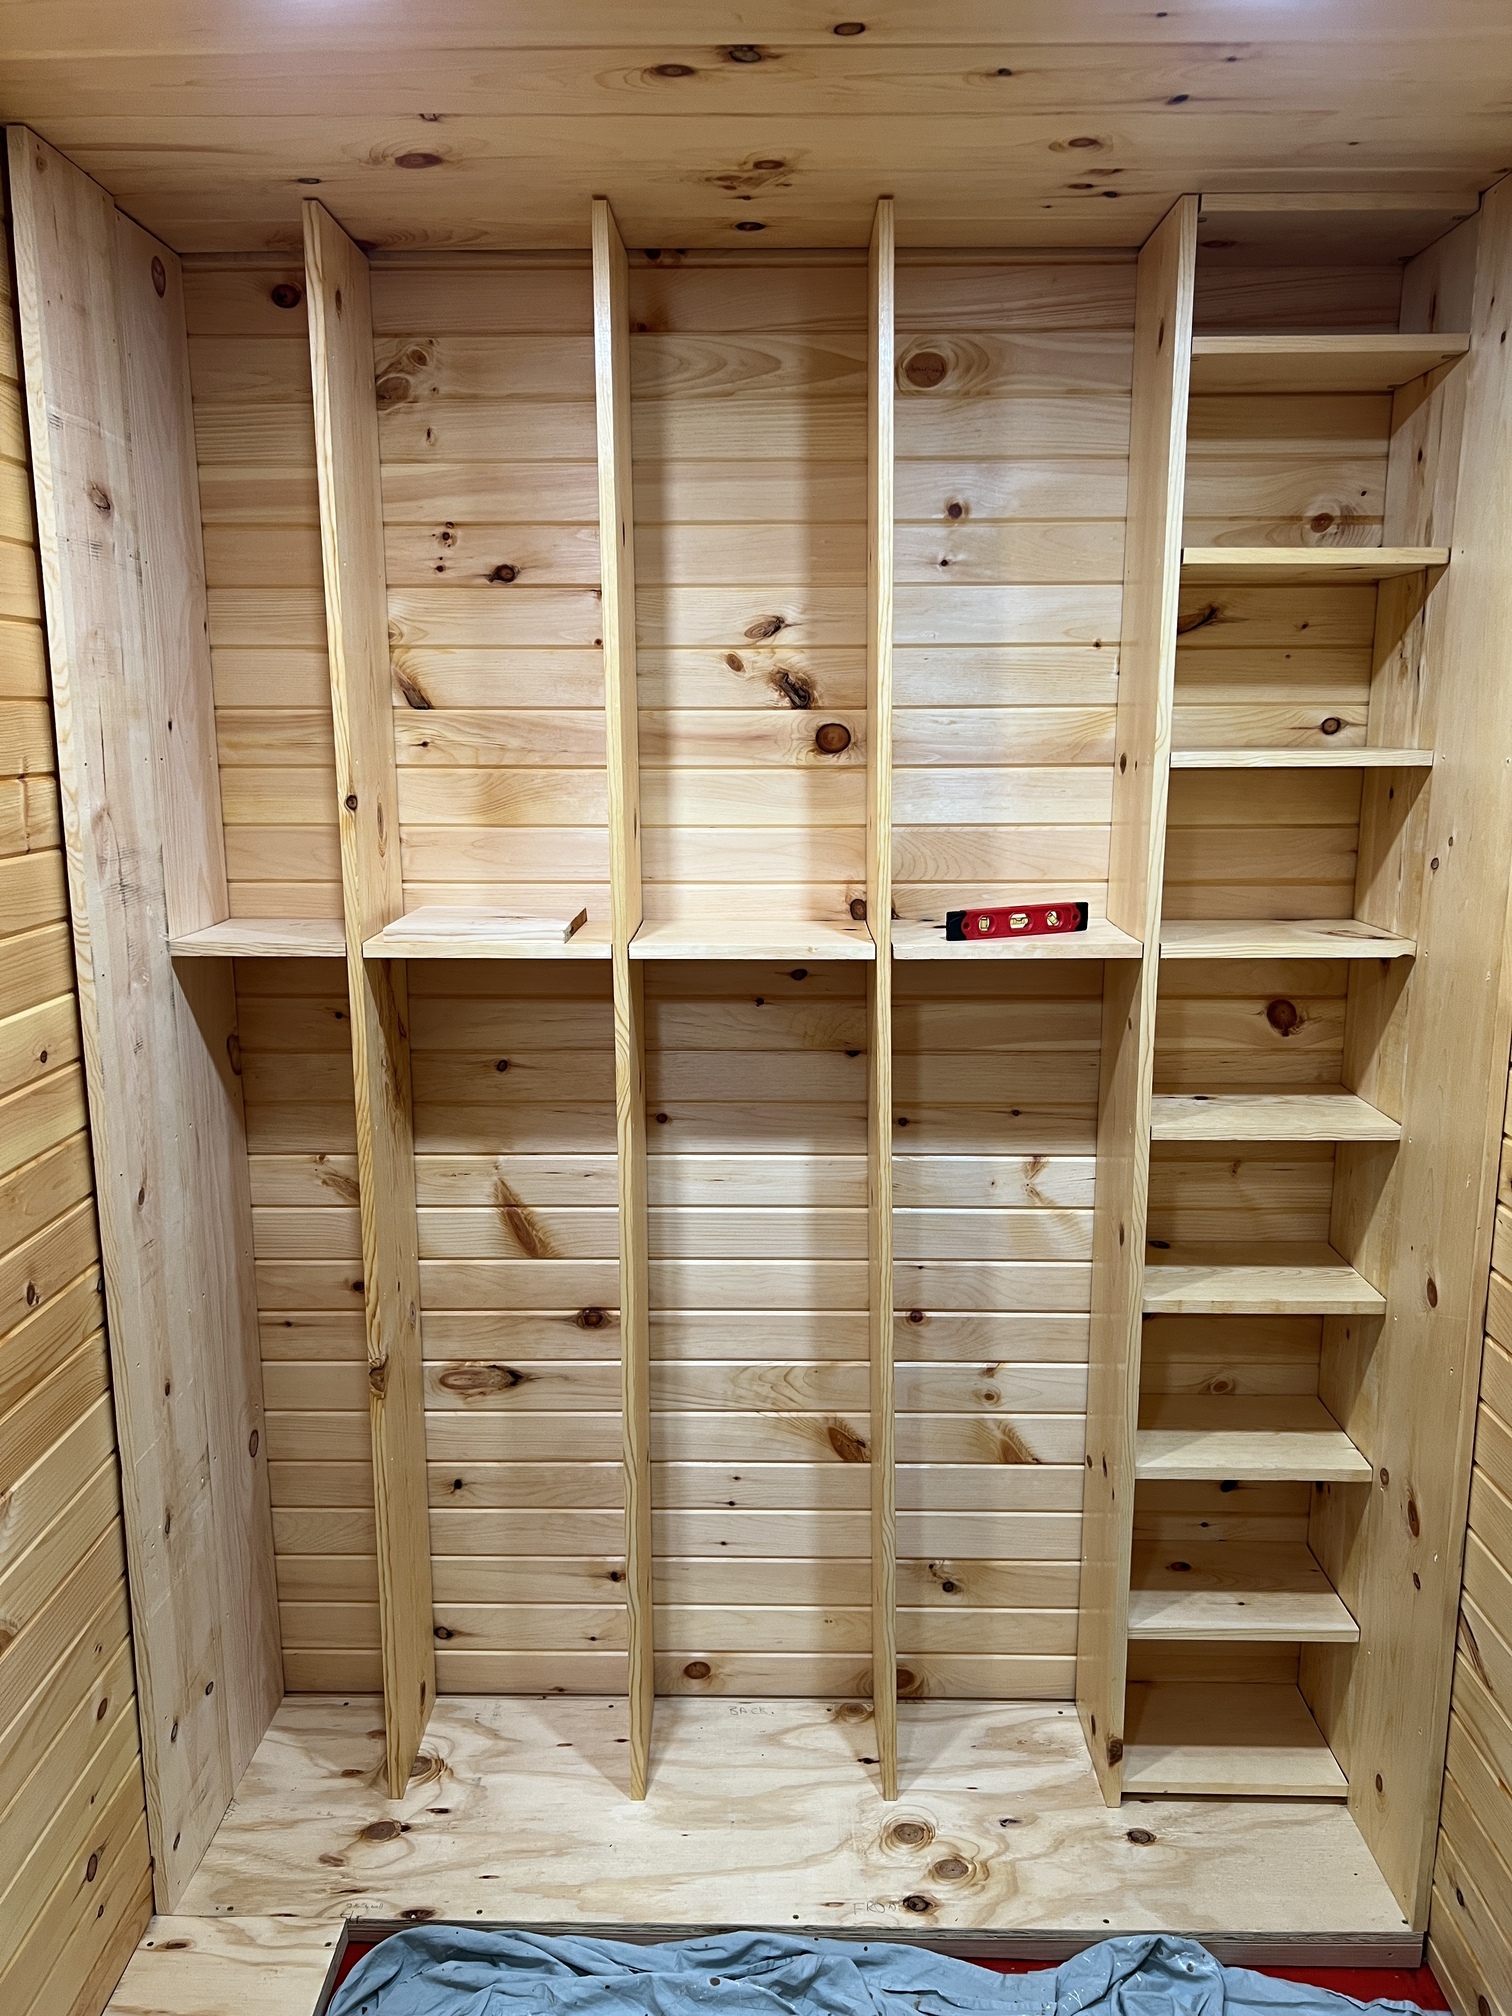
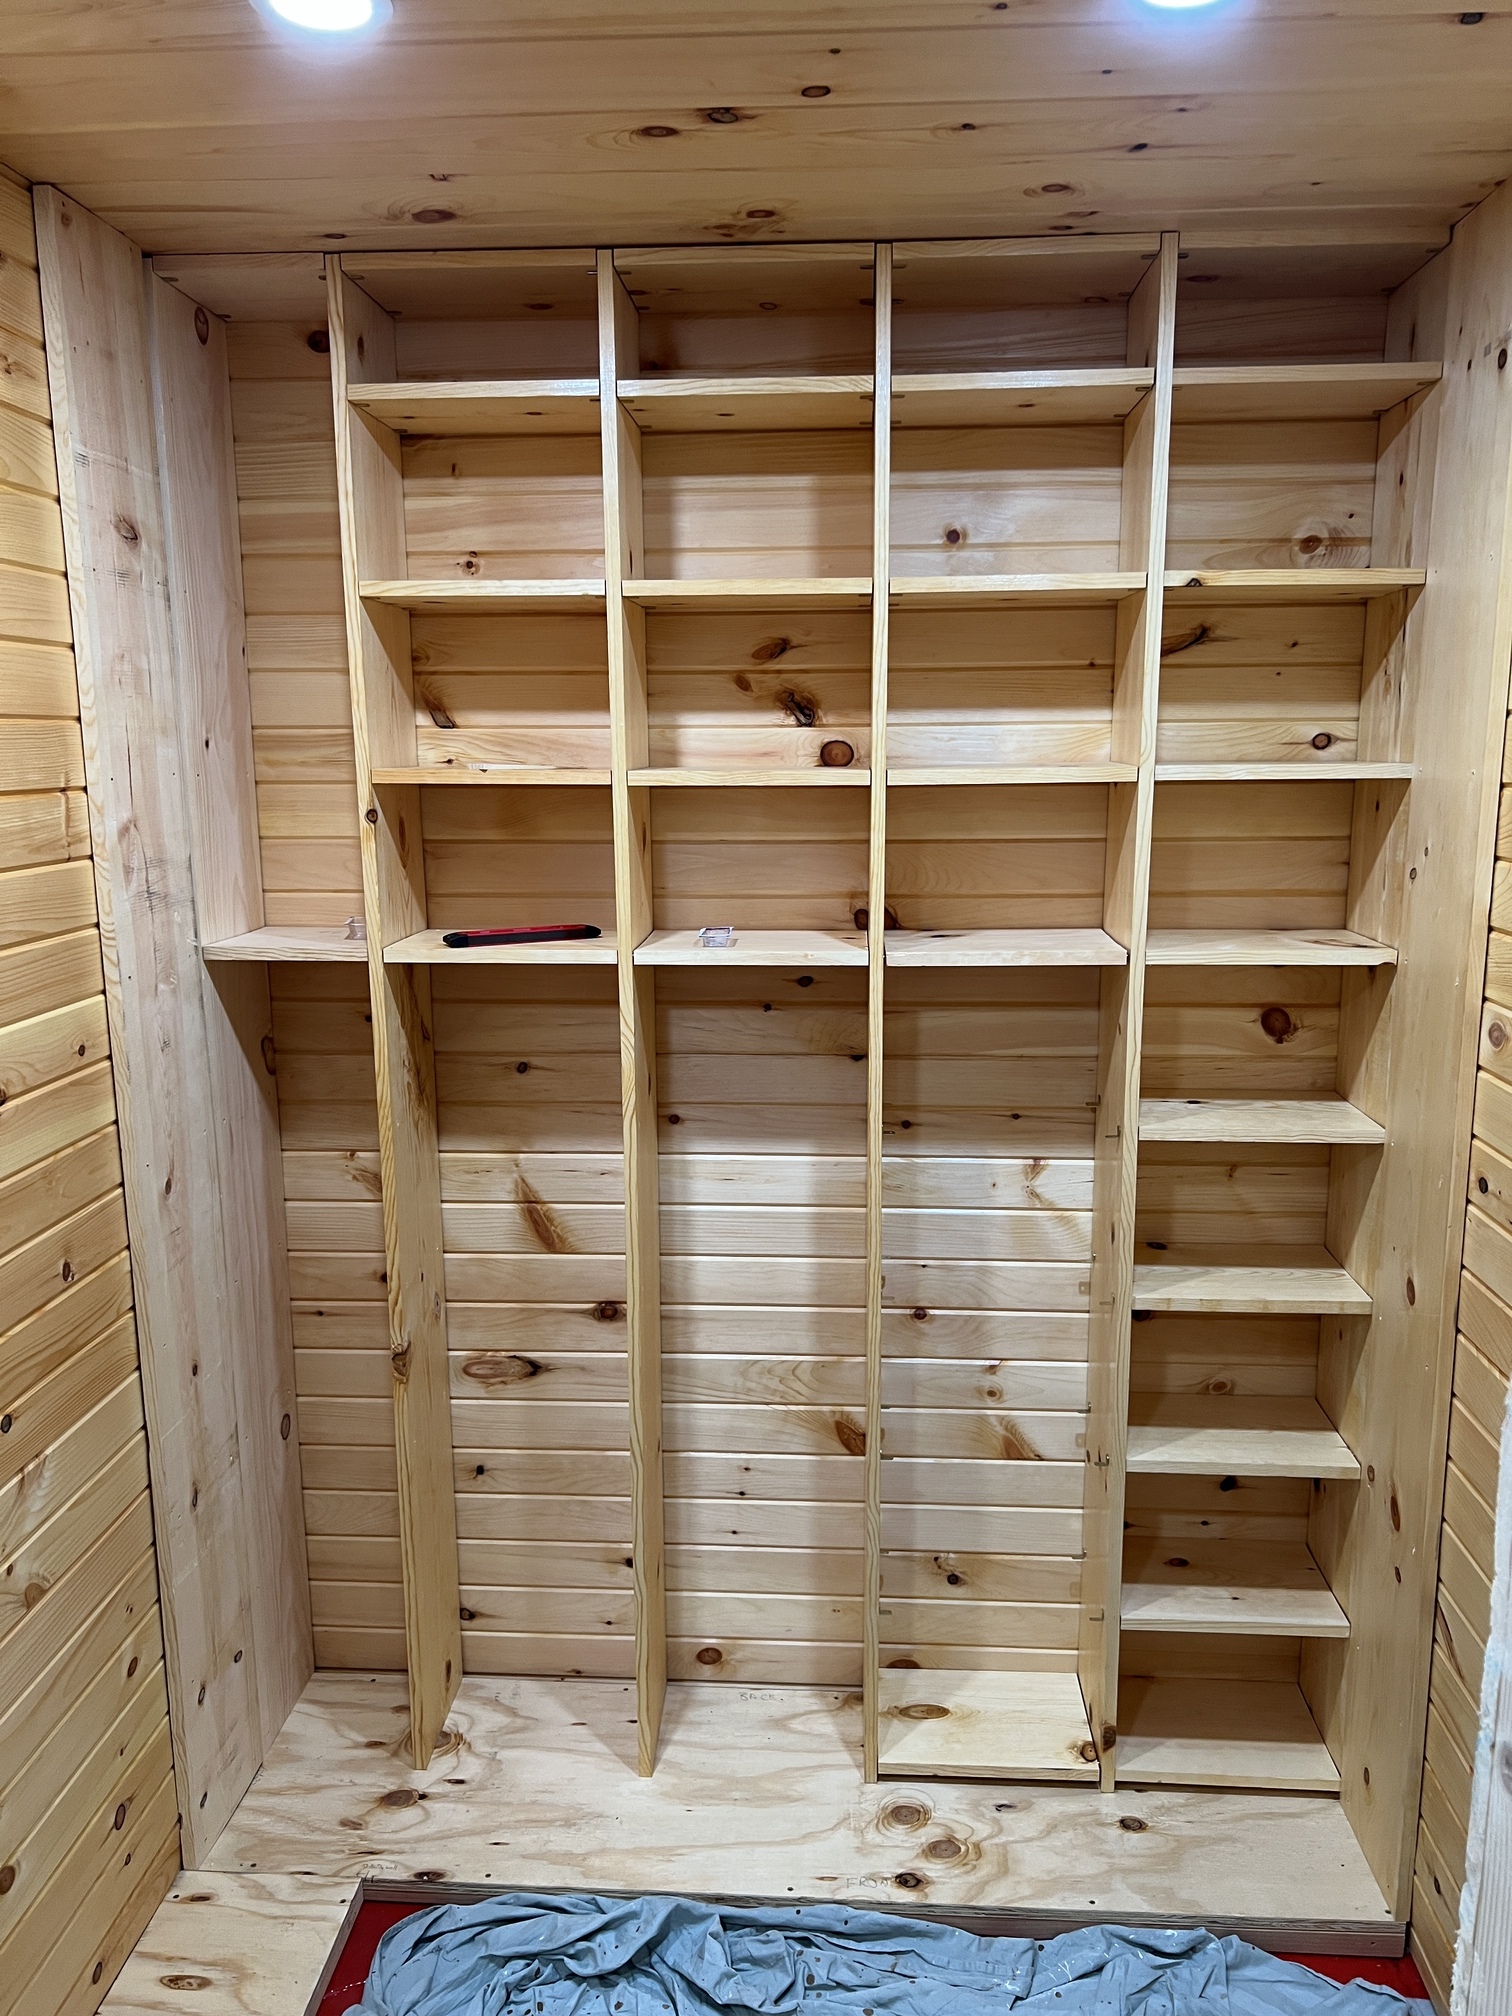
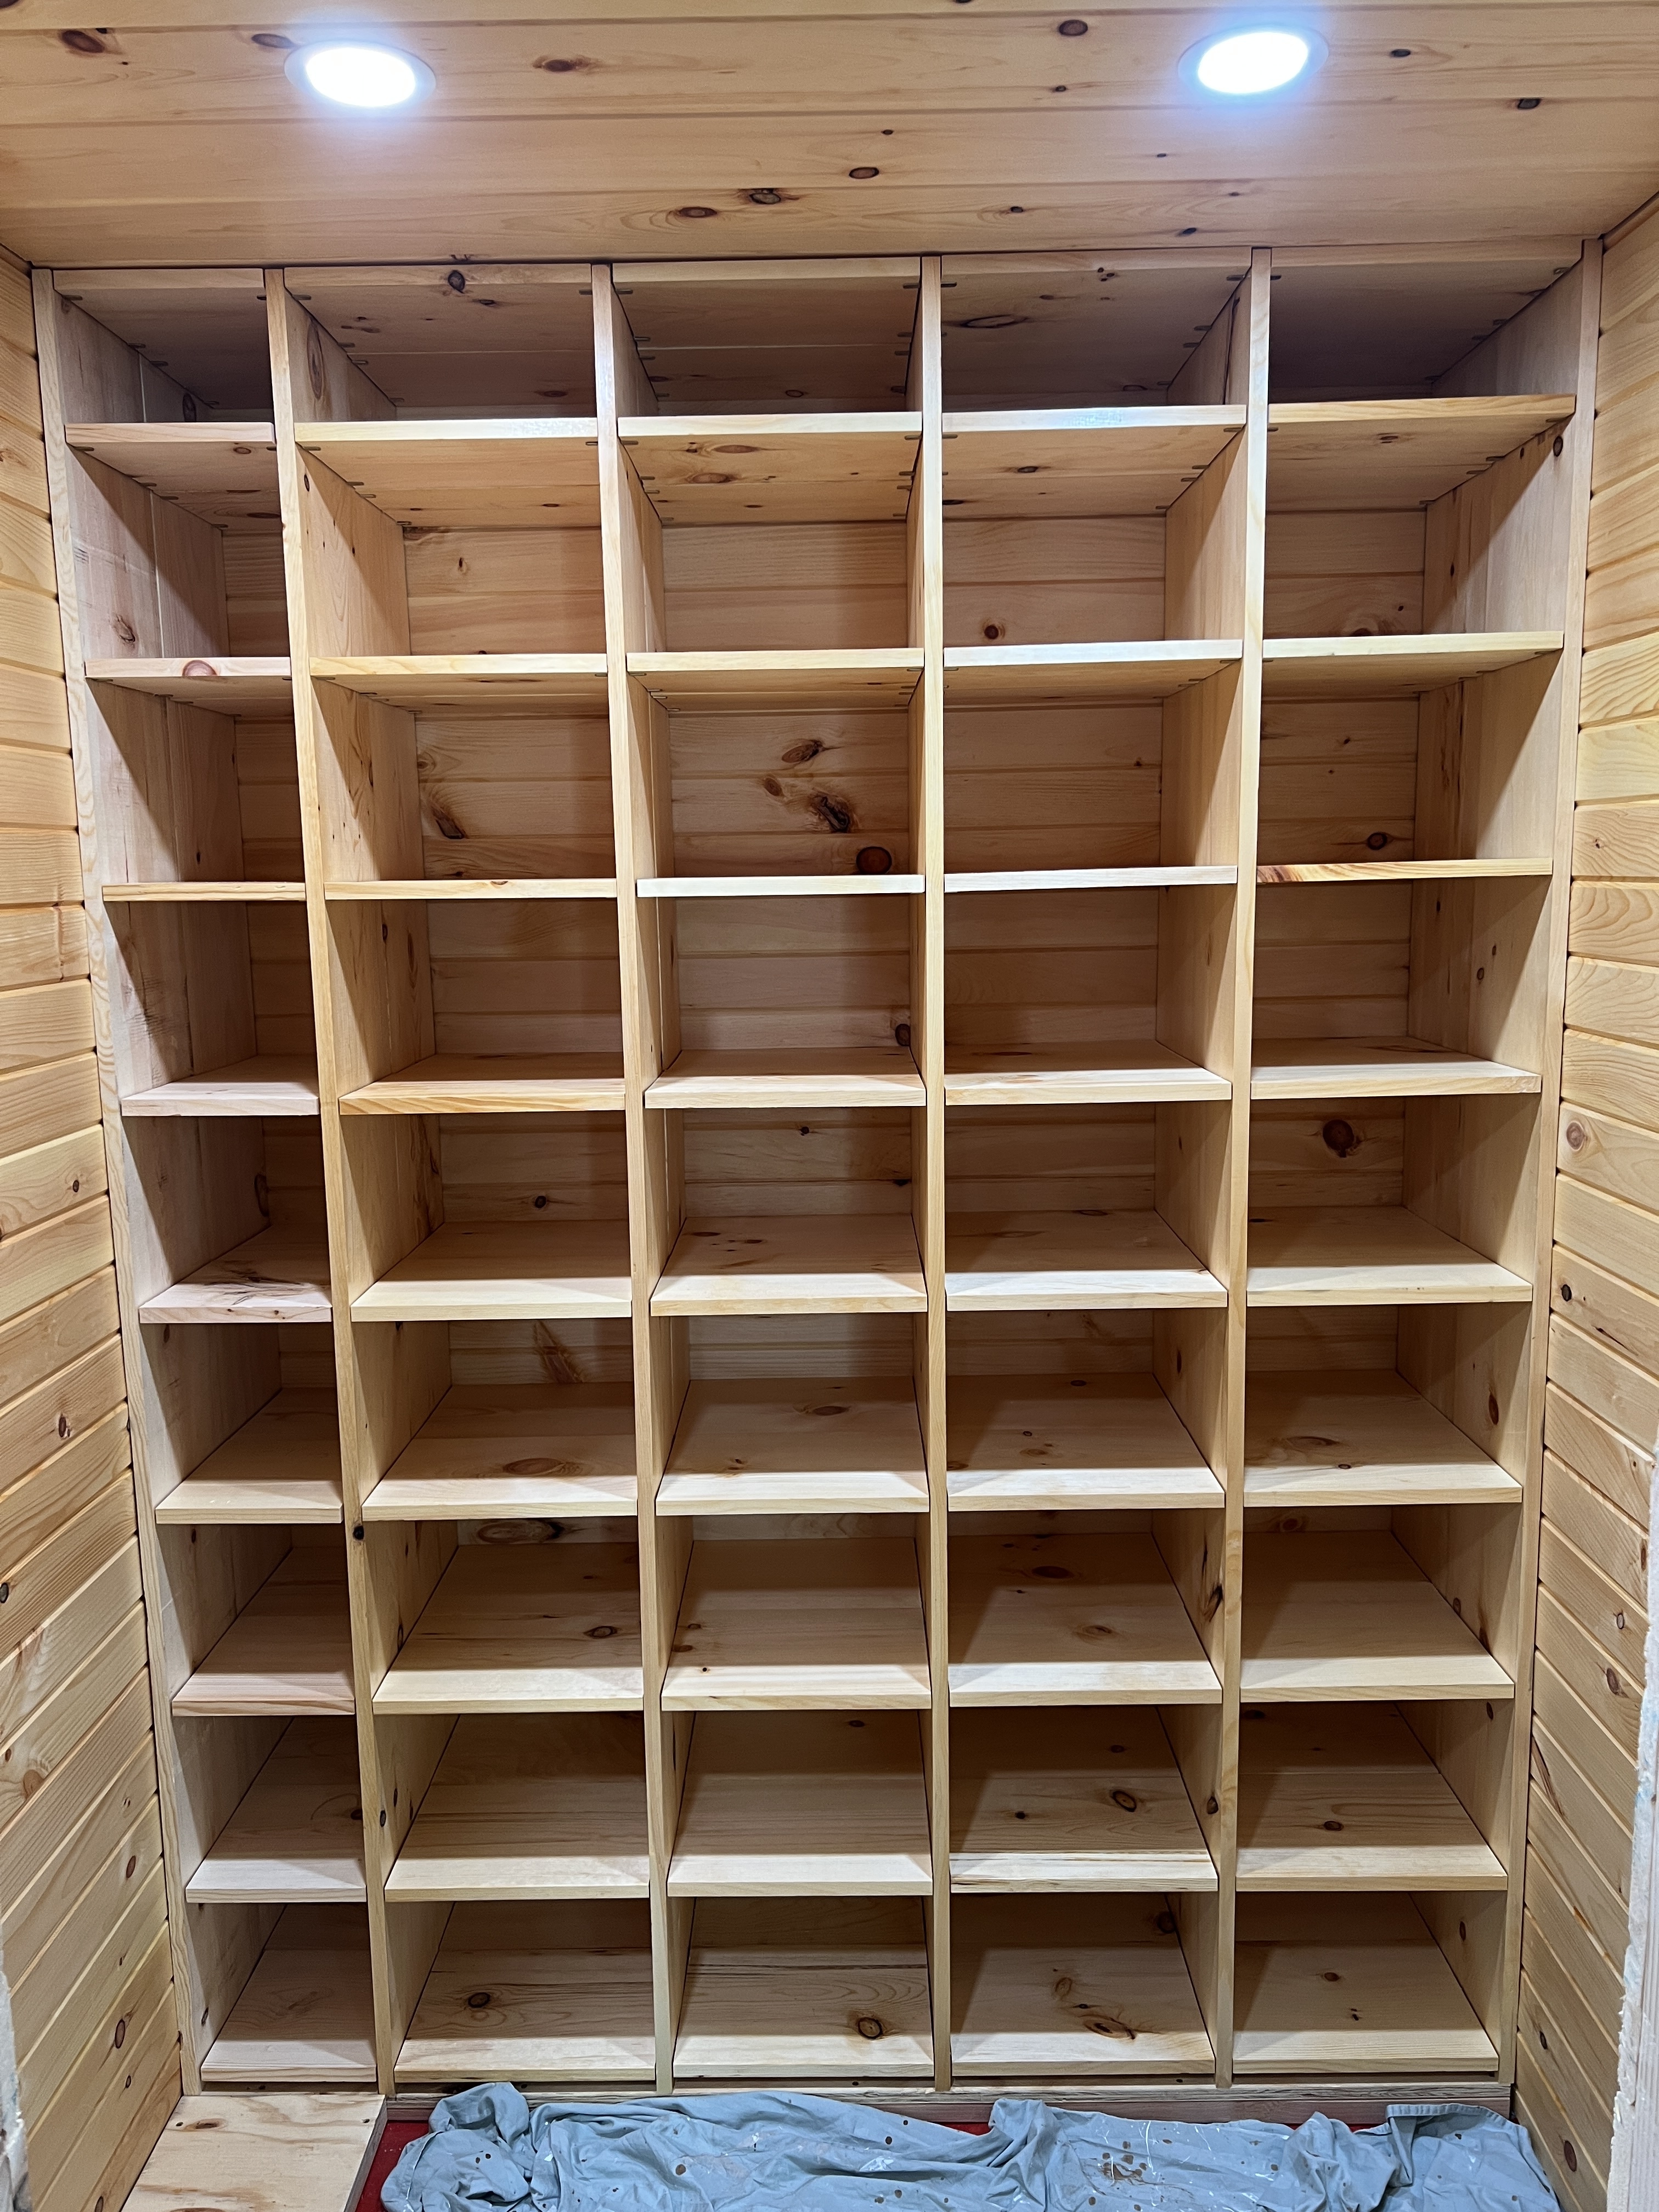
After drilling 240 holes for shelf pins and cutting 100 shelf boards, I finally got the first wall of bins installed. The bins are 18.5 inches deep, and should accommodate bottles stacked double deep neck-to-neck. I basically used the plans in Richard Gold’s book and built the bins from 1×10 boards that are stacked two deep.
You may notice that the left-most column is unfinished. That’s because that column will eventually be hidden by more bins that I plan to install along the left wall.
Here are a few in-progress shots, and then a photo of the completed wall of bins.
I just had one last weekend and it was still phenomenal!
Thanks for the reminder-I forgot to report back. One of my friends brought a recent release of the Westy 12, so we got to try the 2022 and the 2011 side by side. What a difference 11 years makes! The new one was darn nice, but still pretty primary with some bitterness and bite. Really good ale, but paled in comparison to the older one. So much honey on the nose and attack, with a ton of nutty richness. The years mellowed the palate and it was definitely a top 10 beer of all time for me. Glad to have more and will slowly deplete my supply over the next 5 years.
A few notes for the benefit of anyone who stumbles upon this thread in the future while planning their own wine cellar:
Shelf pin jig video:

I am in the process of building an identical setup and these notes are very helpful, so thanks for sharing. Did you use the exact shelf pins described in Gold’s book, or did you just go with whatever Home Depot/Lowes has?