Boozehounds,
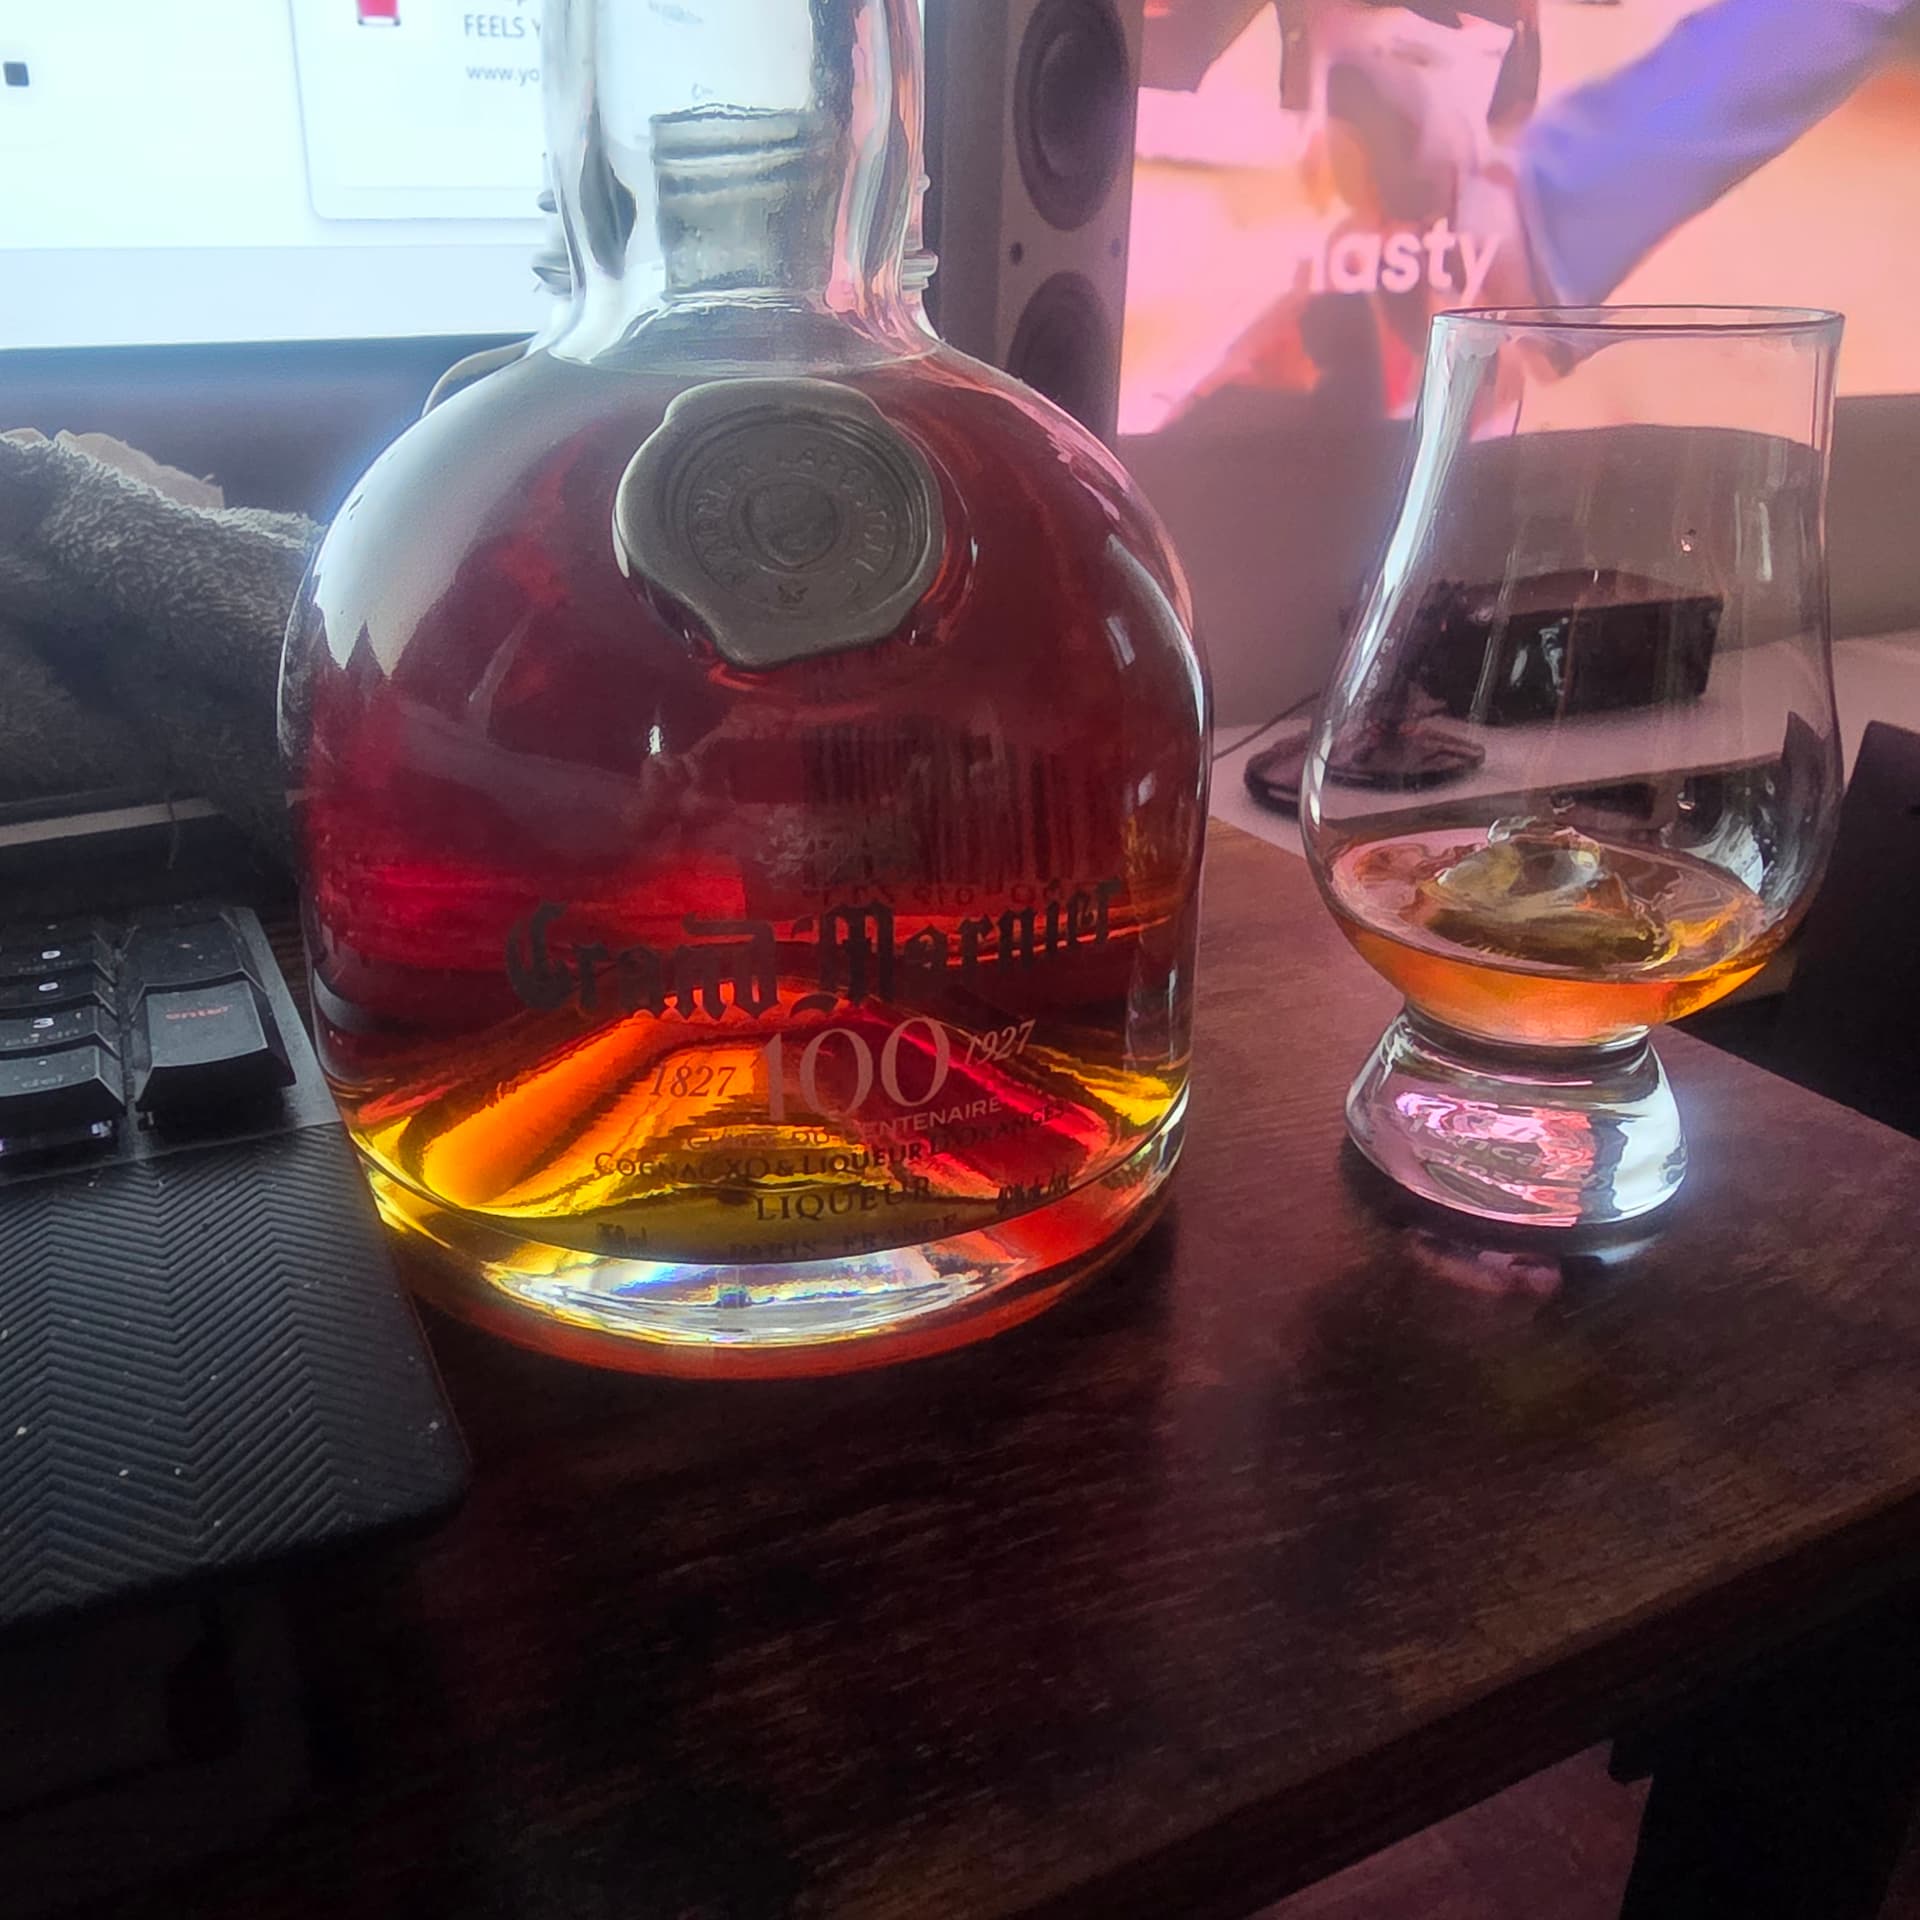
Way back in 2019, I documented on the board the making of my homemade versions of XO Grand Marniers, inspired by my discovering the existence of the long defunct but much beloved Cherry Marnier after enjoying my bottle of Grand Marnier Cuvée de Centenaire.
Well it’s taken a number of years – cut me some slack, I had 8 bottles to go through as well as the initial Marnier bottle and bear in mind like you all I am working my way through a relatively decent to large wine and spirit collection as well – but I’ve finally drunk down all of those homemade Marniers as well as the Centenaire. I just opened a second Centenaire bottle and am loving it, and it inspired me to do a brand new batch of homemade Marniers and document it all for you again.
You can find the original project thread here at UPDATED -- 2 DAY MICRO-DRIED FRUIT FORMULA: Infused XO Brandy aka Homemade "Cuvée de Centenaire" Grand Marnier Project . During that first project, I found that using dried fruit was better than fresh because there was no extra water to dilute the spirit and allowing for much better flavonoid transfers during the maceration. This required a two week maceration period though I also found that using micro-dried fruit took only two days and regular dried mango produced an anomaly by also working in just two days.
This new batch took an interesting twist. I was unable to find any micro-dried fruit. However, while shopping online for a new handheld vacuum bag sealer kit, I came across the existence of a mason jar vacuum sealer. I purchased both with the intent of preserving regular food but then inspiration struck me as the timing of both interests came together rather fortuitously. On with the chemistry:
VACUUM-SEALED HOMEMADE MARNIERS
For every bottle of homemade Marnier, use:
SOFTWARE
- 1 750 ml (3 cups) bottle of aged brandy, Armagnac or Cognac of your choice
- 1 cup of micro-dried fruit of your choice OR 1 cup of citrus peels of your choice or 1 cup of dried fruit of your choice
- 1/4 to 3/4 cup of white sugar or equivalent white sugar substitute (Stevia, monkfruit, etc.)
HARDWARE
- 1 L/1 QT sized Mason glass jar with standard two piece (flat cap and screw-on ring cover) lid (The jar doesn’t have to specifically be a Mason type jar, but it must be able to fit a two-piece Mason jar lid on its opening for the vacuum sealer to work if you’re going to use it)
- 1 Mason jar vacuum sealer (optional; see below)
DIRECTIONS
- Put one cup of the fruit or peels into a Mason jar.
- Add in up to 3/4 cup of white sugar or sugar substitute into the jar.
- Pour in one bottle (750 ml) of good quality aged brandy, Armagnac or Cognac.
- Shake the bottle up to mix the ingredients. Note that not all of the sweetener of choice may dissolve right away and will take a few more days to integrate into the solution properly.
- Cover the jar with the flat cap of the Mason jar lid and use a Mason jar vacuum sealer to remove all air from the jar and vacuum seal the lid shut to the jar.
- Screw on the lid’s ring cover.
- Let the solution steep in the jars in a cool dry place. Maceration time varies as follows:
- 2 days if using micro-dried fruit
- 1 week if using the vacuum sealed Mason jar method. Not as fast as the 2 day steep with micro-dried fruit but half the time that standard maceration requires.
- 2 weeks if using standard dried fruit with no vacuum sealing
- Shake the bottles at least once each day during the maceration period until you can no longer see undissolved sugar. It will eventually all dissolve into the solution.
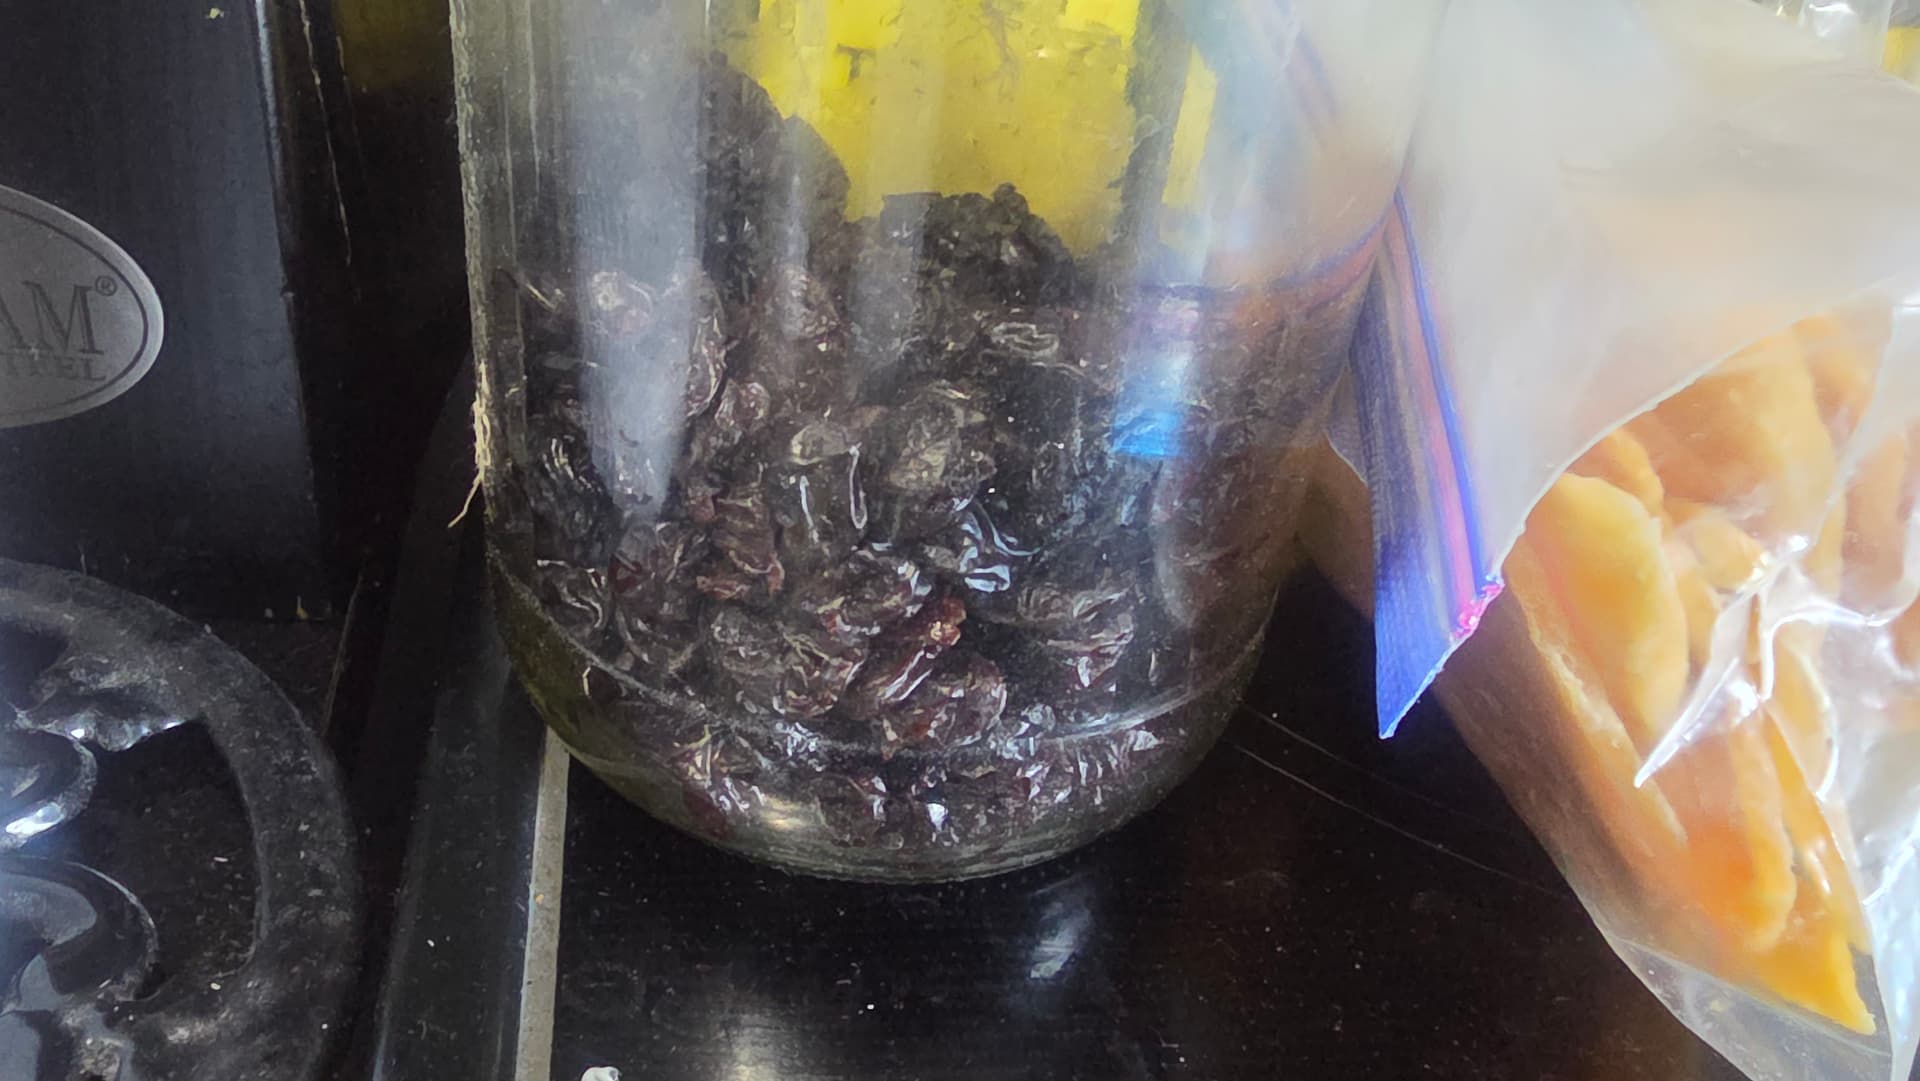
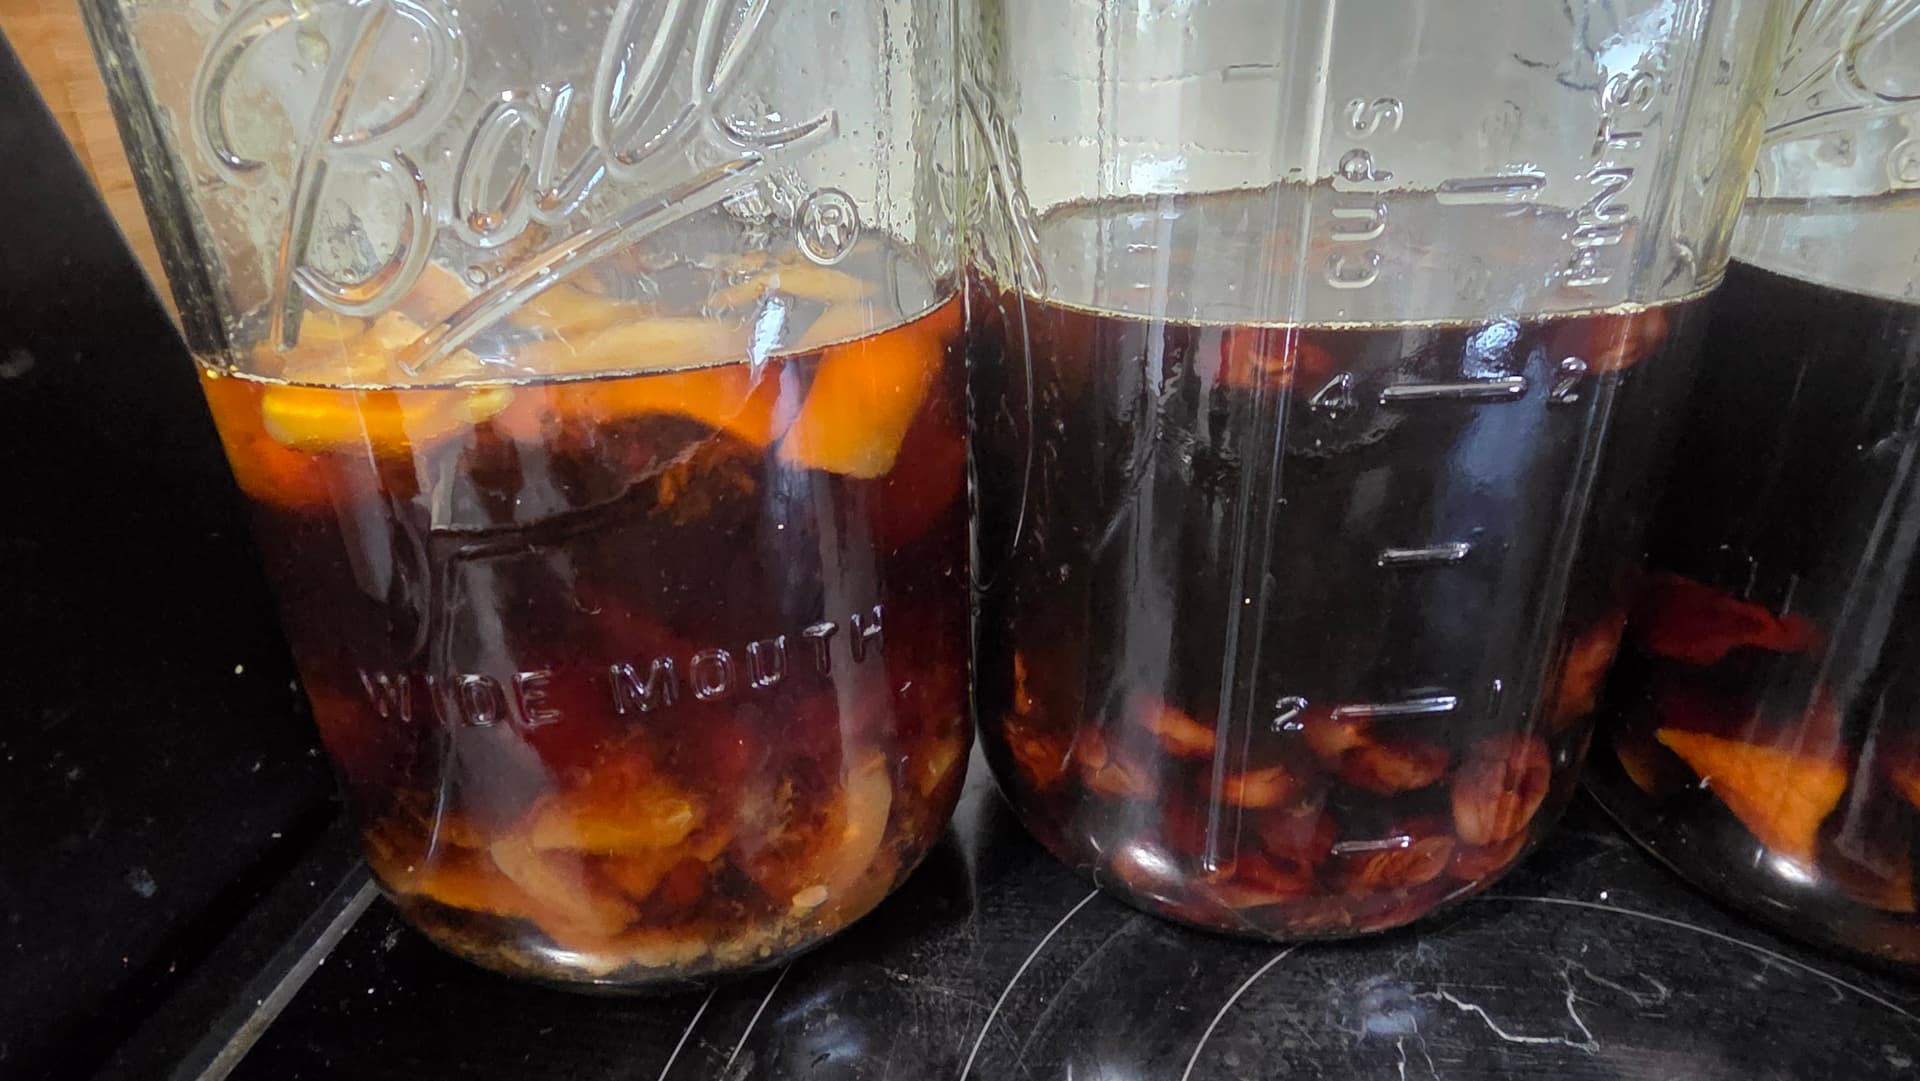
SIGNS THAT THE MACERATION IS COMPLETE AND THE MARNIER IS READY
- The spirit is taking on the fruit’s color
- The fruit has swollen in size
- The fruit has lost its color
- The fruit is floating on top of and all throughout the mixture
- The fruit has lost cellular structure and looks soft and mushy when you look at it
- It tastes like, well, a version of Grand Marnier made with your choice of fruit instead of oranges
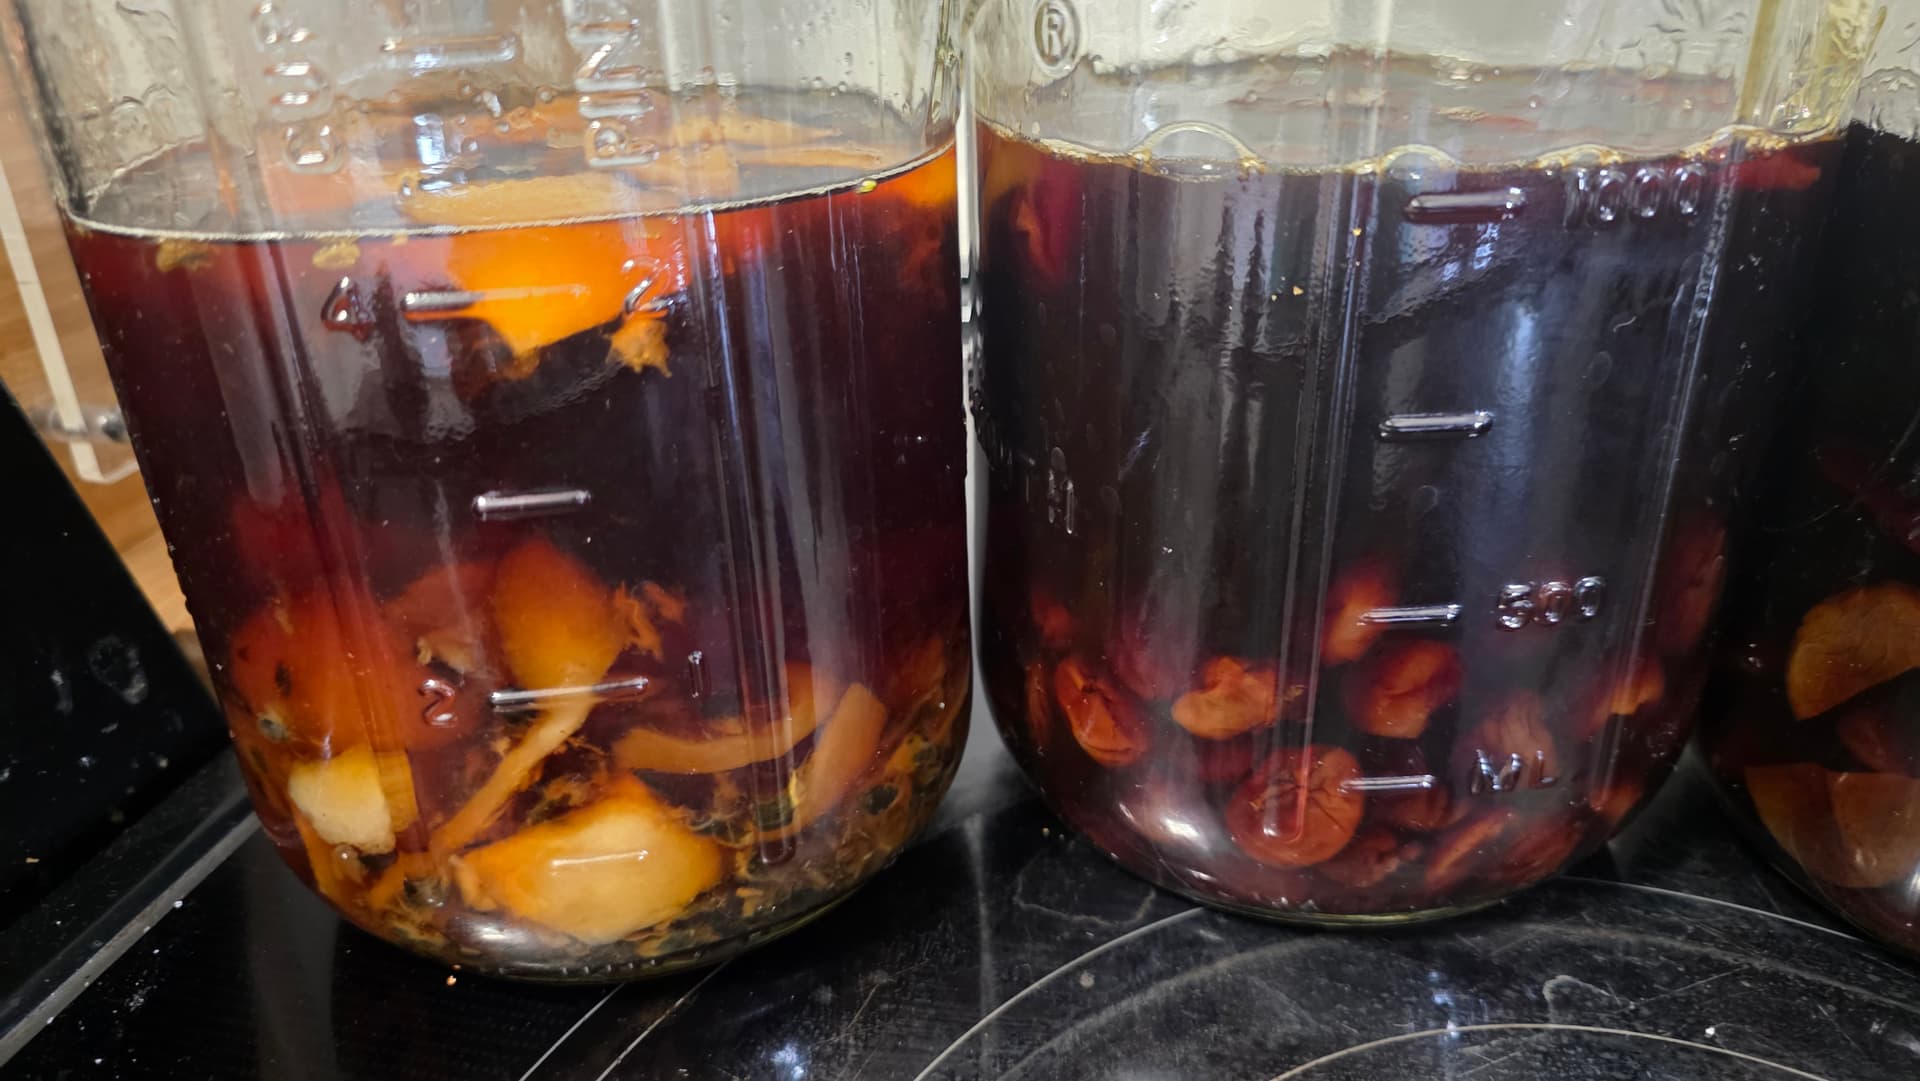
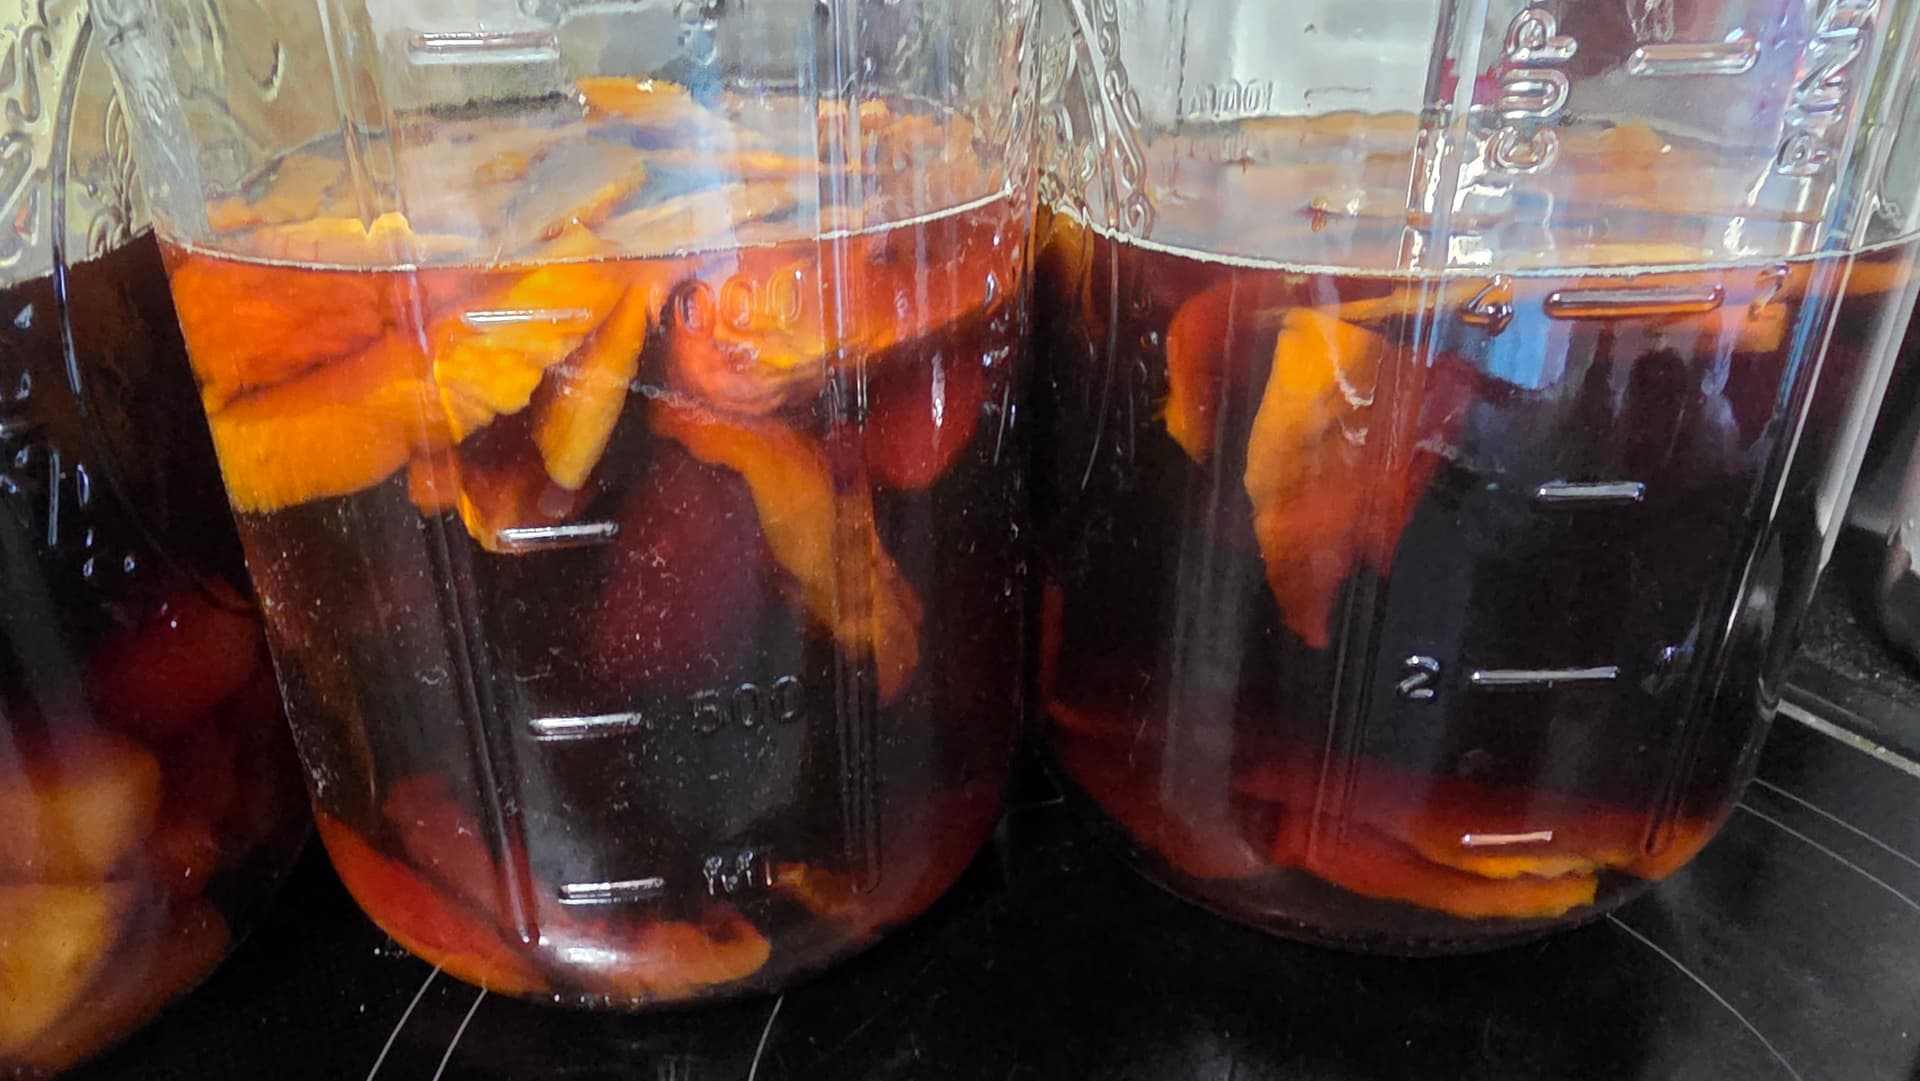
FINISHING TOUCHES
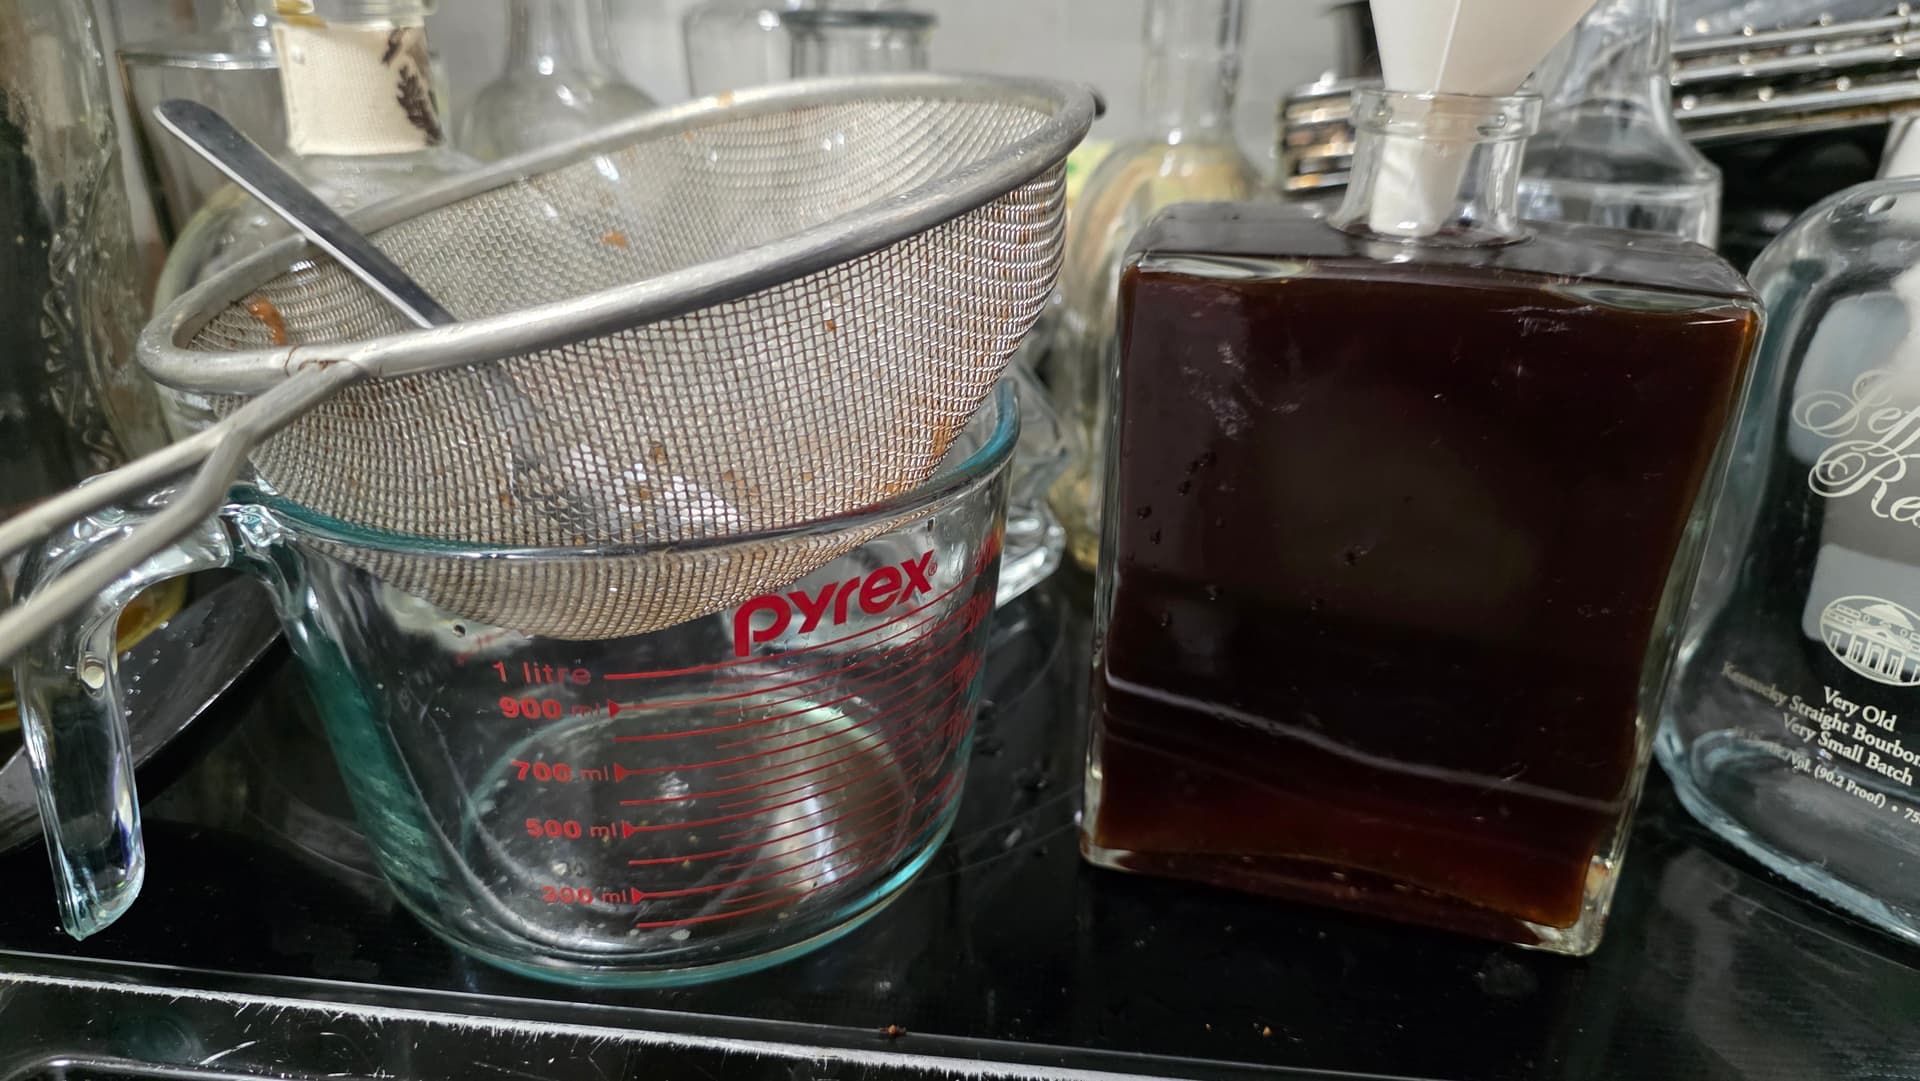
- When the homemade Marnier is ready, strain all the liquid you can get from the macerating jar through a sieve into an empty clean jar or spirit bottle (make sure you have a stopper or closure for the bottle)
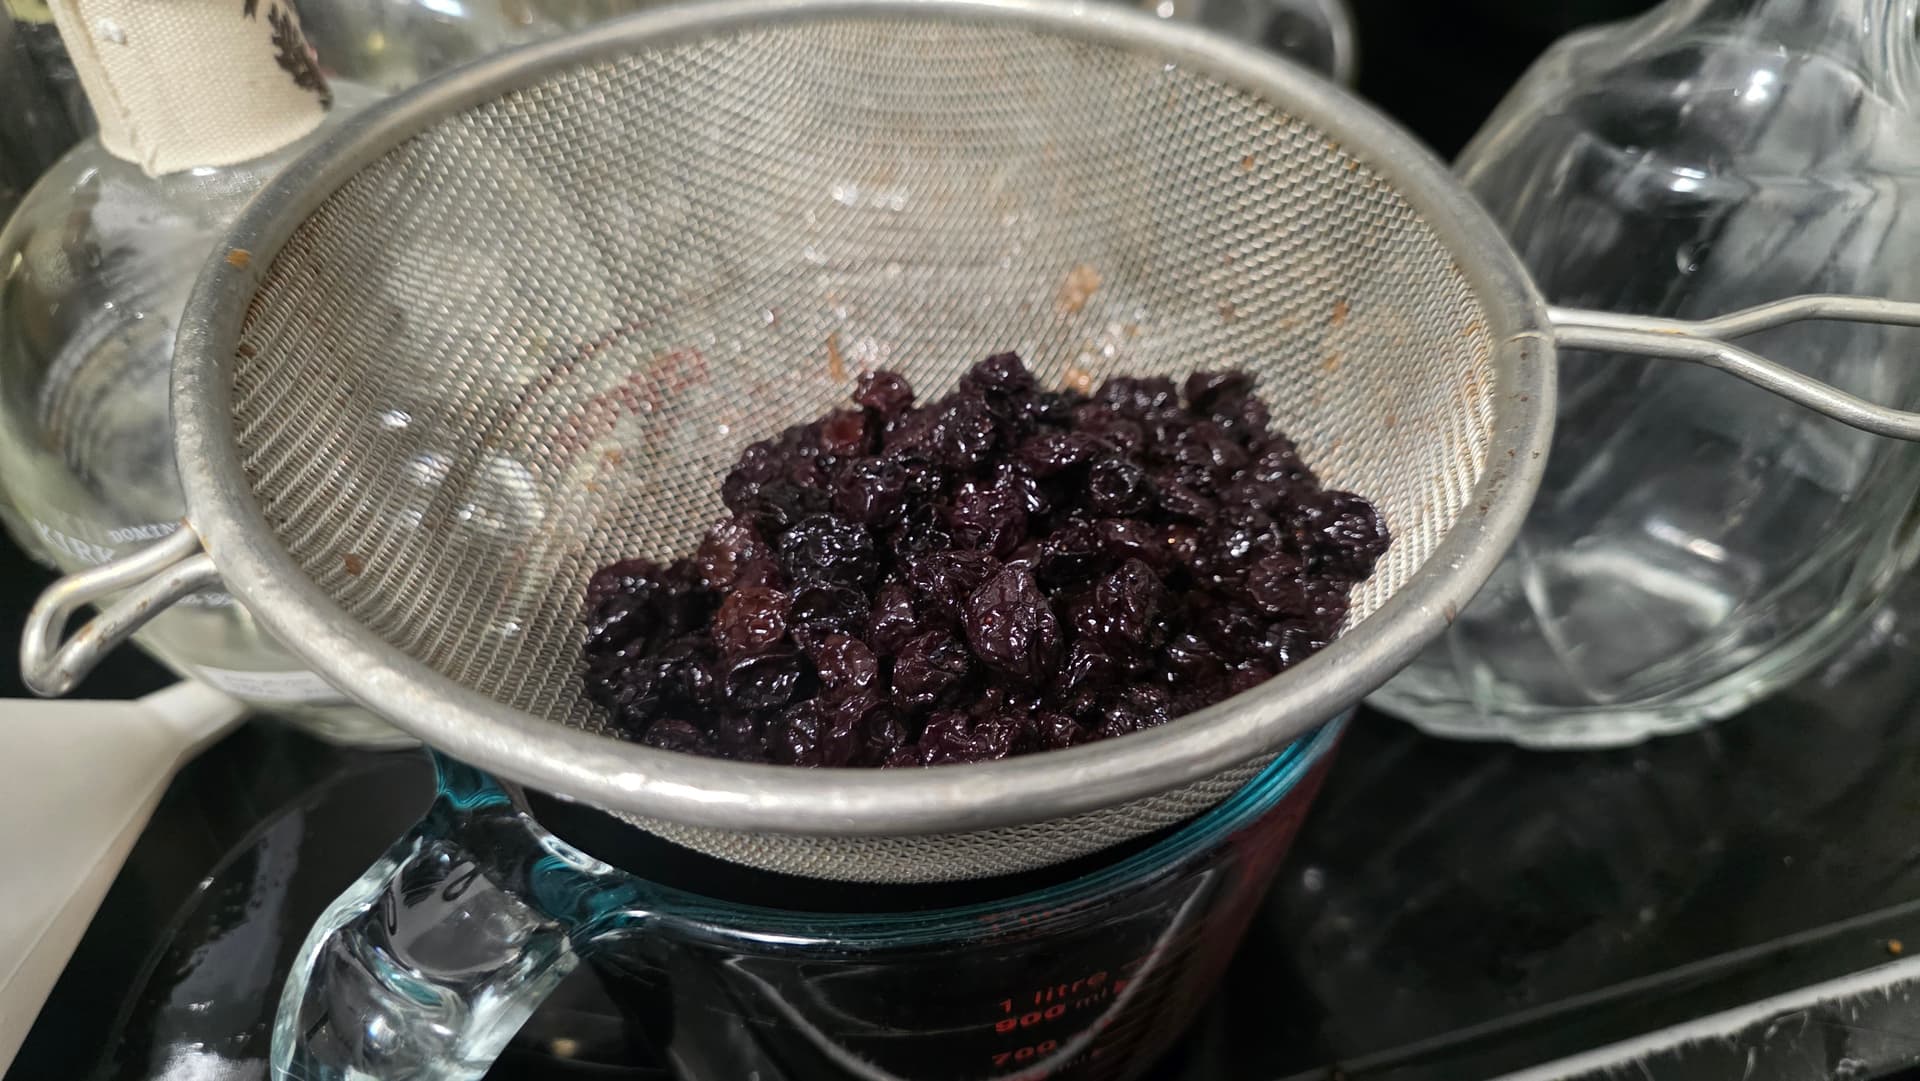
- Over a large measuring cup or bowl, use a potato masher to gently mash the spirit infused fruit and strain out as much extra liquid as you can
- Add this to the filled spirit bottles
- If there is still some unused space in the filled spirit bottles, top it up with regular spirit until the bottle is full
- Close the bottle. Your homemade Marnier is now available to be enjoyed.
NOTES:
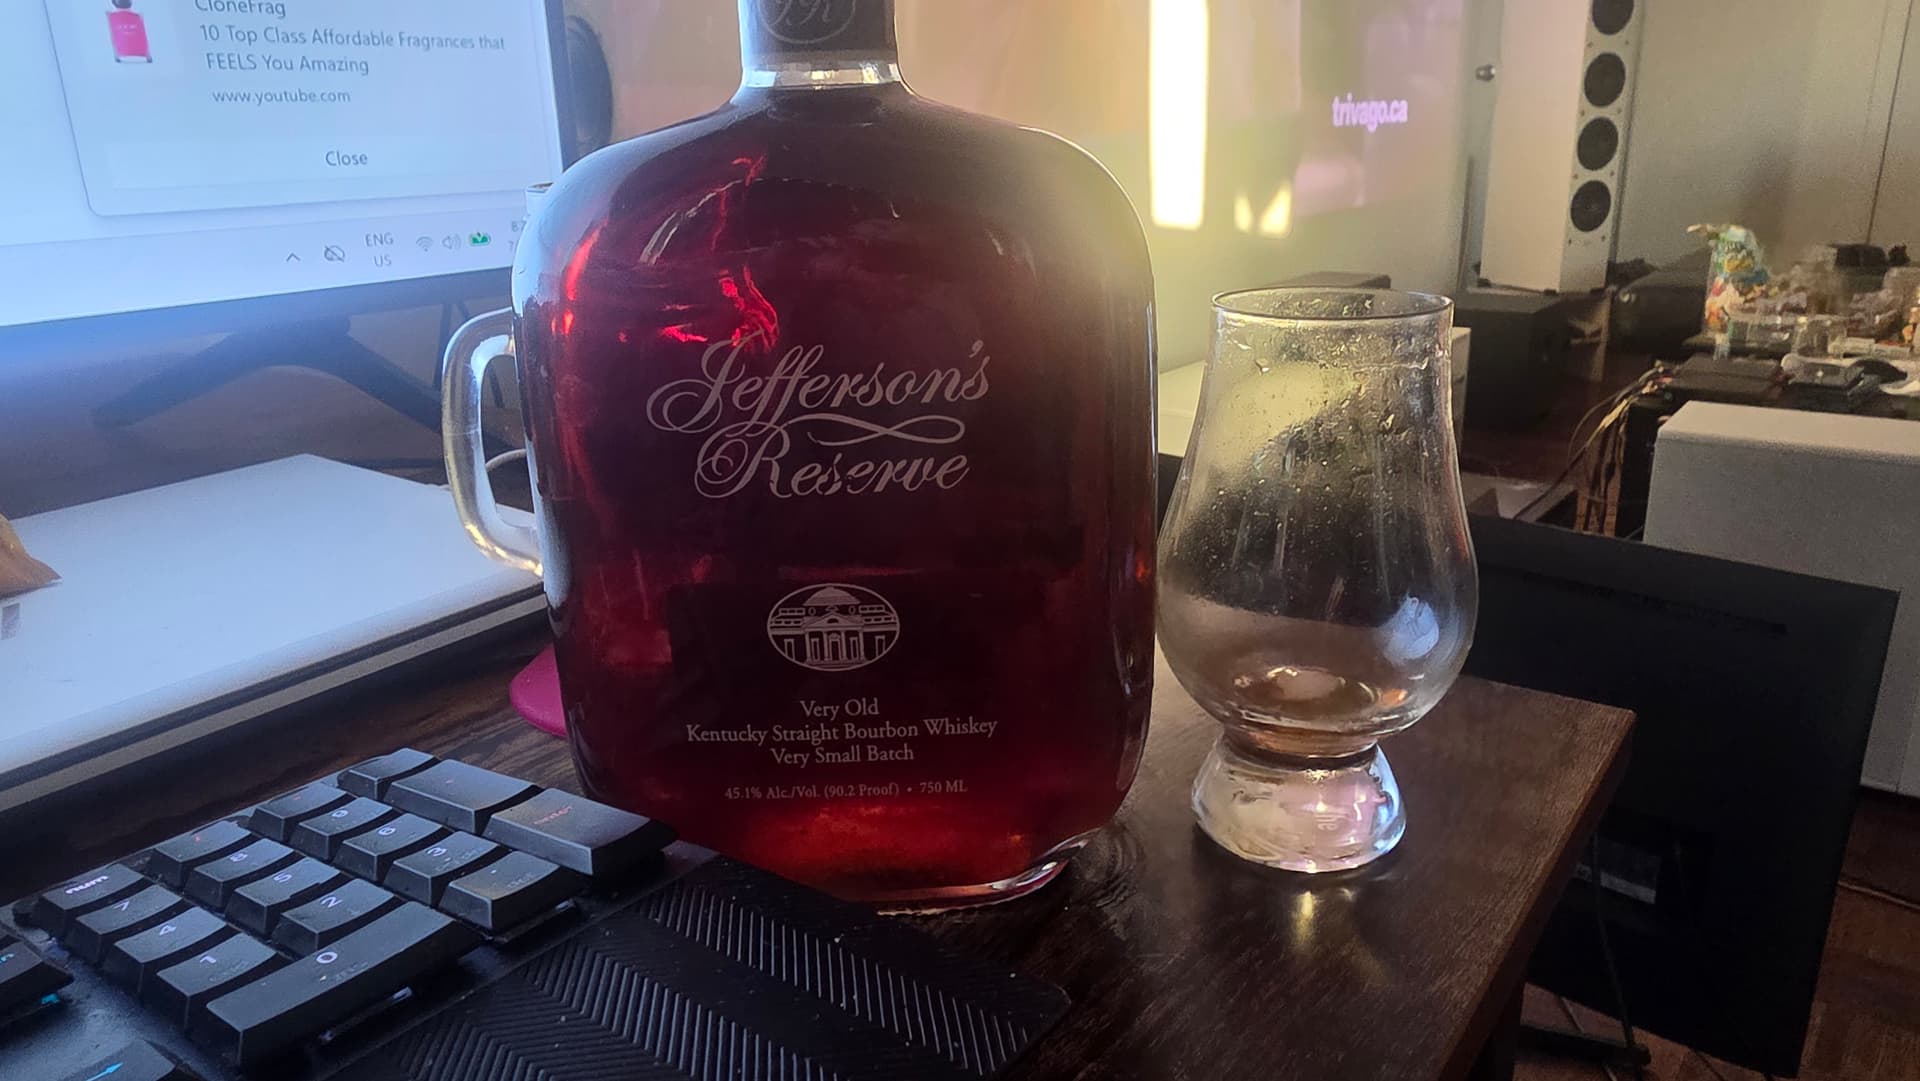
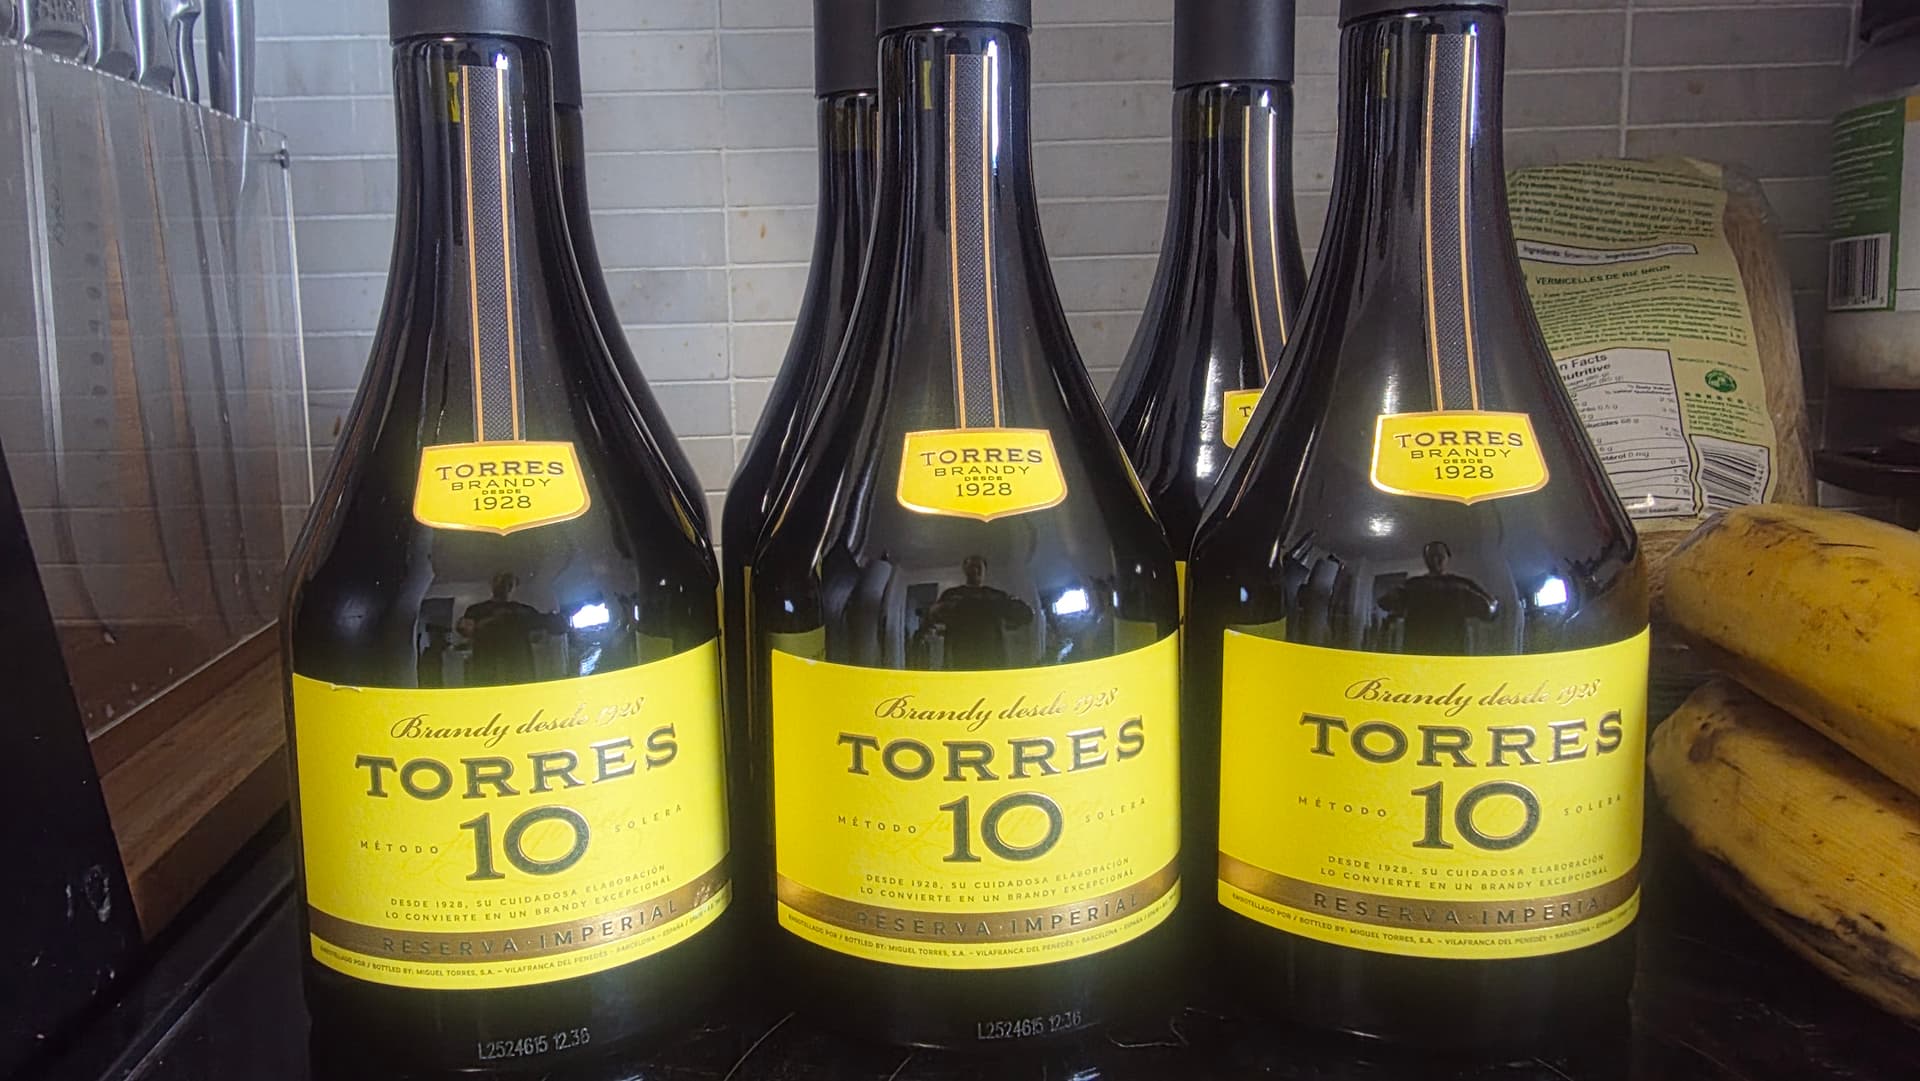
- The higher the quality spirits you use, the better your final product will be. Of course you could use VS or VSOP quality spirit but… honestly, why bother? If you’re going to go through all the effort of making your own homemade Marniers, then make some GOOD homemade Marniers. I used Torres 10 YO brandy from Spain which makes for a pretty good base.
-
Feel free to experiment using other bottled spirits as the base. You can use Tequila, Rum, Pisco, Bourbon, Whisky, whatever you like. Just make sure it is at least 40% ABV or higher. Note that each spirit will add its own unique flavor and characteristics. If you prefer a purer fruit flavor, use a high quality neutral clear vodka.
-
The actual sweetness level of Grand Marnier is 240 g/L of sugar. This will equate to using 1/4 cup sugar per 1 cup spirit or 3/4 cup for a full 750 bottle. Keep in mind that the fruit will add a bit of sweetness as well. I would strongly suggest not going over this ratio and using less if you prefer less sweetness. You can always add more sugar to the macerating mixture if you didn’t use enough to your taste but you can’t take it away if you used too much.
-
When the filled spirit bottles settle, you will see some particulate matter at the bottom of each bottle. This is composed of ruptured fruit cells. It’s perfectly normal, edible… and visually unappealing. However, getting rid of it means fining the solution which is a messy endeavor I’m not interested in performing myself.
-
Don’t waste that valuable macerated fruit. People pay a pretty penny to use items like a real macerated cherry in their Manhattan, so you should treat it with the same reverence. They can be used as edible drink garnishes or actual ingredients when cooking and baking. Be aware that the spirit flavor will be much stronger in the macerated fruit than the actual fruit flavor. That’s a good thing – it means most of the actual fruit flavor is now residing in the spirit.
-
The macerated fruit is best stored in glass storage containers or jars or even clean zipper food bags in the fridge or the freezer
-
A Mason jar vacuum sealer is exactly what it sounds like. It’s a miniature hand held vacuum sealer device that works specifically with Mason style jars and two piece Mason jar lids. While it is not necessary to use one, it does cut maceration time in half.
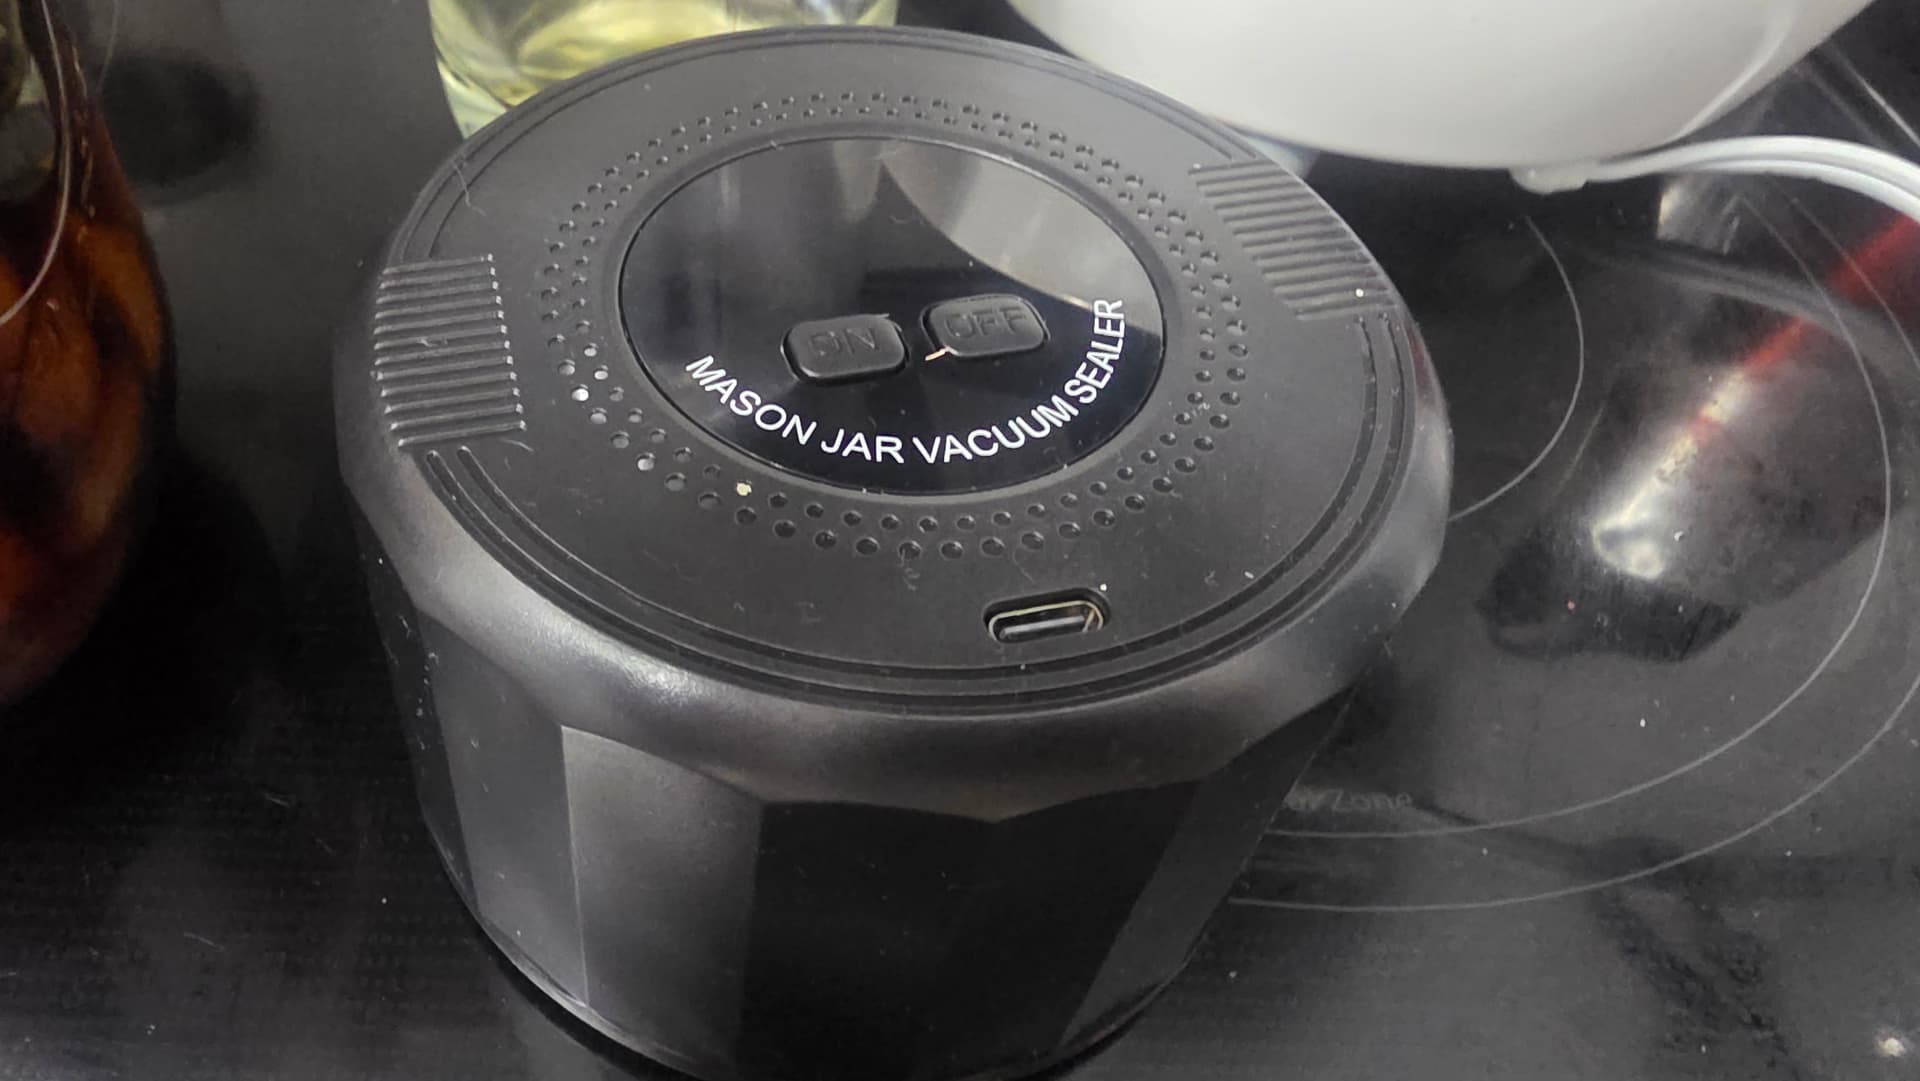
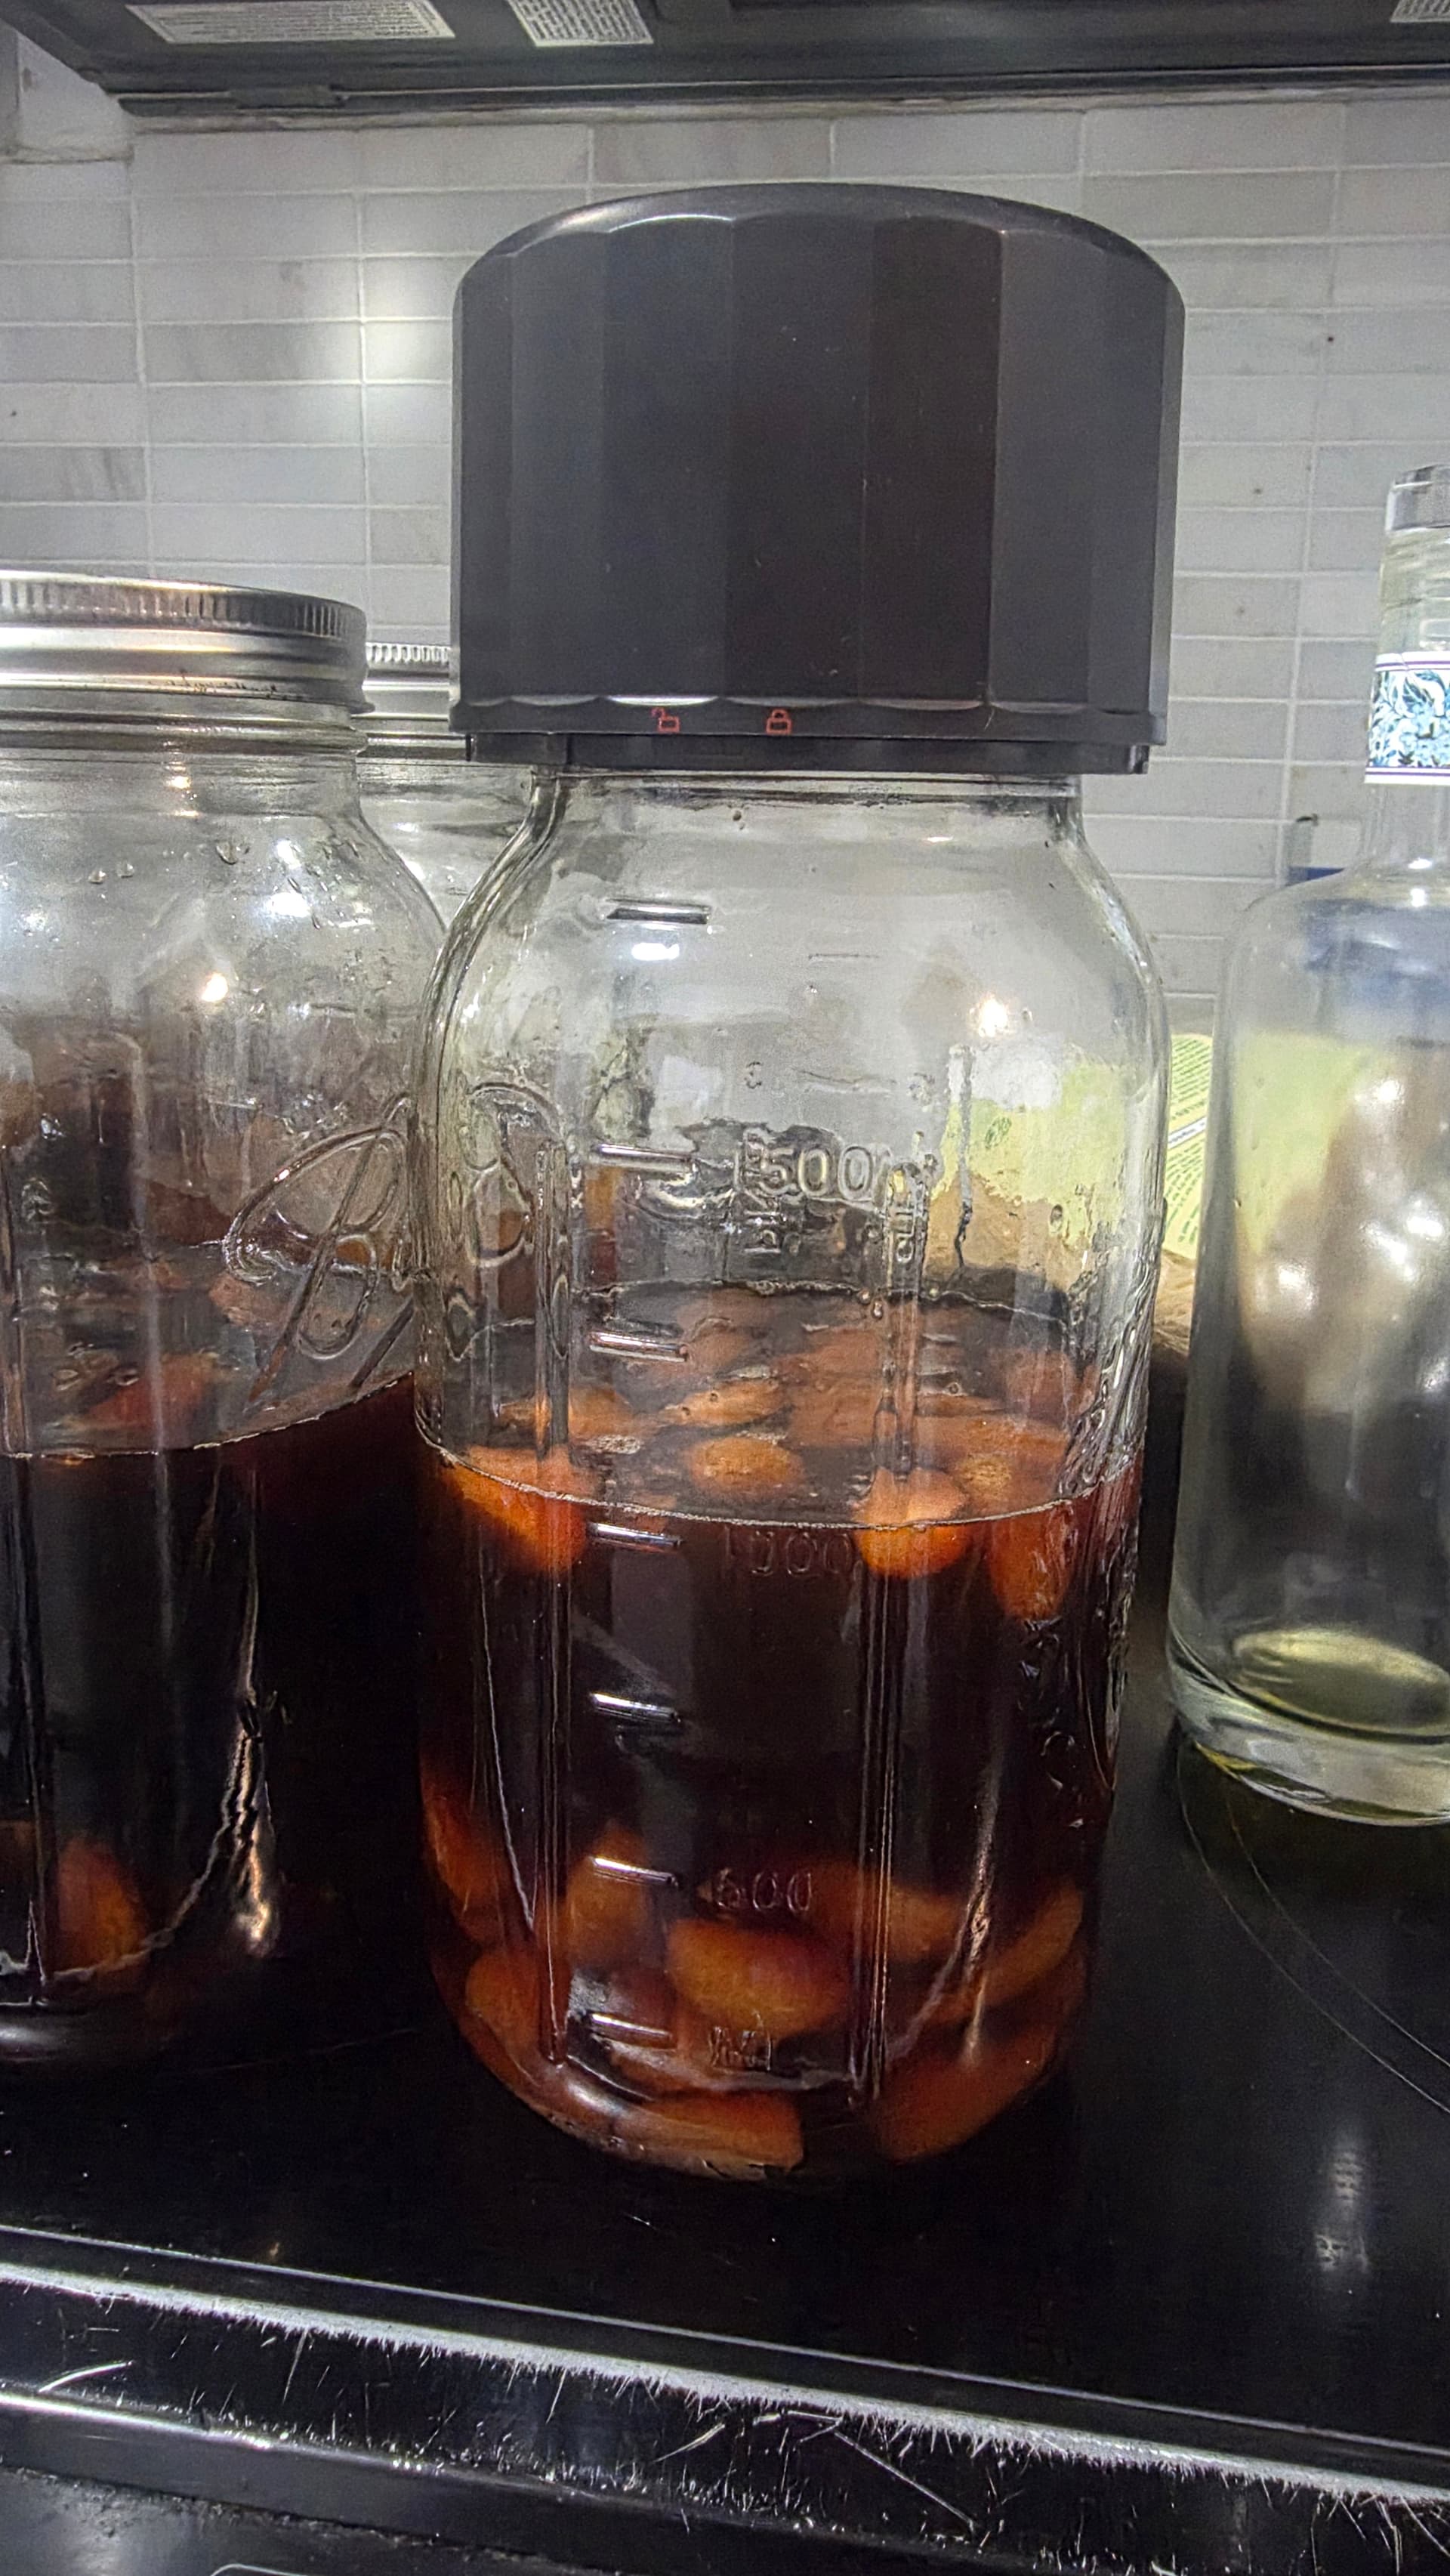
- Taste the solutions occasionally to monitor their progress. Remember to vacuum seal the jars shut again if you were using the vacuum sealed process.
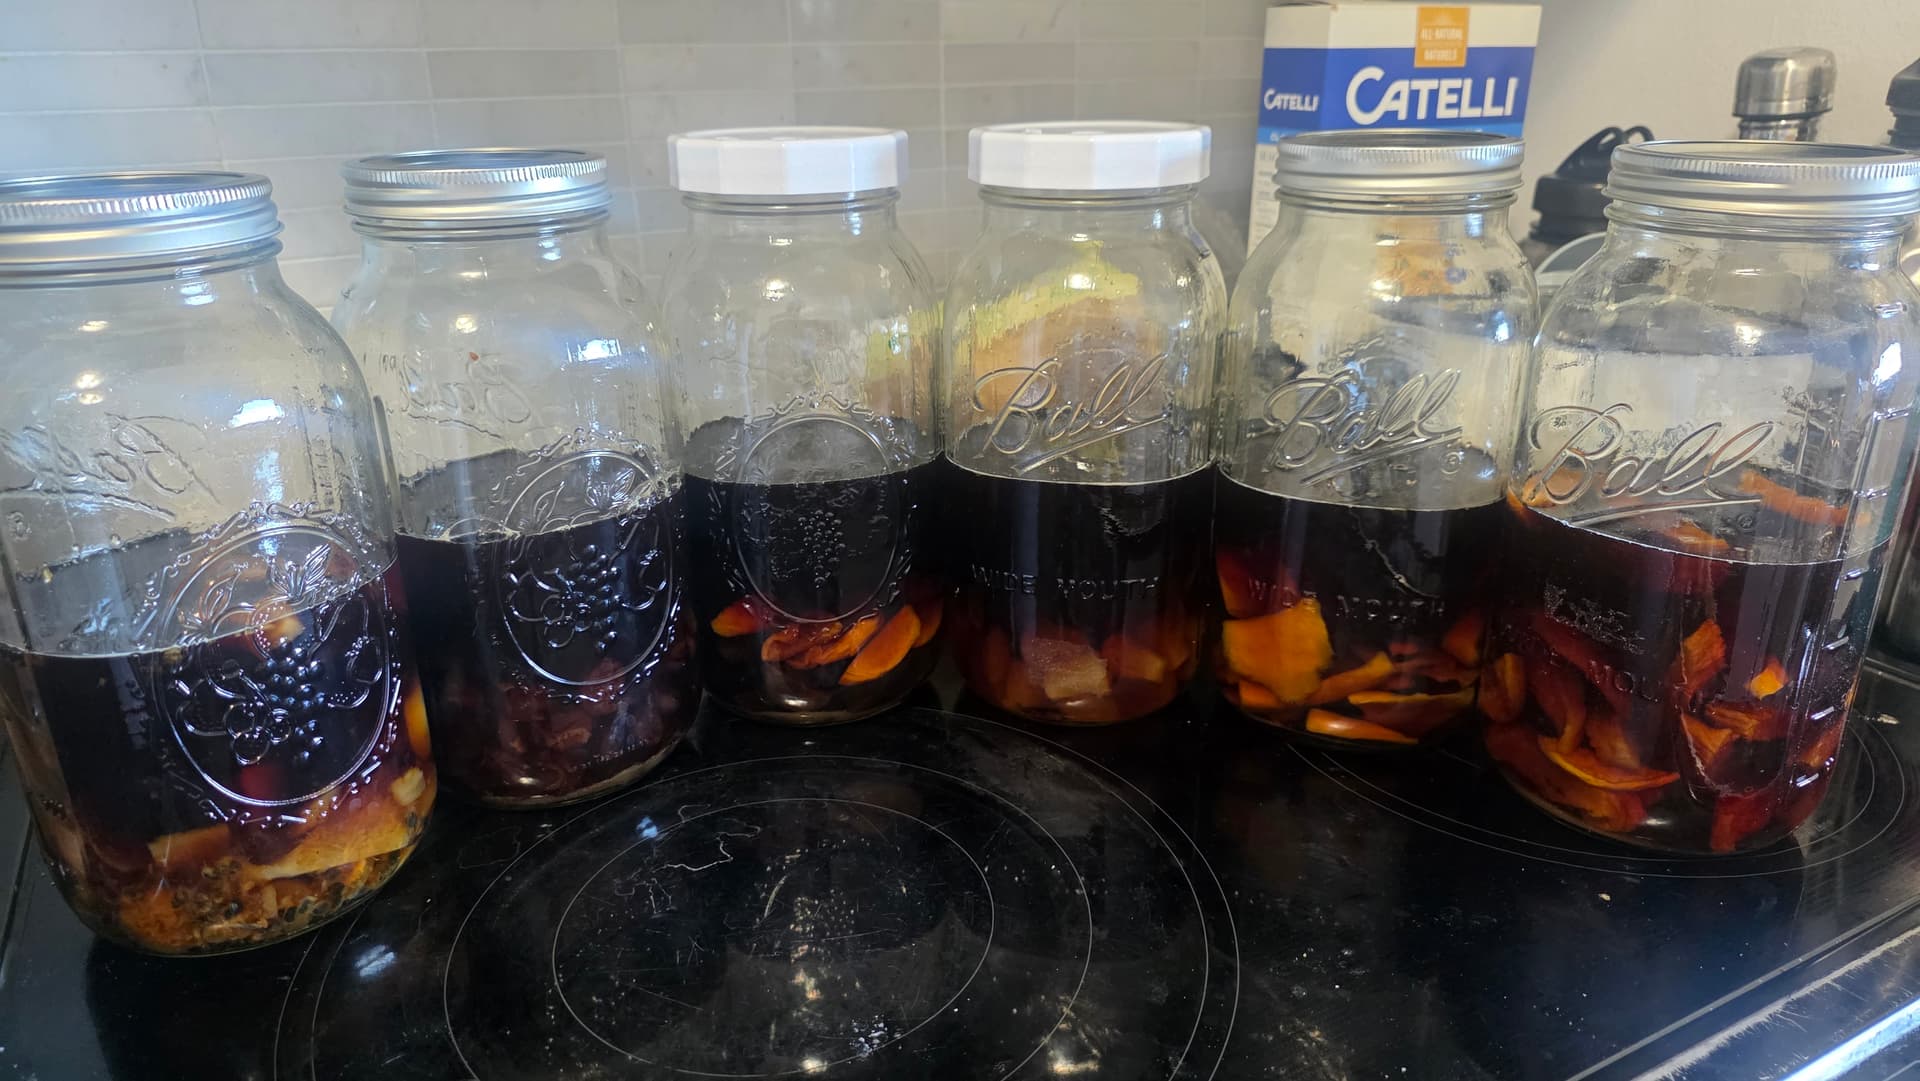
For this batch, the fruits and therefore flavors I chose were:
- Dried Passion Fruit
- Dried Strawberries
- Dried Blueberries
- Dried Peaches
- Dried Apricots
- Dried Mango
- Dried Pineapple
- Dried Cherries
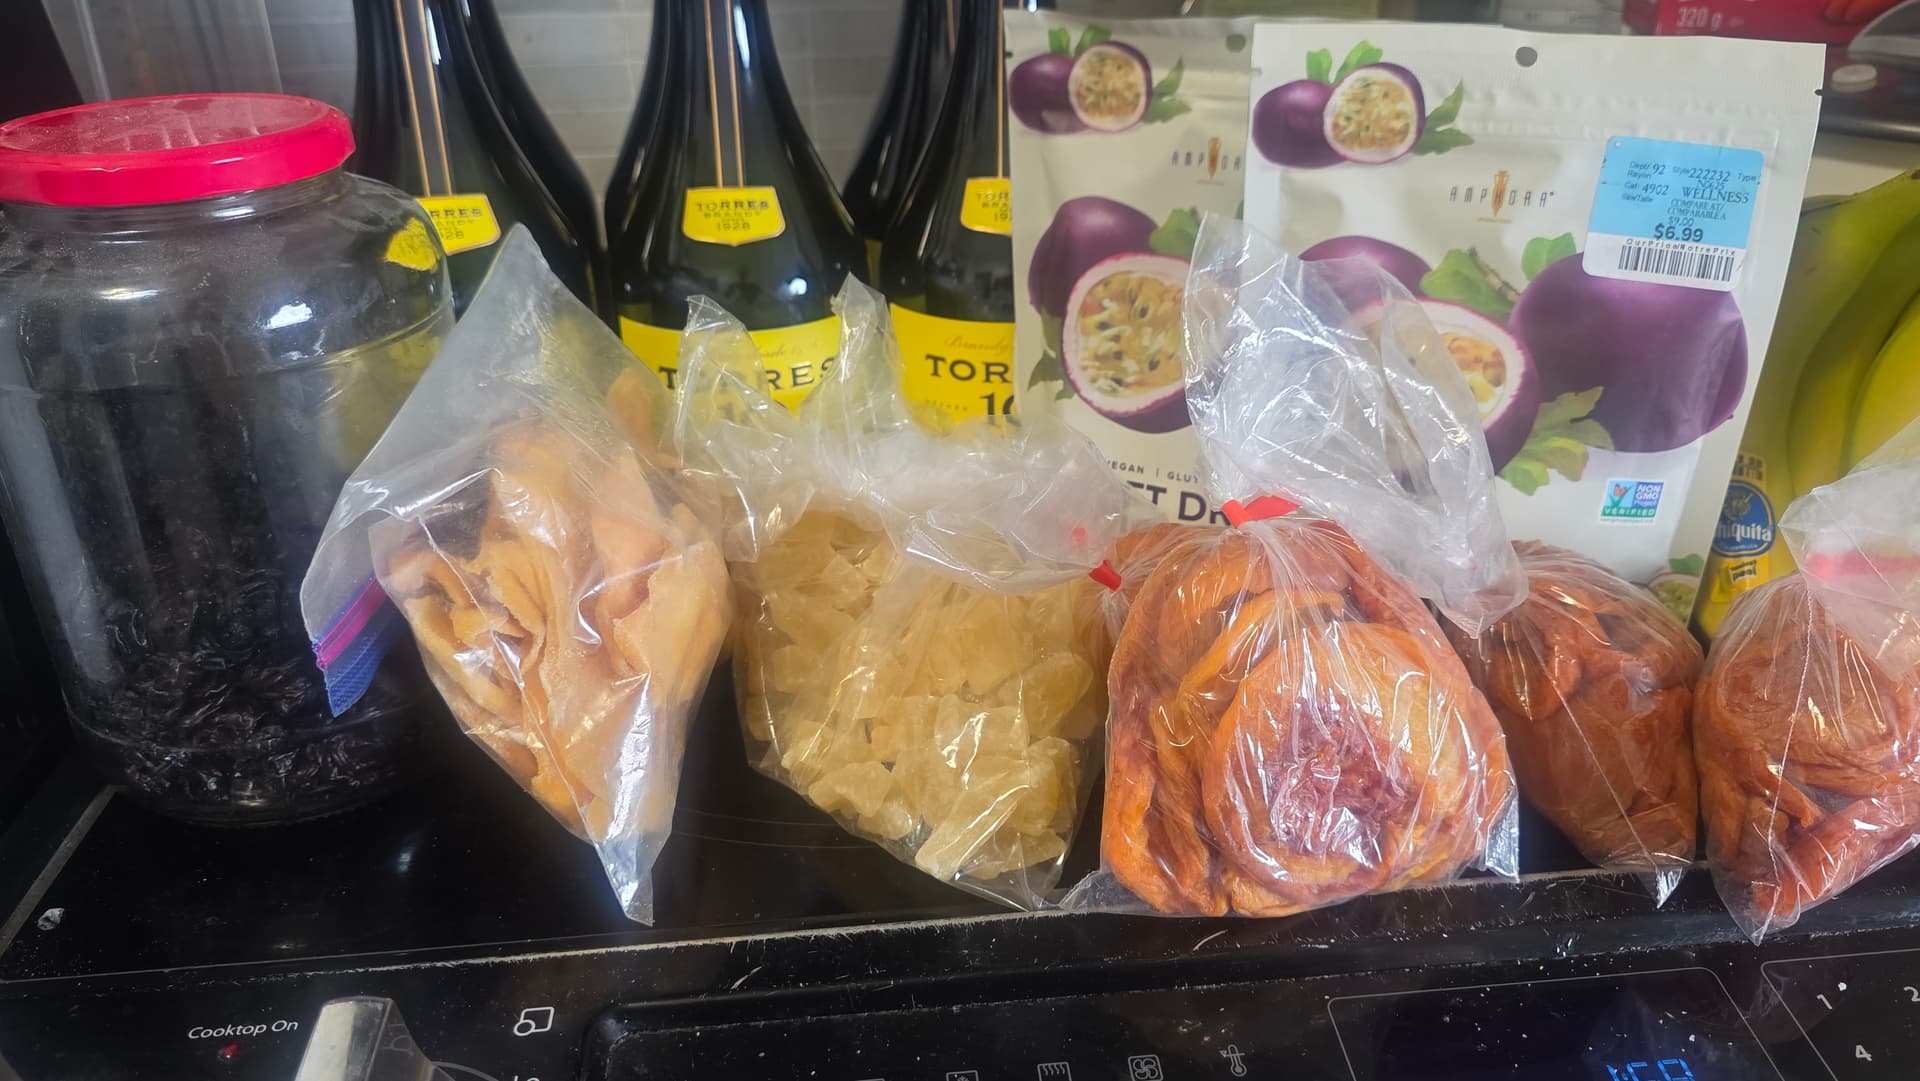
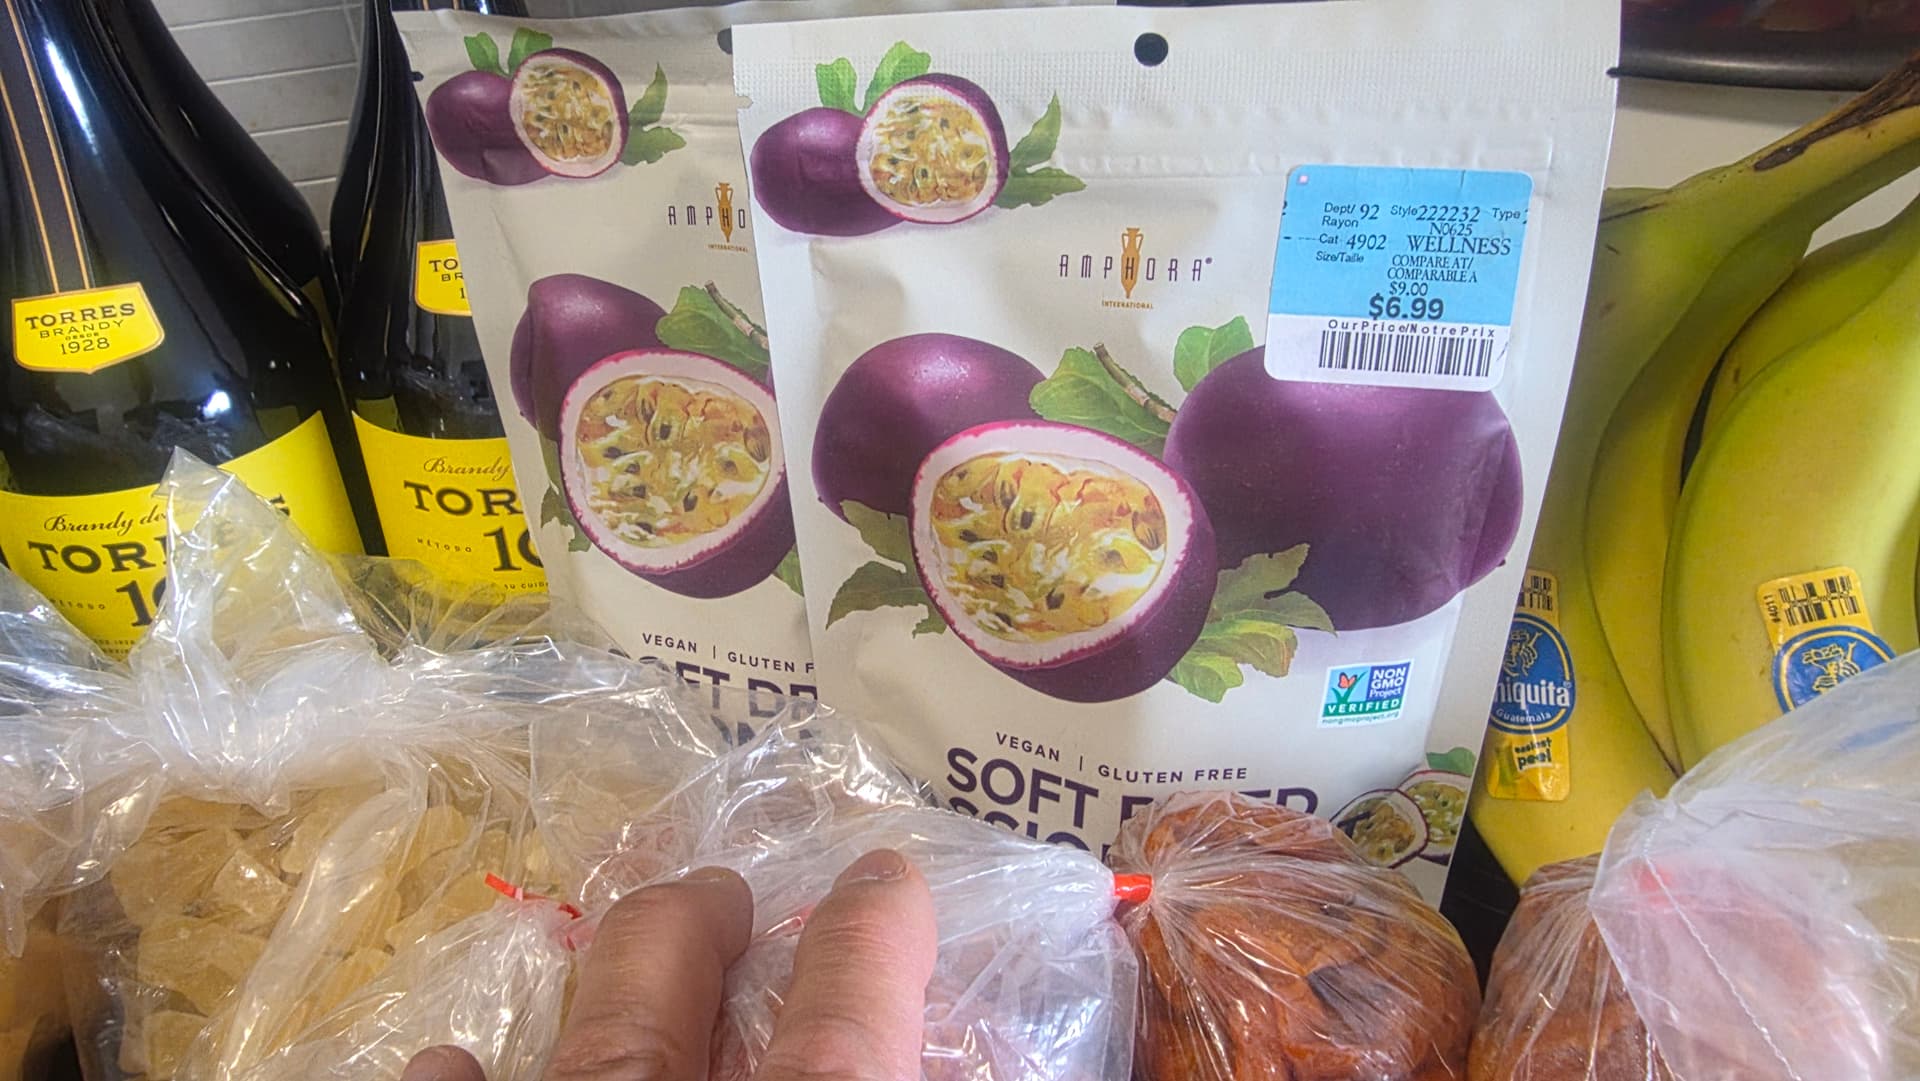
No raspberries this time around as I was unable to find dried, micro-dried or freeze dried raspberries.
As you can see the fruit was all settled at the bottom and the sugar was partially undissolved at the start.
Midway through the process, the fruit started to float to the top of the mixture and the sugar completely dissolved.
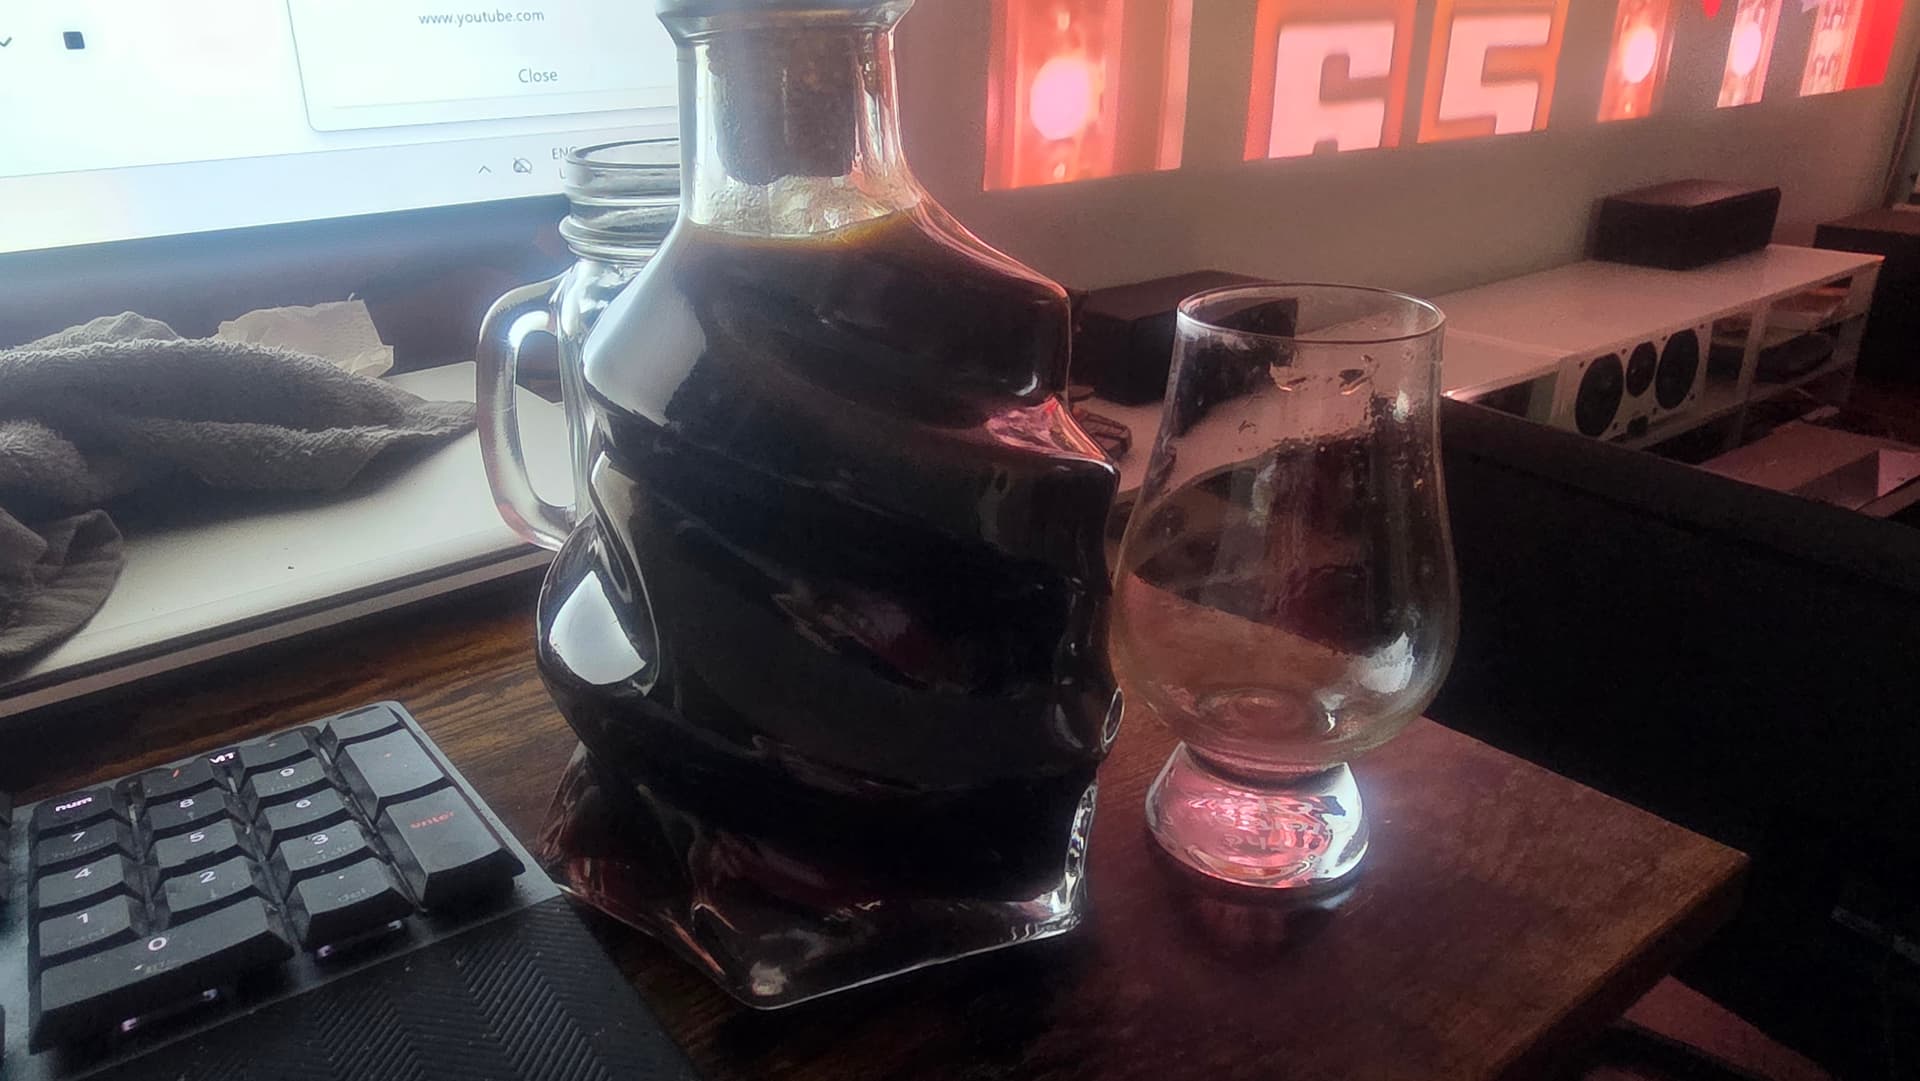
The macerating fruit has swollen in size, lost structure and completely given up almost all of its color in some cases.
I’ll come back to this thread tomorrow when I bottle the spirits. Enjoy for now!


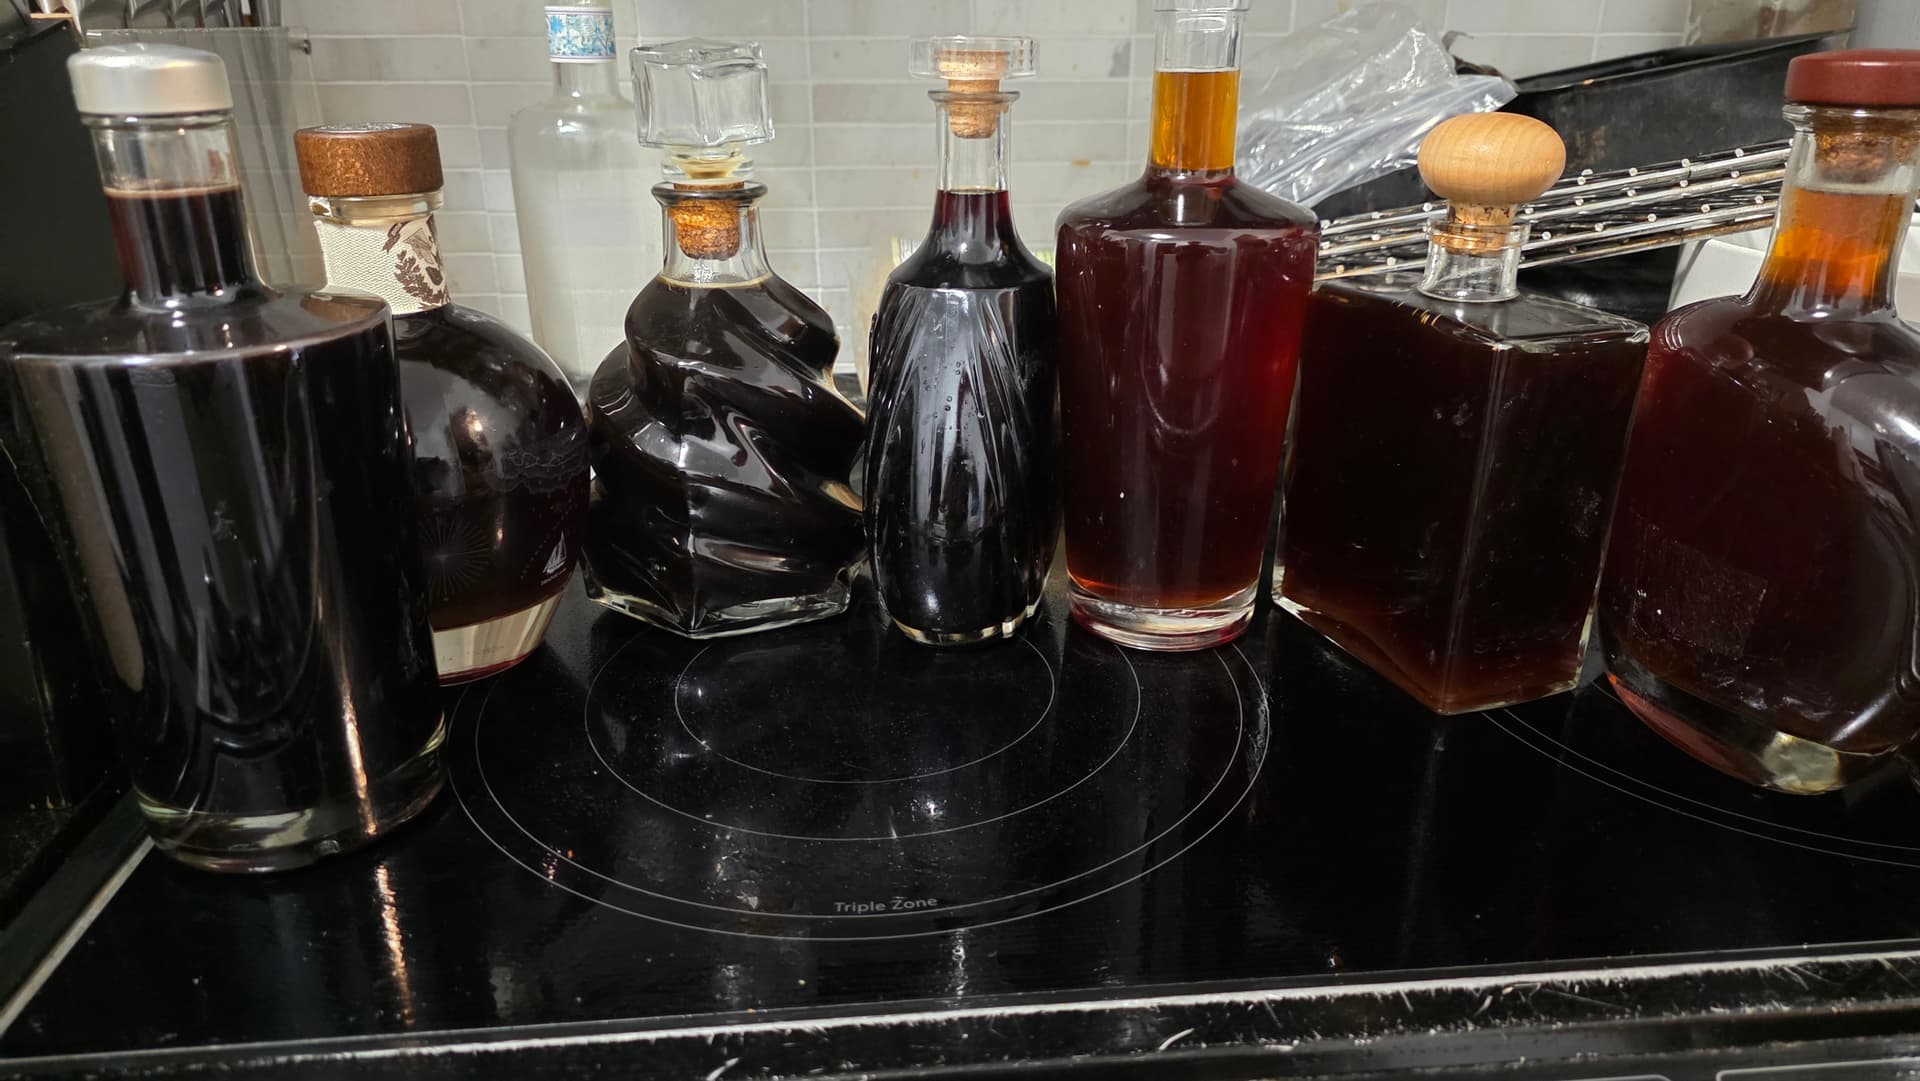
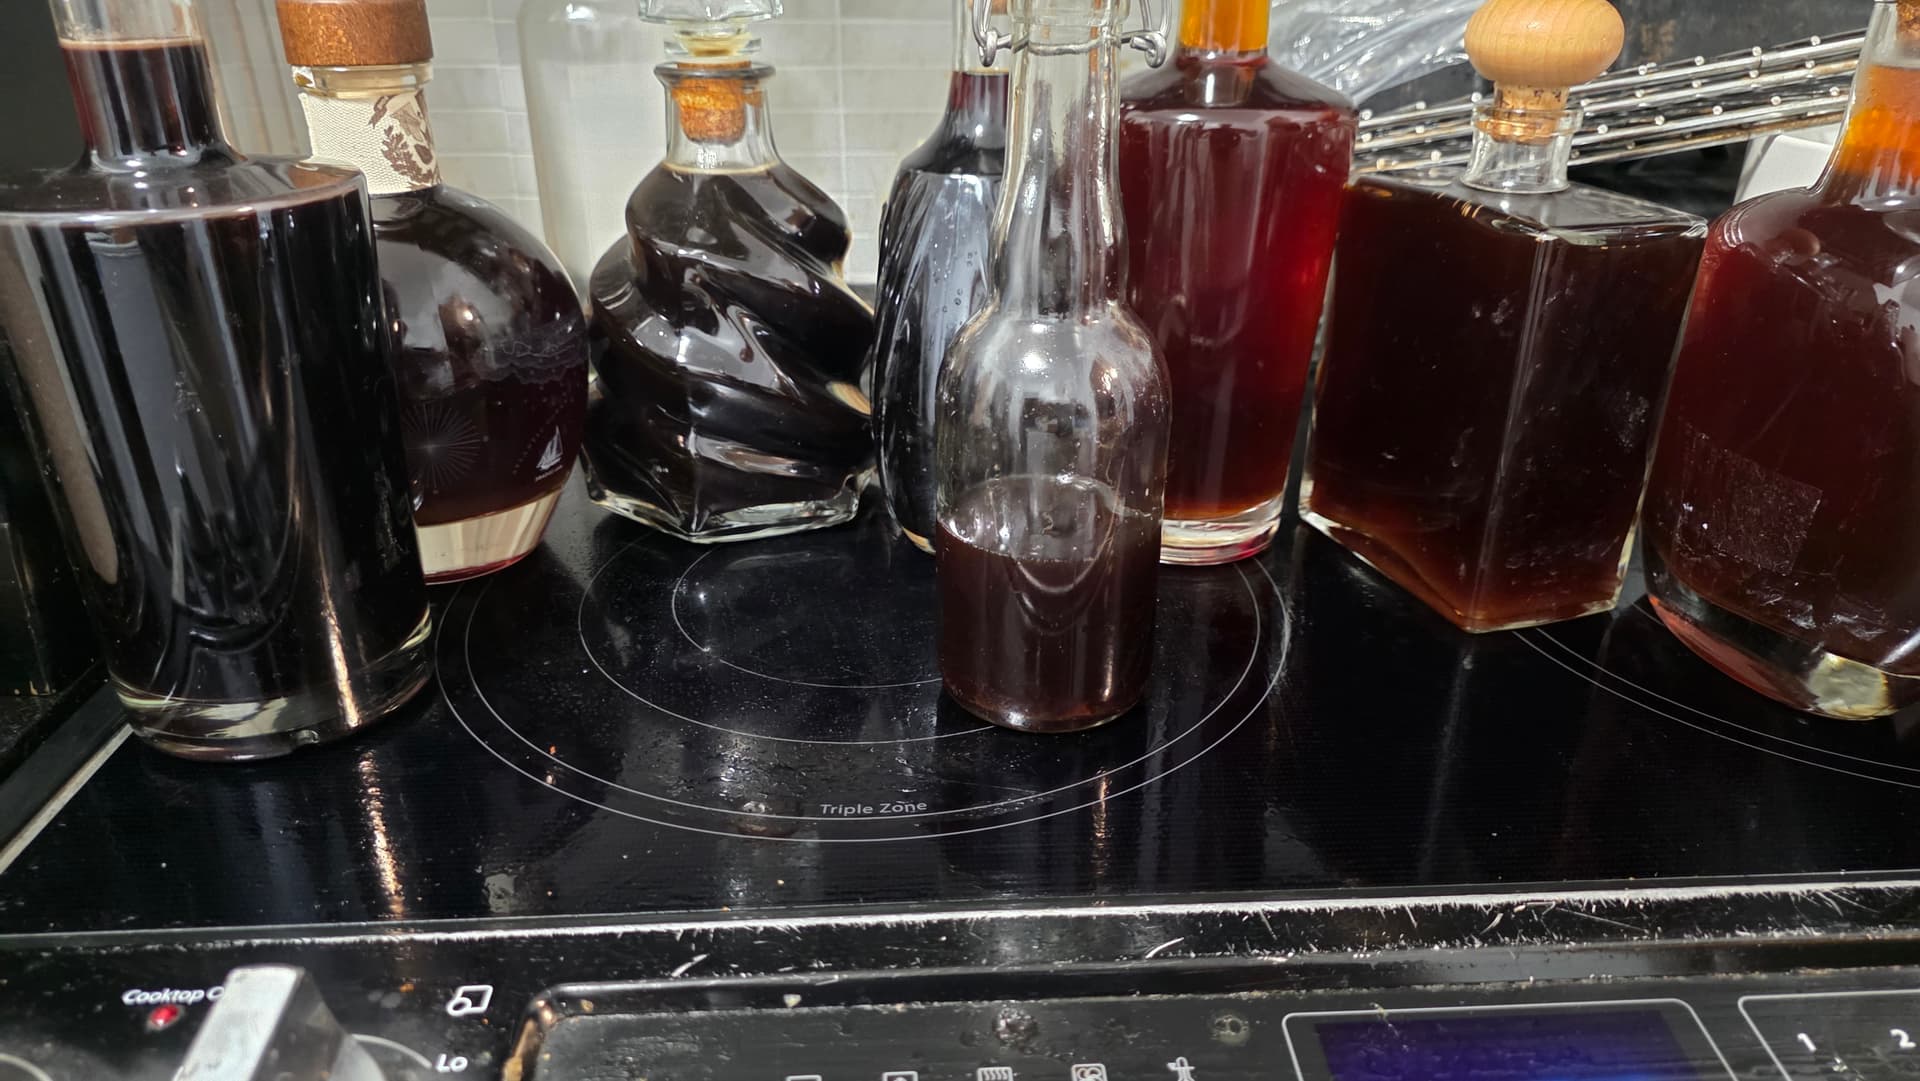
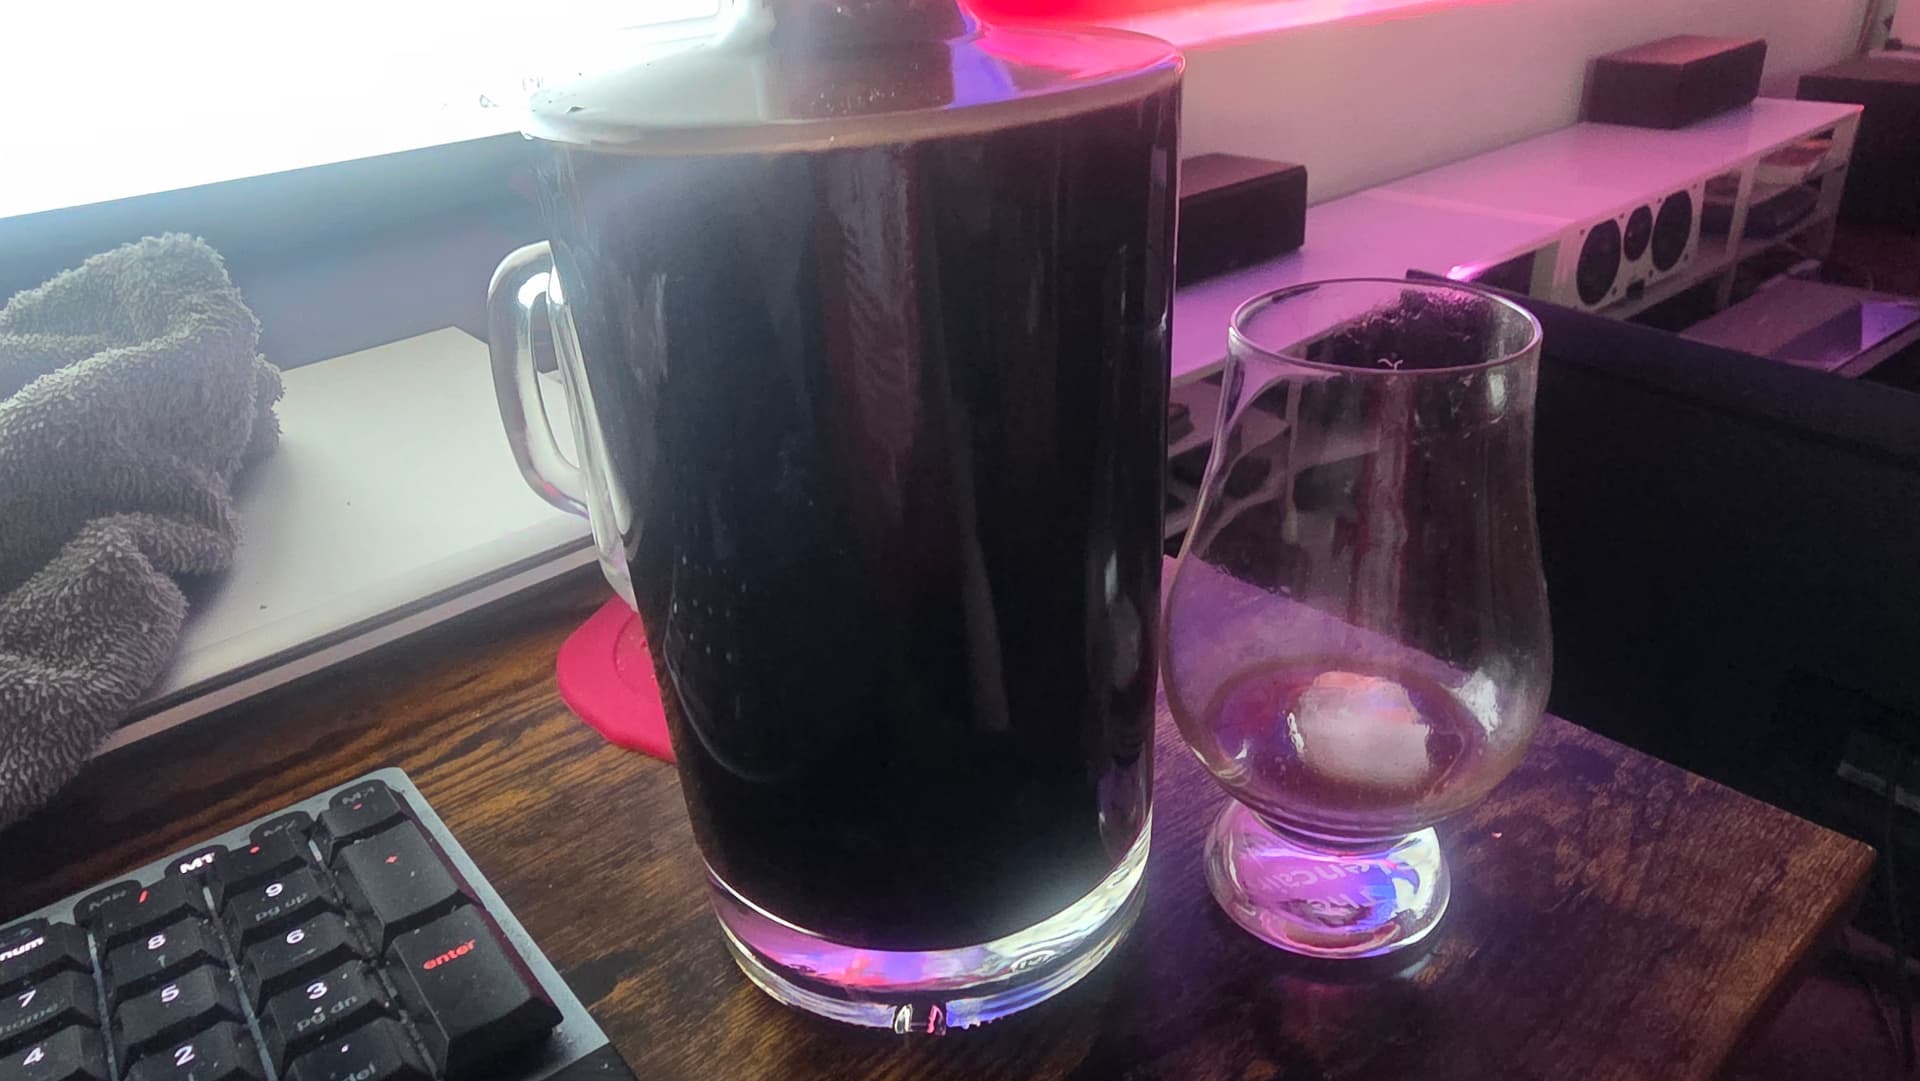
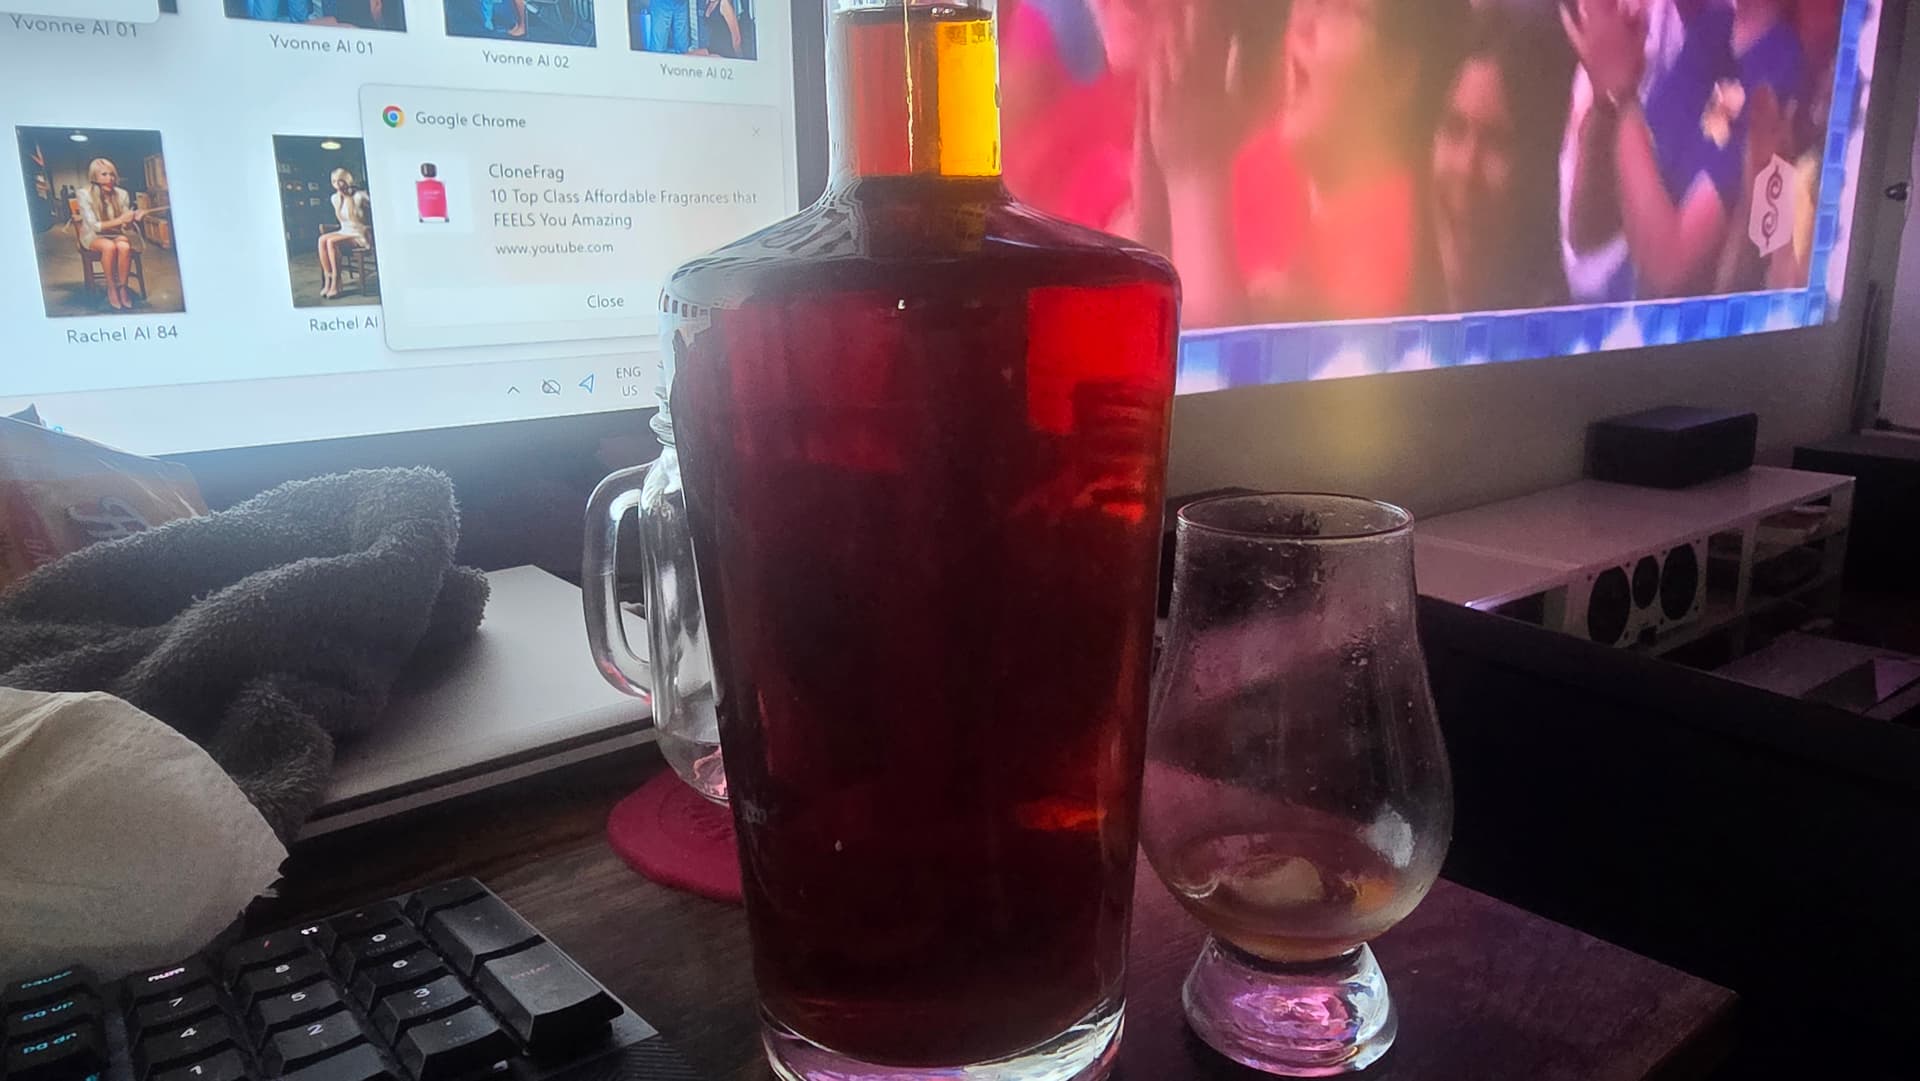
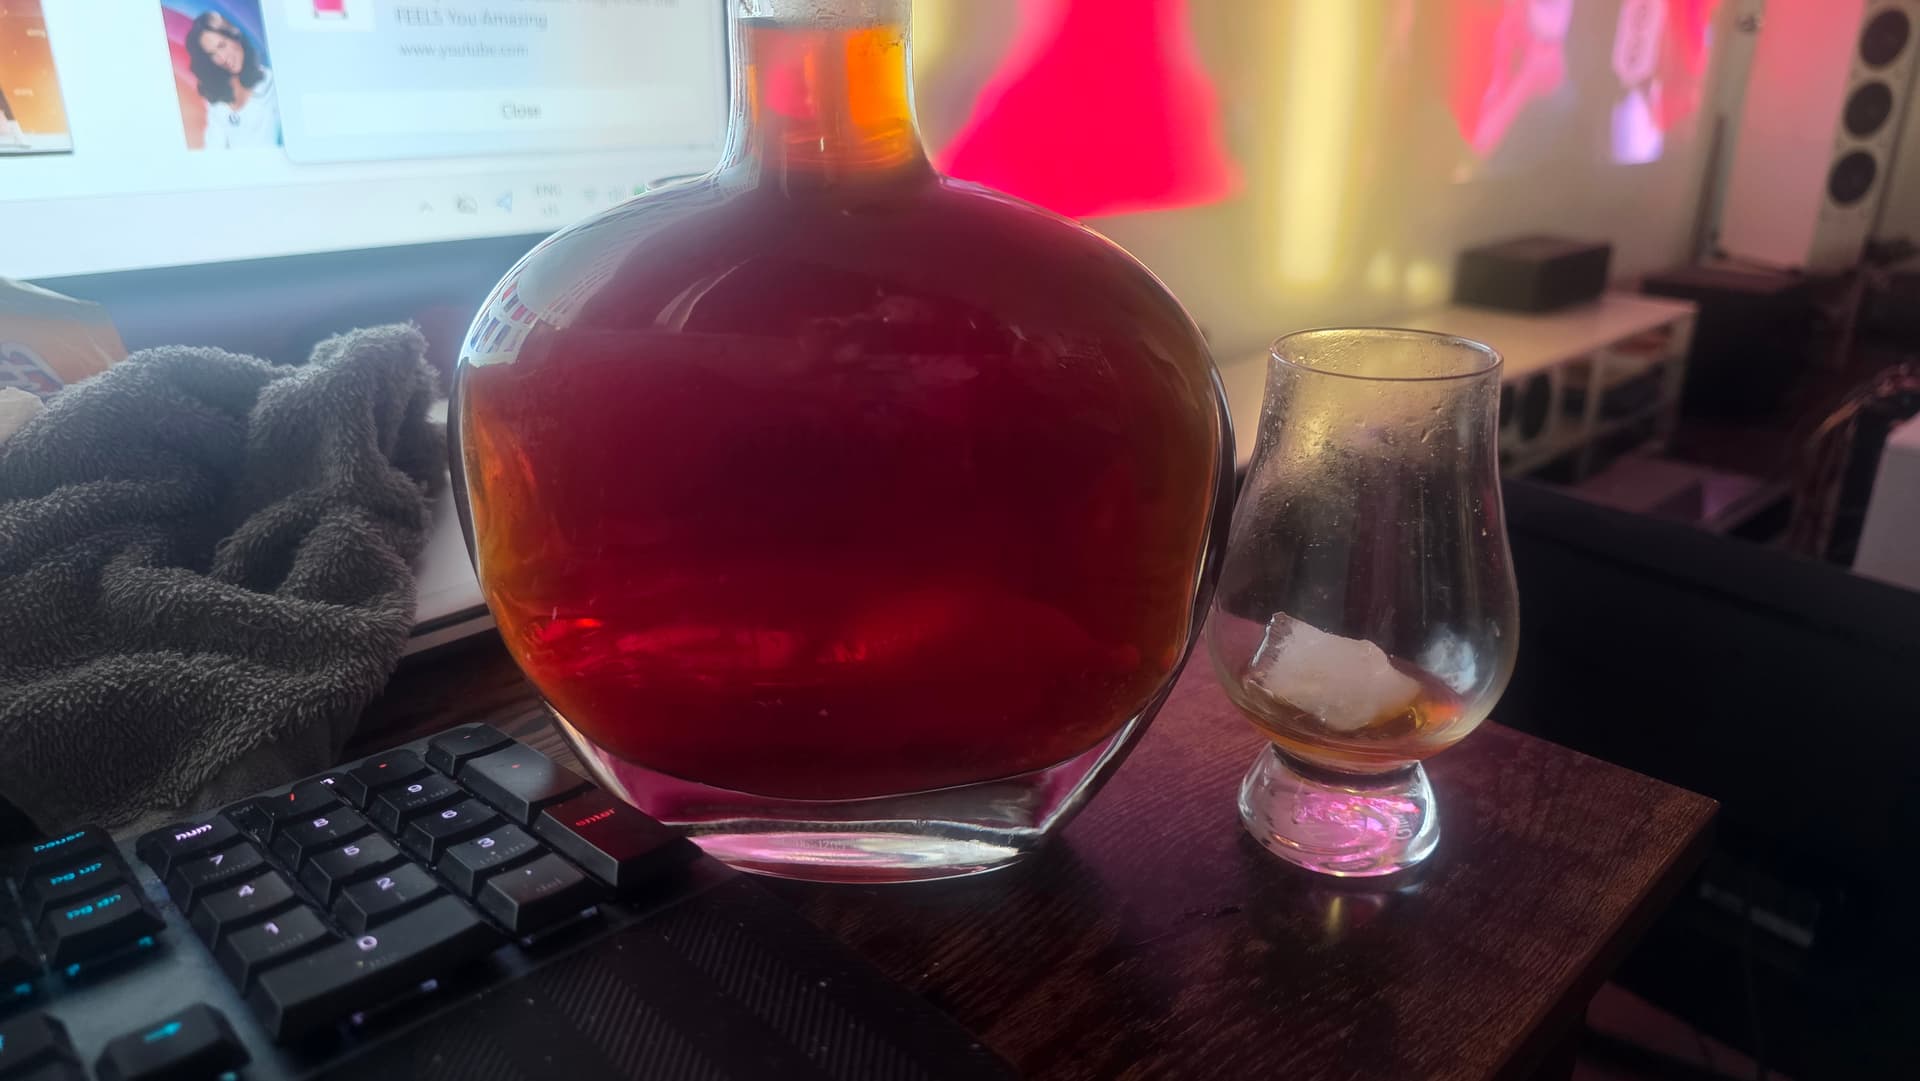
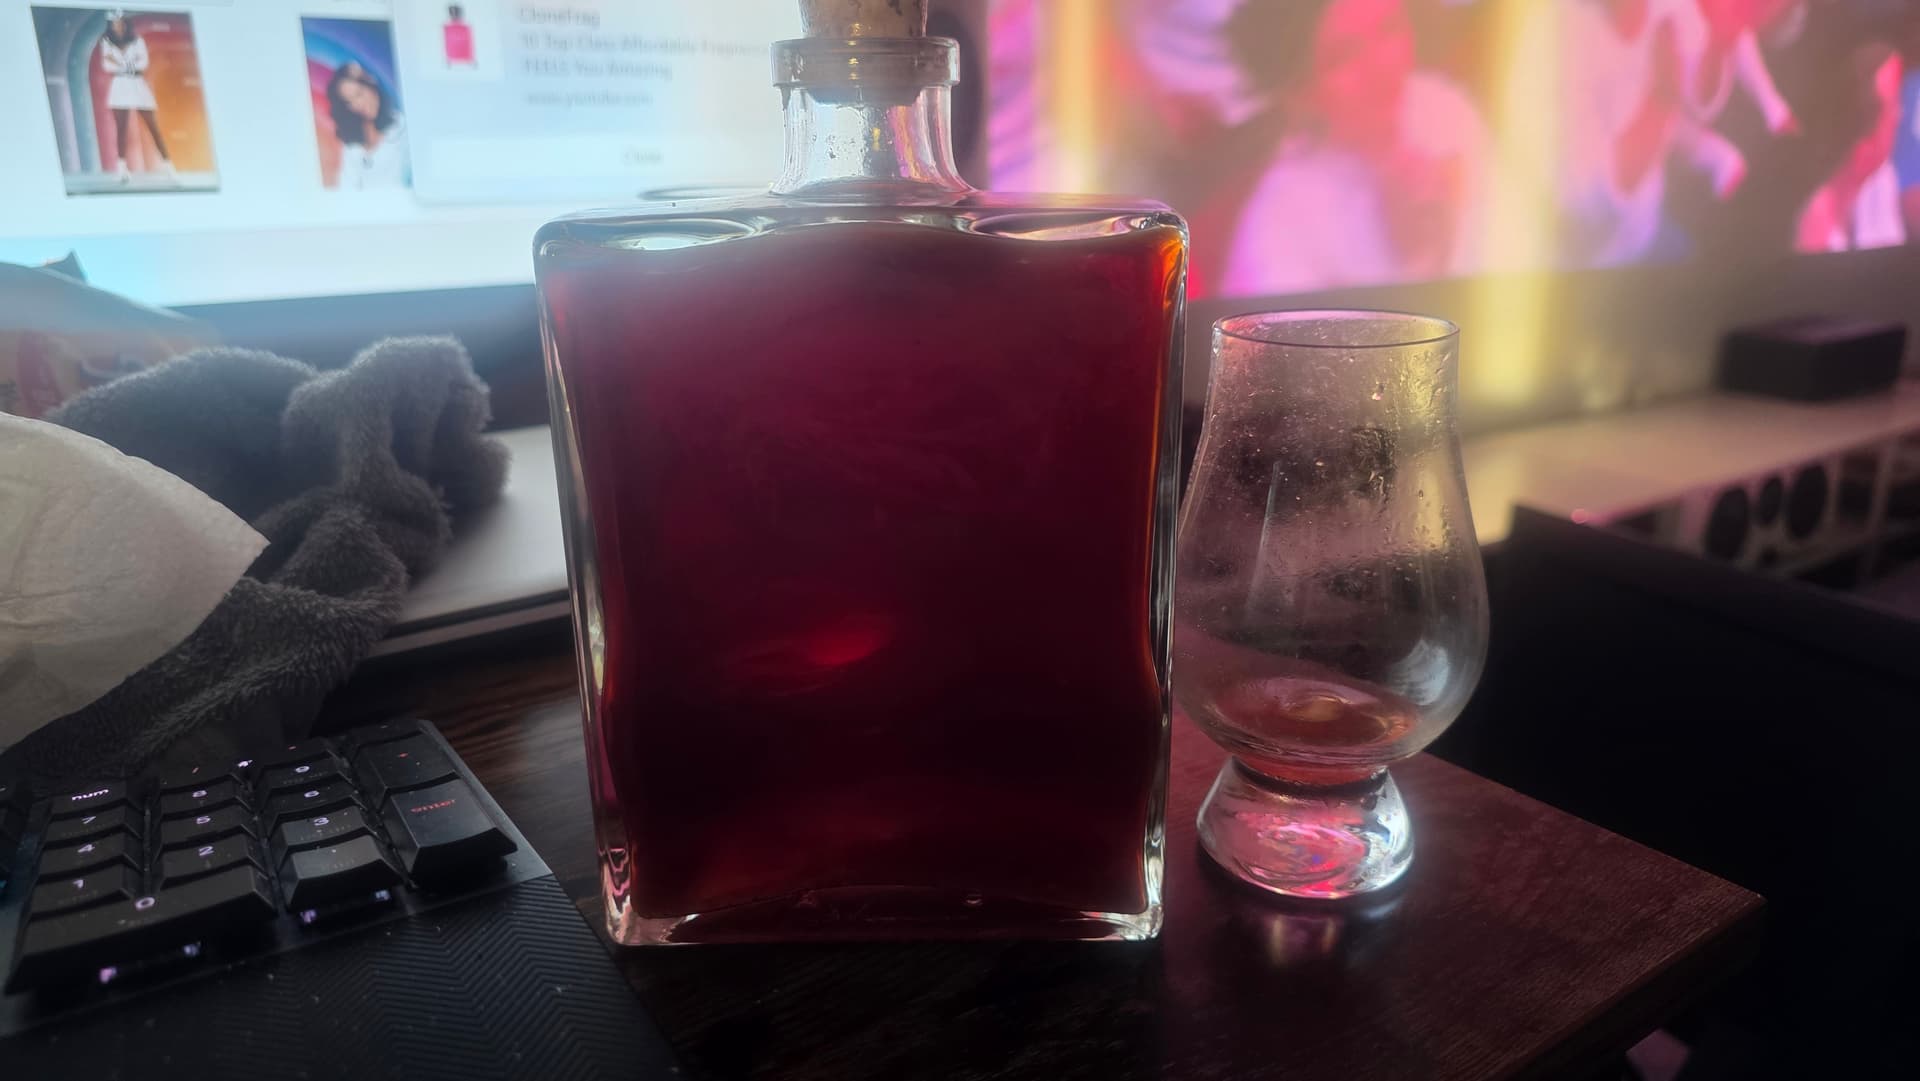
 Notice that each bottle is quite cloudy, the particulate matter has not settled out yet in the fresh bottlings. The liquid will become more translucent as it does.