Wow. That’s really turning out very nice.
I may have to try that myself.
Thanks.
Thanks, Matt.
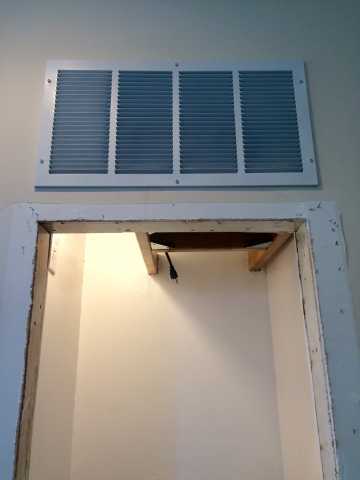
I’ve been pretty happy with the results thus far, though I must caution that the limited space has made most of the construction a royal PITA due to the fact that I had to install the cooling unit support beams before the walls went up. Also, I’m afraid I jumped the gun on the tile flooring. Wishing I had researched this sooner, I’ve realized that my subfloor is rather uneven particle board that is far from ideal for setting cement tile board over. Thankfully, I only dry-fitted the board so I quickly yanked it out and am now set on installing cork on the floor. I have applied generous amounts of polycrylic sealer to the particle board subfloor for moisture-proofing. I have also removed the rubber shower liner I installed on the floor. The new plan is to install cork or reclaimed wood from broken-down wine cases. Unfortunately, I still have the extra liner in the finished ceiling which I pray doesn’t lead to a double-vapor barrier moisture problem in the future. If it becomes an issue, the worst-case scenario is cutting out the small ceiling section to install new drywall. Hoping a very thick door with an air-tight seal will prevent moisture problems down the line.
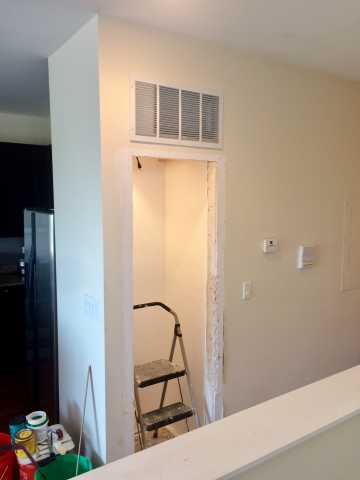
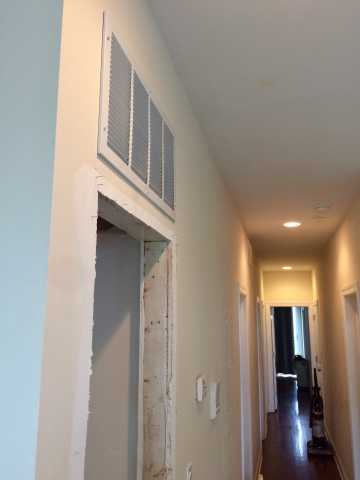
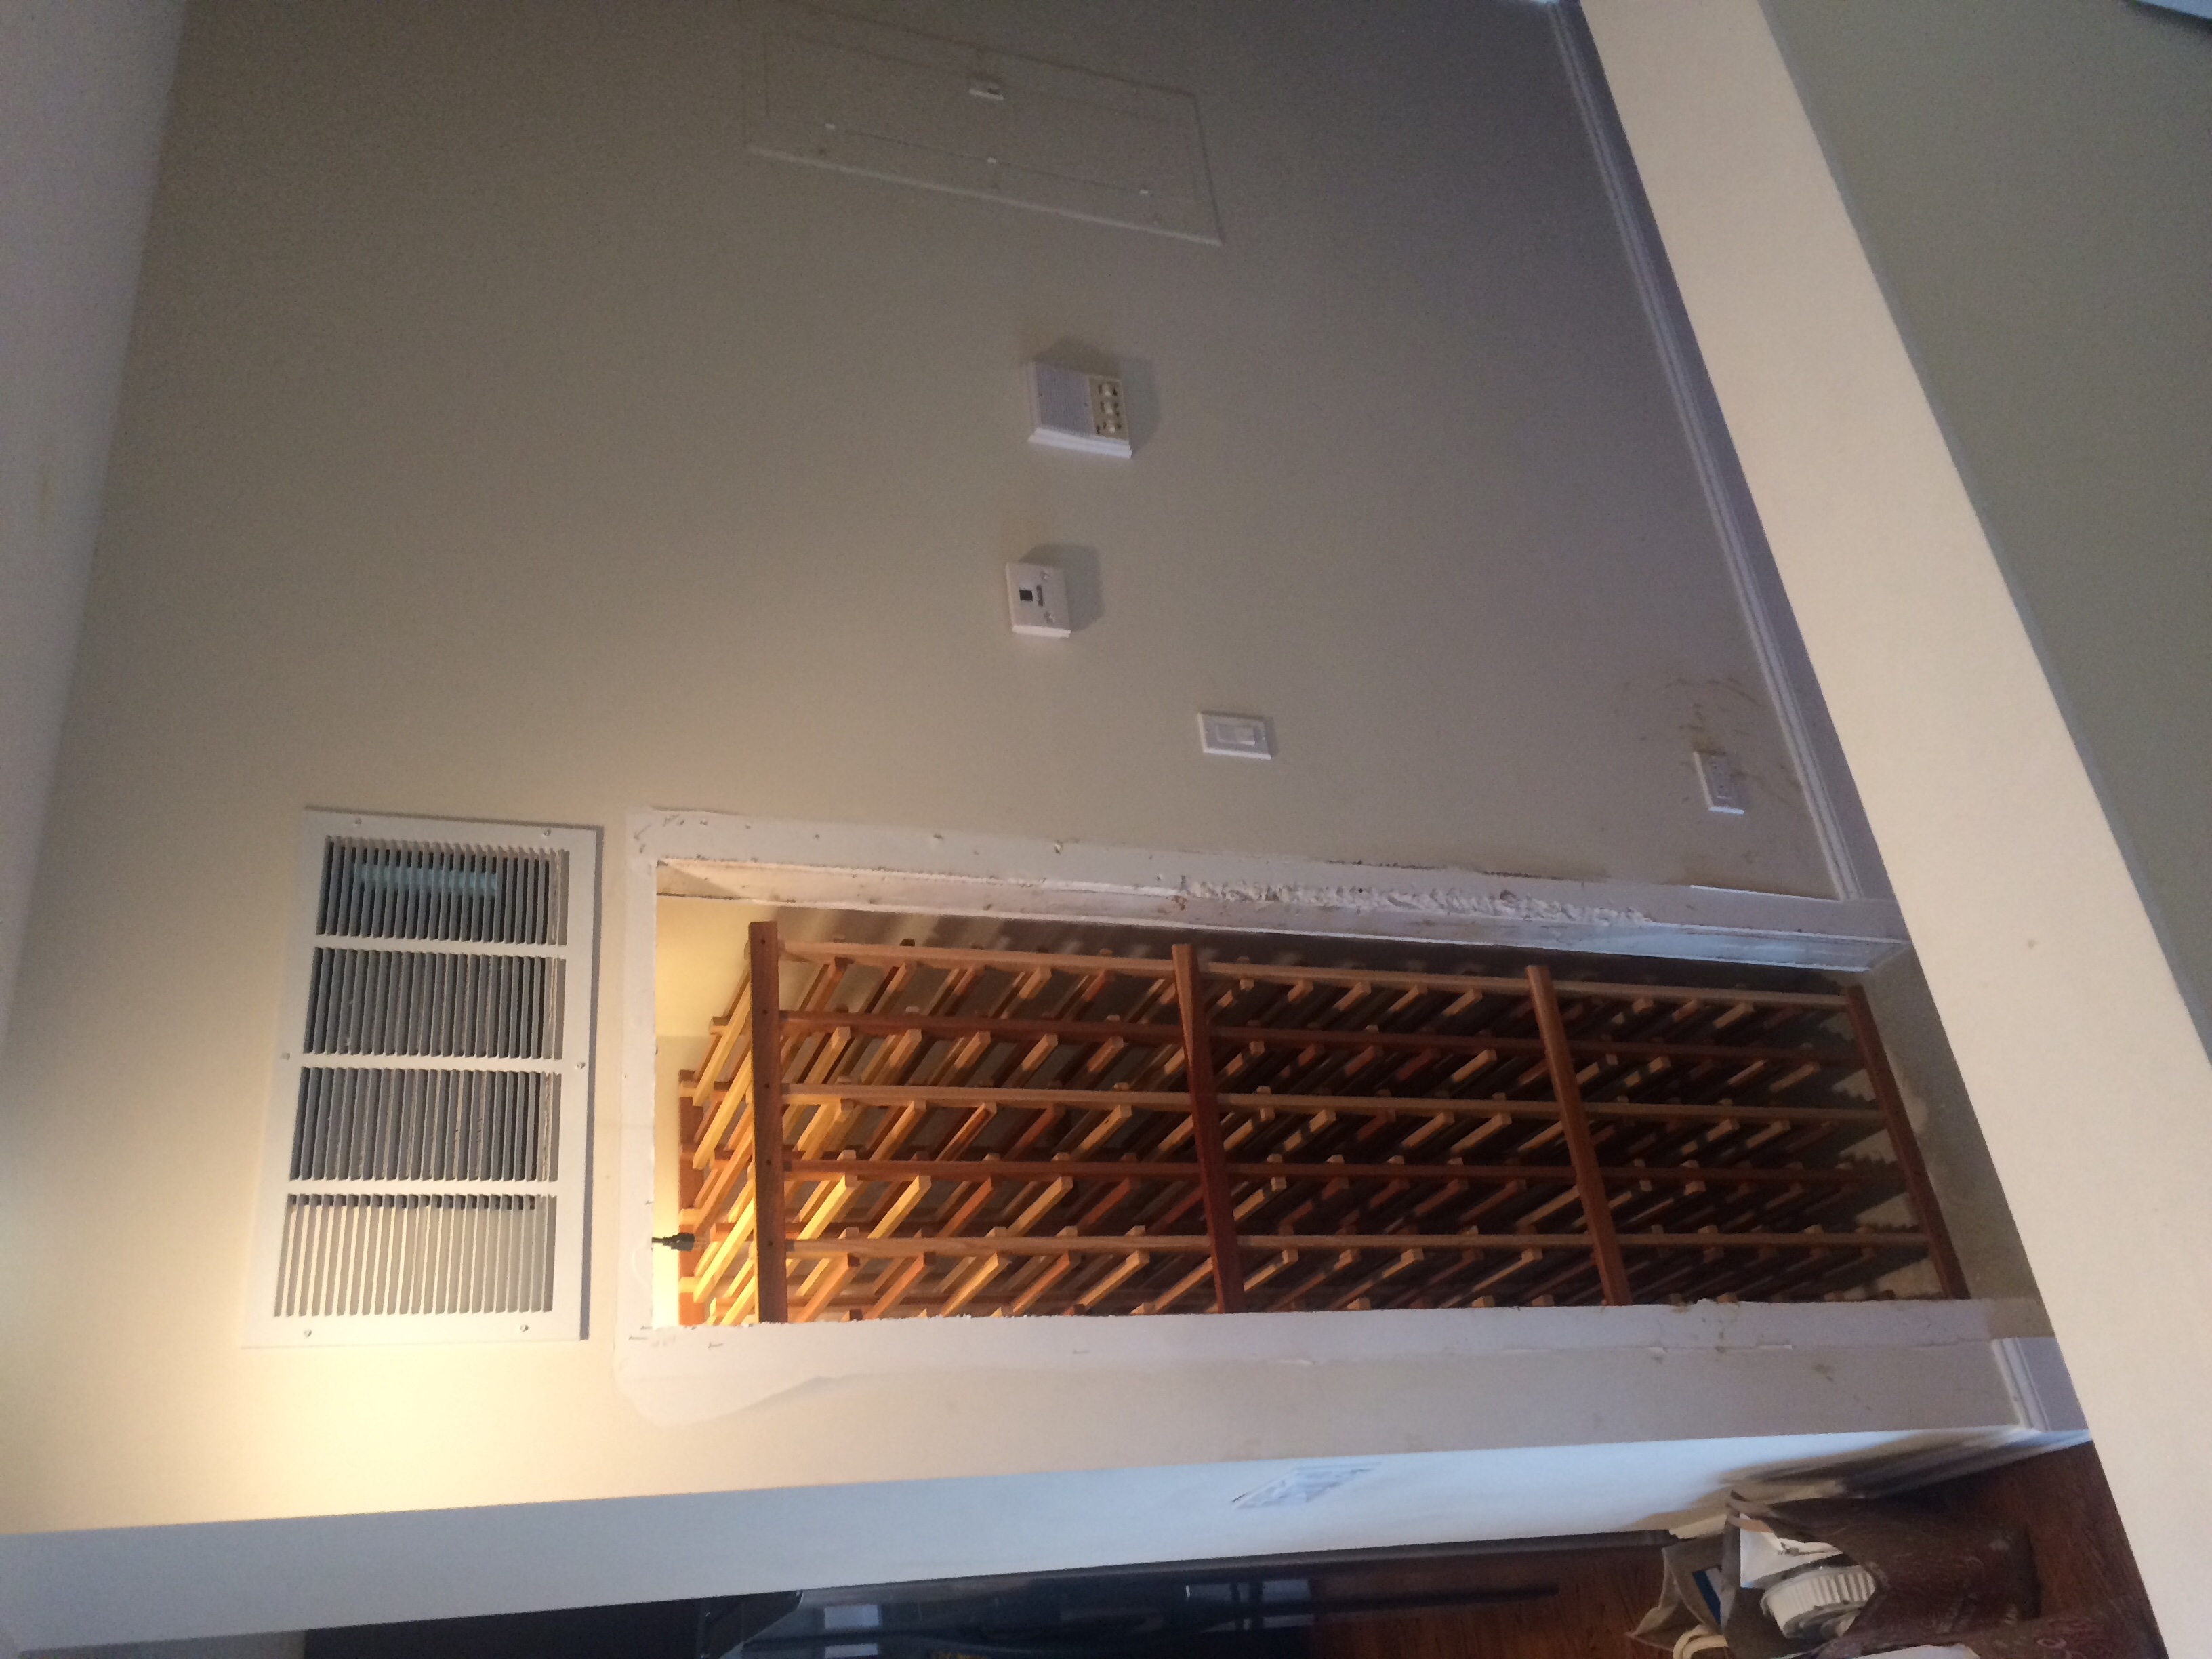
Very pleased with the look of the exhaust cover I installed today. Struck out at Home Depot. Luckily, Menard’s had the exact shape and size I was looking for.
![]()
Also, I decided to pick up a lot of 6 various wine case panels for my flooring on good ol’ eBay. Any insights on how to best install these would be greatly appreciated.

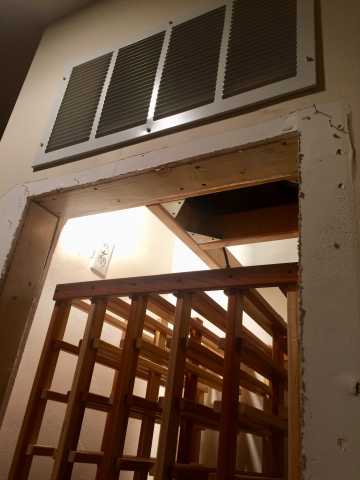
Sadly, I had to cut two columns off my racking yesterday to ensure an easy fit through the doorframe. That said, I’m quite pleased with the asthetics. Plus, I have the piece of mind that comes with being able to easily remove the racking if need be.
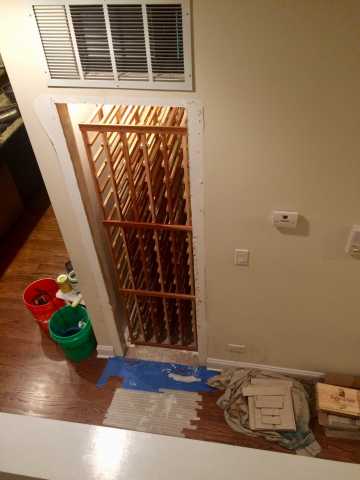
Looks clean! Plus storage for big bottles or case boxes on top.
If you factor in the size of the yet to be installed door casing you may find that your racking is permanently installed.
Nice job!
So…after much procrastination, I’m finally nearing the end of our cellar project. After racking my brain over how to do the floor, I decided that tile was a poor option due to too small a height differential between the plywood subfloor and the finished hardwood in the hallway. This would’ve caused a noticeably higher finished floor in the closet, concerns over the future cracking of tiles given a less than level subfloor, and what I ultimately decided was a “dated” look.
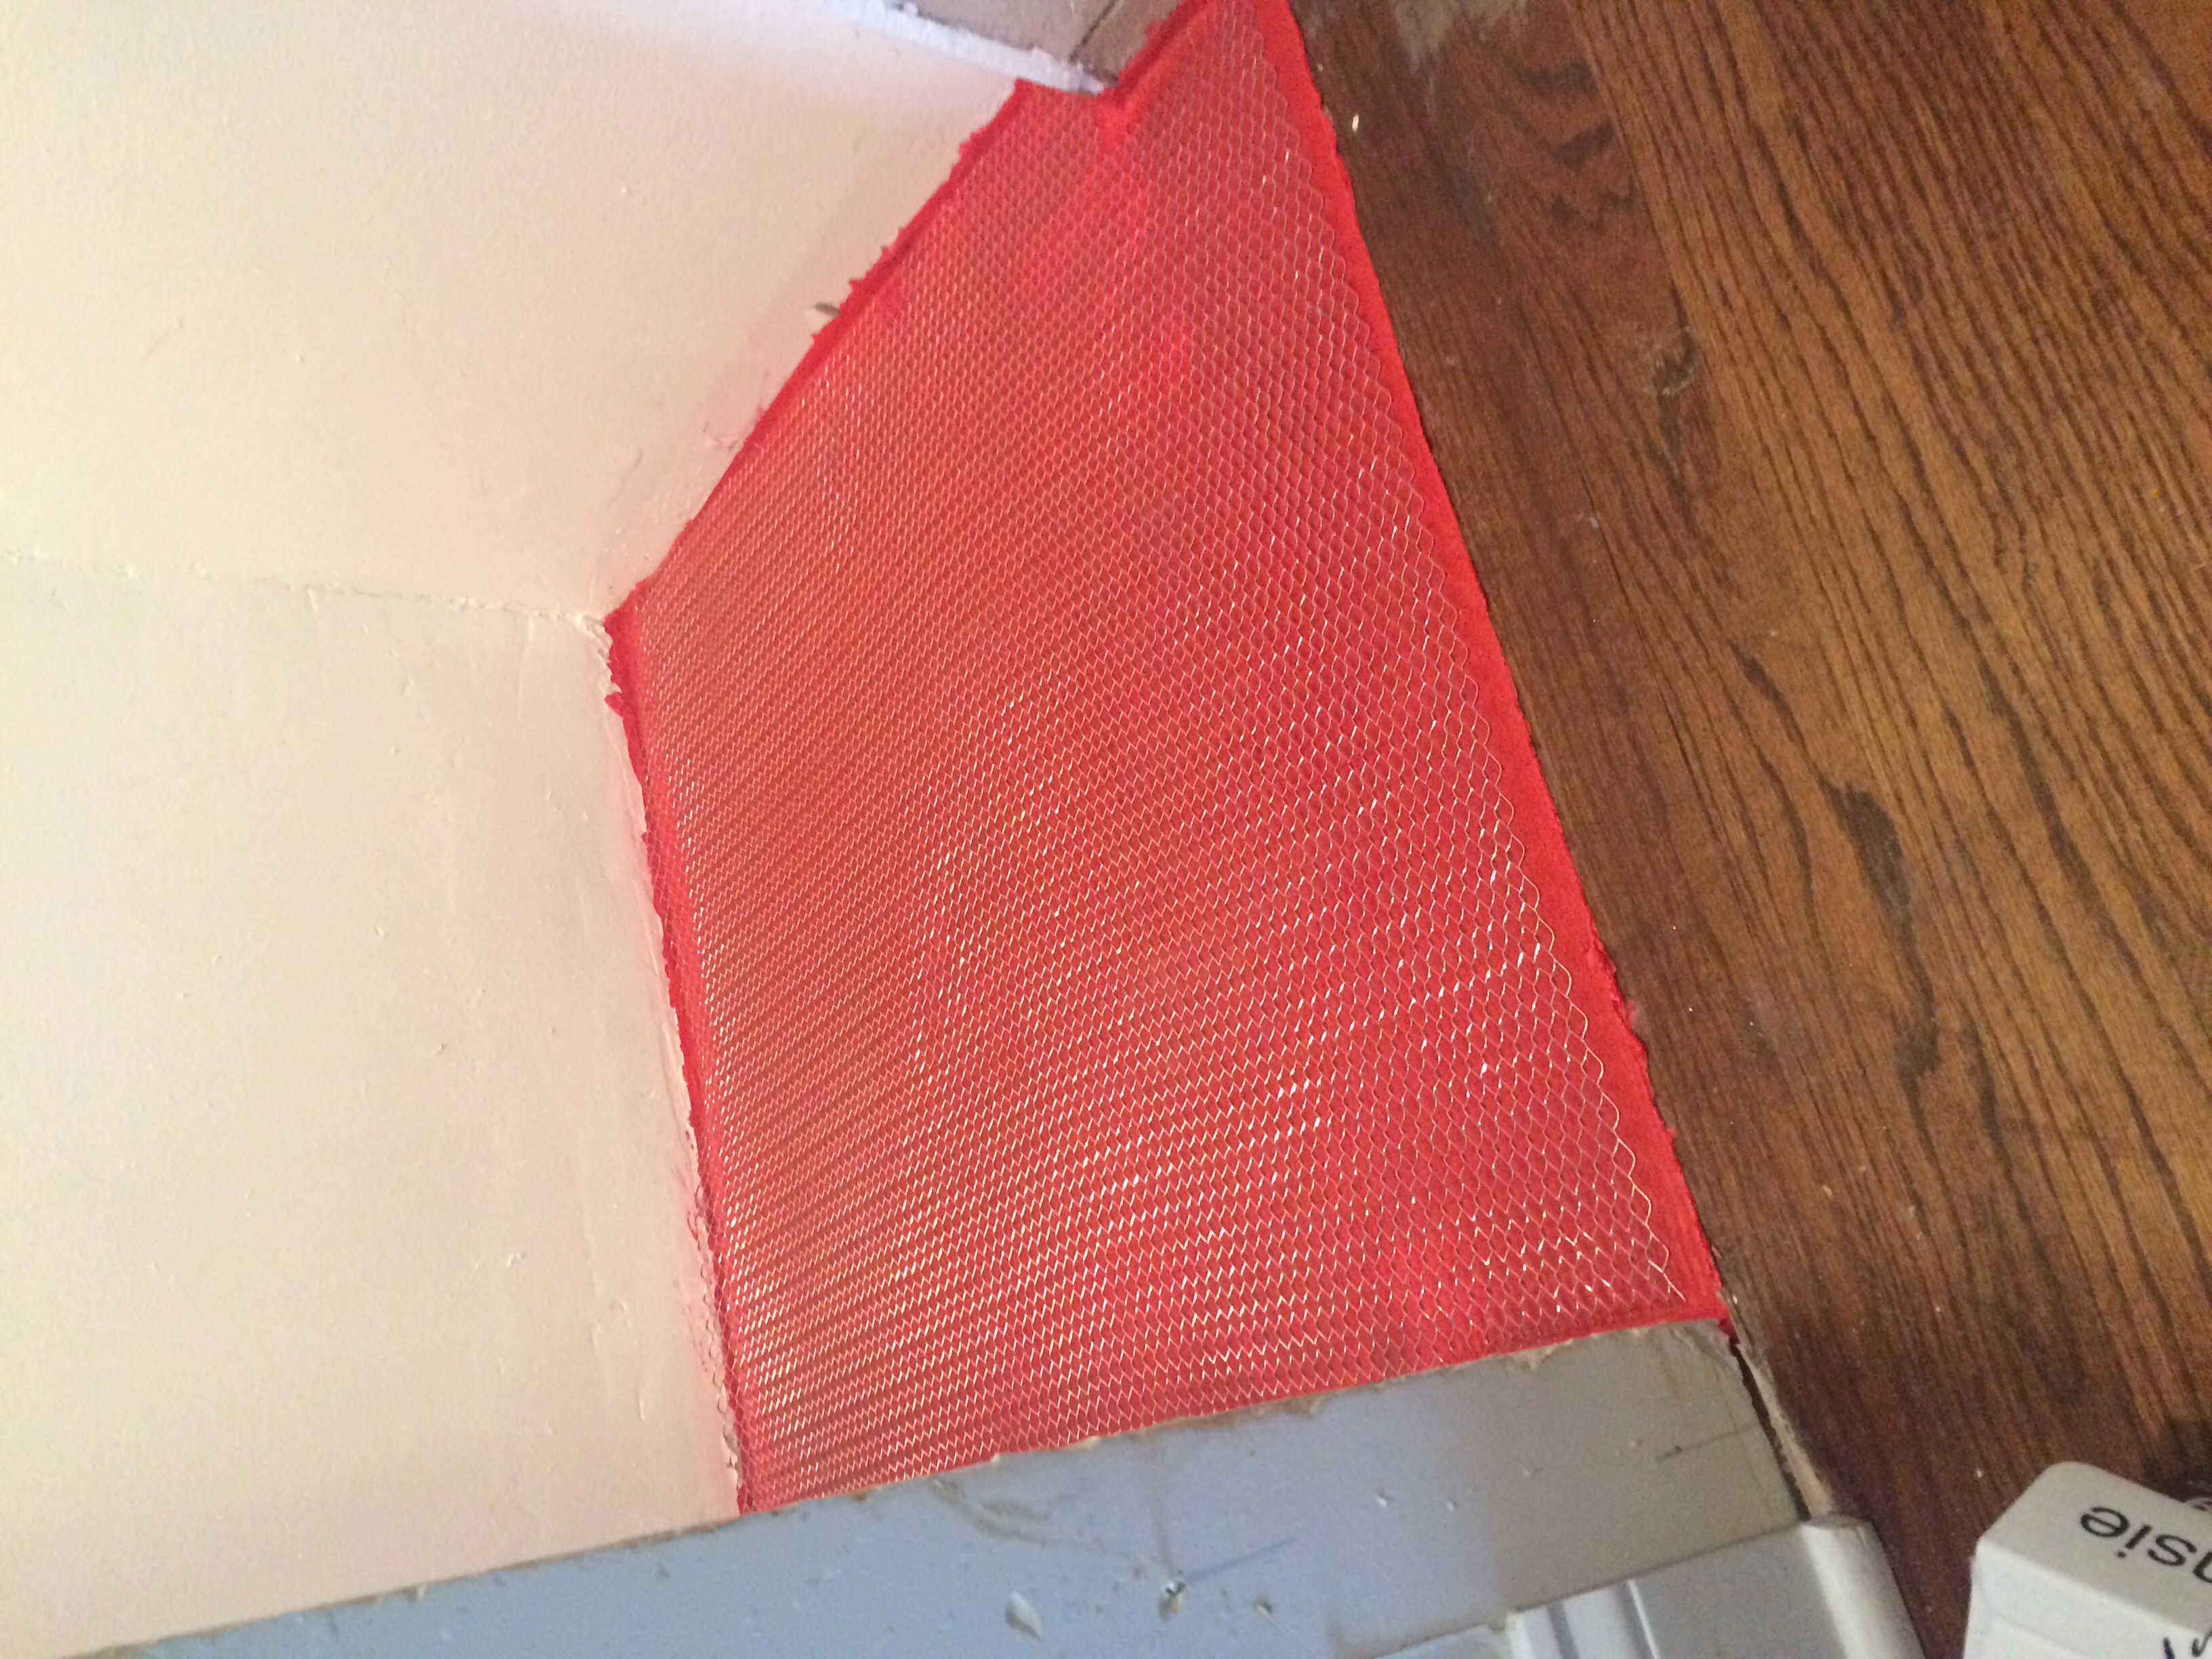
After tons of research, I decided my best flooring option was to liberally apply layers of Red Guard waterproofing membrane that doubles as a certified vapor barrier, over which I laid a metal lath and self-leveling concrete to ensure the floor was 100% flush with the hardwood it borders.
Although the r value of the floor is virtually non-existent, I appreciate the fact that vapor can flow freely in and out of the concrete, while being 100% stopped by the Red Guard. Pictures to follow, apologies in advance for their crappy quality.
Photos of the dried layers of Red Guard vapor barrier and self-leveling concrete floor:
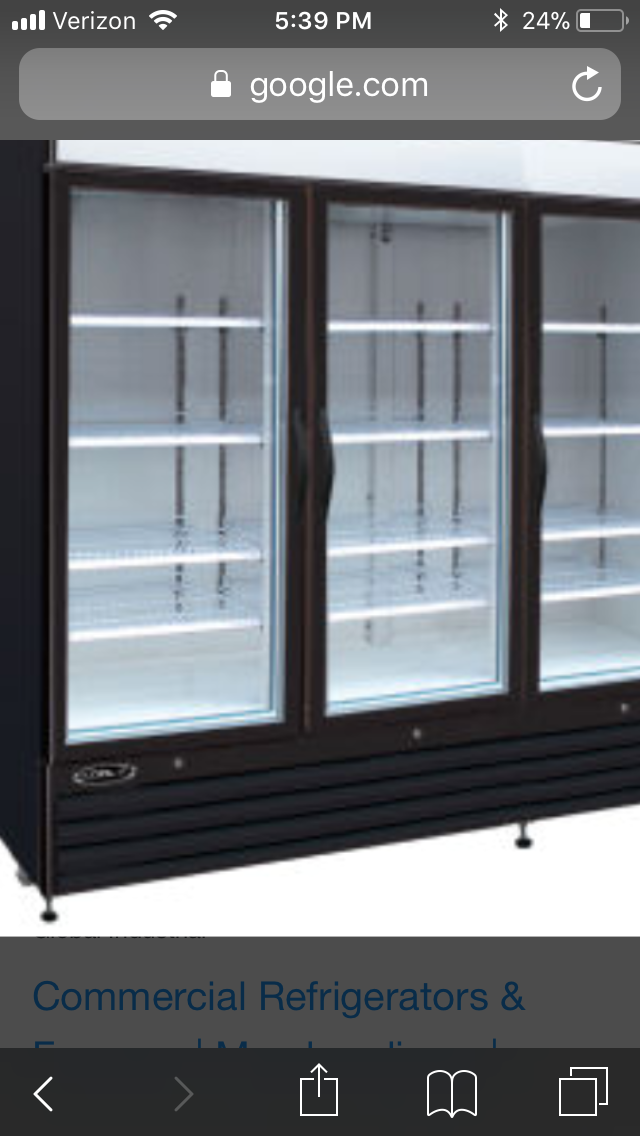
Another factor that contributed to the lengthy delay was my prolonged inability to find a maker of custom glass doors that are well insulated, and provide a truly air-tight seal. Luckily, a gentleman working at Hines lumber was able to refer me to a suburban Detroit company called SRC refrigeration that deals with commercial grade glass doors for commercial food, beer, and wine coolers. With their help, they are currently making us a custom door from Anthony International’s “101 series”. The door is slated to be finished mid January, where it will then be shipped to a local Chicagoland company called CSL Climate Control, who will professionally install the door. While the door with installation is going to set me back a small fortune, I will sleep well knowing it is double paned, virtually shatter-proof, filled with argon, and of a sleek modern design. Also, I’m proud to say I have constructed every part of this cellar myself with the only exception being the installation of the door.
Stock photos of our soon-to-be-made door in stainless and black finishes:

since the final product is going to use what looks to be a wine fridge door… i’m just wondering if the cash spent, plus equivalent dollars in your time invested… could you just have bought a 180 bottle VinoTemp or Similar and stuffed it in that closet? Yes the door opening would be smaller than the unit, but based on your skill of demo and rebuild you could have widened the door for entry and then just rebuilt it around the unit. I have been reading your build all along and love it. but when i saw the glass door it just made me think “so he just created a VinoTemp 180 in his closet”.
Perhaps, but I don’t think the finished product would’ve been as aesthetically pleasing. Plus, I’ve heard too many horror stories of fridges going kaput and needing full replacement. If my cooling unit goes at some future date, I’m only out about $1,200 for the unit.
Do you have a finished pic?
As this was an enriching and at times frustrating experience, I decided to compile a brief and approximate list of my material costs to build this cellar in hopes that it gives others better insights on what is to be expected if undertaking a similar project. While building in such a small space proved challenging, it is certainly possible if you’re commited to making it work.
Miscellaneous wood beams, screws, and supports: $60
Drywall, drywall screws, mud, tape: $200
Miscellaneous hand tools, power drill, gloves, protective plastic, body suit, respirator: $250
Electrician costs (moving light + bringing in dedicated circuit): $500
4 rounds of closed-cell foam: $1,200
Wasted tile, tile cutter, grout, mortar, and Durock cement board: $100
Metal lath: $10
5 gallon bucket of Red Guard: $150
50lb bag self-leveling concrete: $35
Wine rack + moving costs: $330
Cellar Pro Cooling Unit: $1,200
Anthony International custom Width Series 101 door: $1,040
Professional installation of commercial glass door: $1,800
gas spent driving to Home Depot 100 times: $30
I’m not going to lie, that was a boatload of money spent on a mere 170 bottle capacity, but we’re more than happy with its functionality and looks. Now, we just have to live in the condo for 50 more years to recoup our costs.
![]()
let’s get us some finished closet cellar pics mark! thanks for all the detail!
Will do! As soon as the pros finish the door, I’ll be sure to include pictures of it both as empty and stocked to max capacity.
![]()
Soon! I’ll be sure to post more when it’s done in about a month.
Even though some times a DIY costs more, it’s the pride and joy that you did it yourself that makes it meaningful.
I would do this if I had the patience and know how.