Toilets. I have two now. ![]()
Thanks, man!
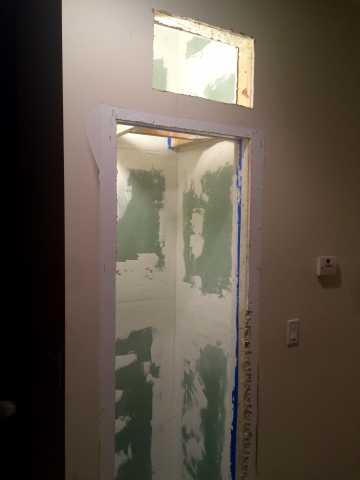
I’m happy to say I made some progress over the last few days. Can’t wait to finish the remaining greenboard and tile over my amateur attempt at hanging drywall.
![]()
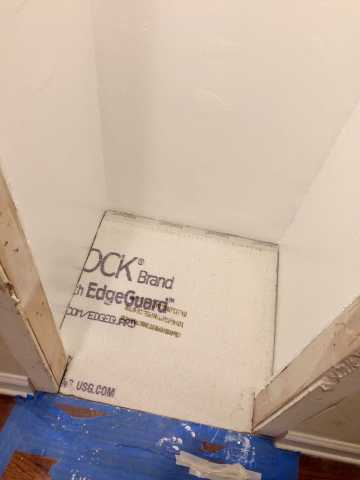
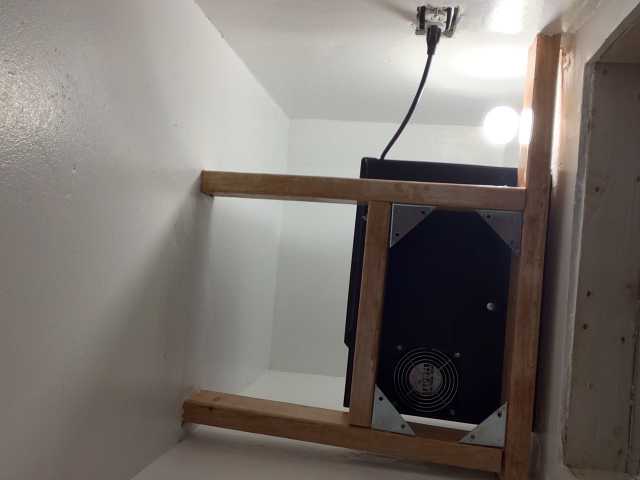
I also added some L brackets to my 2x4s and installed shower pan liners on the floor and celing for an added vapor barrier.

Did you get a city building permit for the project?
Code violations in un-approved, DIY construction may compromise insurance coverage, breach condo association rules, or affect a future condo sale.

Good question. Luckily, my condo is a self-managed four flat. I ran it by my neighbors before construction and they were totally cool with it. Since the cellar will only hold around 150 bottles once completed, I’m not going to worry about insuring it. As far as selling goes, I really hope I never have to sell the property. Our HOA allows long term rentals, so I’d probably go that route for some sweet cash flow. Honestly, my biggest concern is a drunk person falling off the roof.

My landlord has the same worry.
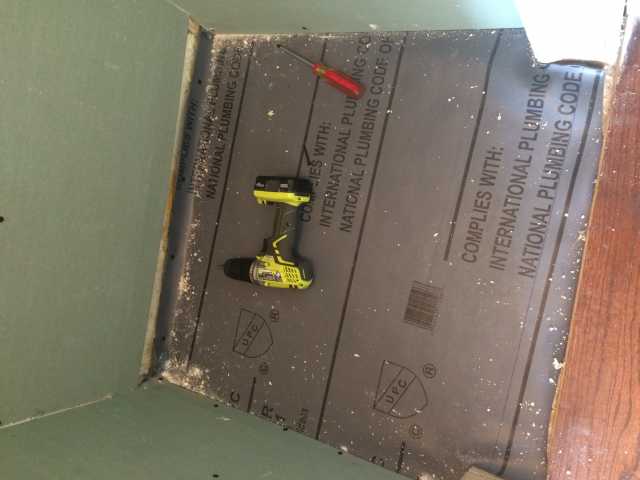
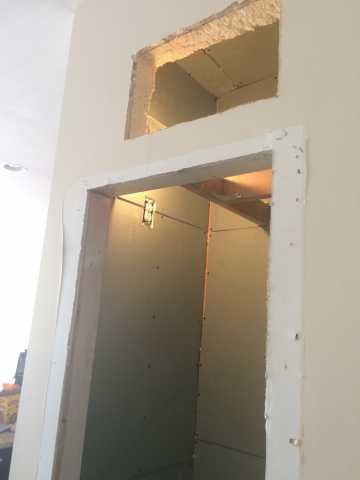
While fitting and fastening the greenboard above the the exposed 2x4s proved to be a royal p.i.t.a., drywall, with the exception of the wall above the doorframe, has all been hung. As I’ve never done this before, I sadly have some large gaps in places that I attribute to less than perfect measurements and uneven wall studs.
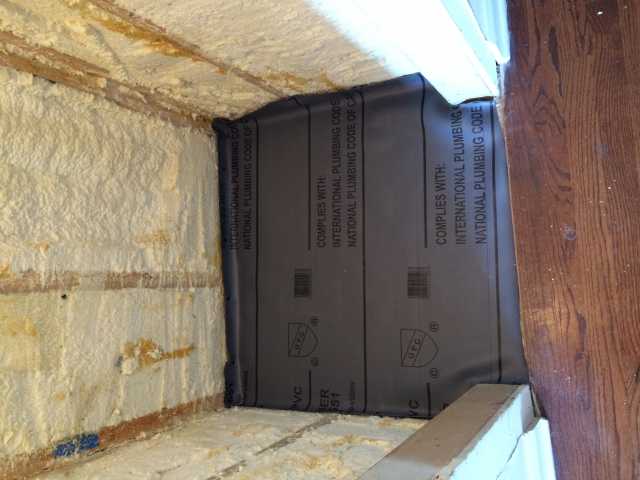
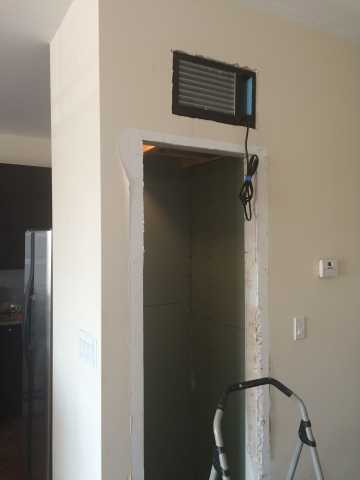
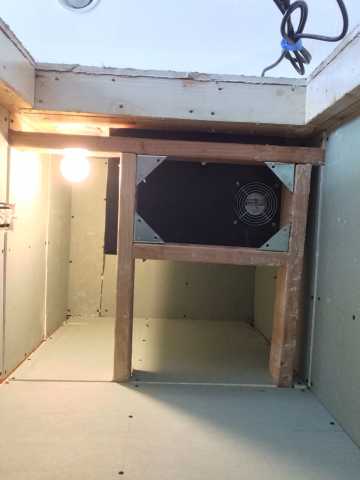
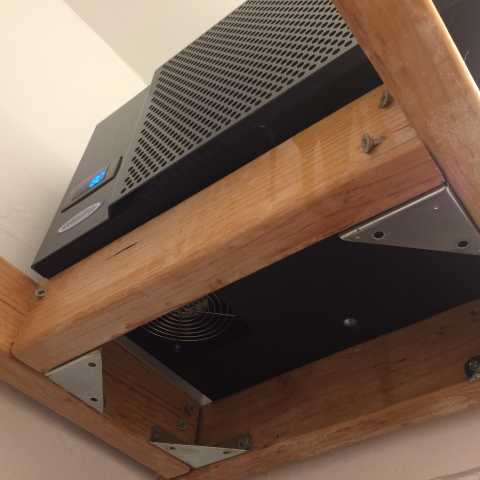
On a positive note, the test fit of the the cooling unit was a complete success as it fits like a glove through the cut out. However, I’m going to have to move the power chord from the back of the unit to the top. I think I remember reading I have to get a conversion kit from CellarPro. I’m wondering if anyone can shine a light on how they moved the power chord on their 1800 unit.
Also, if anyone can offer solutions on how to best waterproof the greenboard, it’d be much appreciated. I’ve been watching some YouTube videos that recommend that stick-on grid tape with a water-based sealer called “RedGard.” Since all my walls will eventually be tiled over, is mudding and sanding a necessary step before adding the waterproof sealer? My drywall sheets are a bit uneven in places. Is there a workaround for dealing with this when tiling? Going in, I thought I’d be tiling myself, but I’m seriously starting to doubt my ability to pull off a decent looking tile job. I’m sure I could handle tiling the floor, but the walls (especially the tight spaces and ceiling) scare me. Perhaps it’s time to call in a professional to make sure the tile turns out nice? I’ve already invested close to 4K in this project (needed 3 spray foam kits to fill all walls and a large ceiling cavity), so any extra labor costs are a drop in the bucket at this point.
TIA for all advice.
First, awesome project. Second, not to be a downer, but these rules usually can change if the right votes are obtained. You obviously know your neighbors and I don’t, but I used to live in a condo that passed some severe rental restrictions while we were there.
A few thoughts . . .
Check with tile guys, but I believe that you don’t want to tile over greenboard - it’s too flexible. What you want is cement backer board. Regardless, greenboard is moisture resistant.
And on that, are you planning on taking a shower in the cellar? There seems to be a lot more waterproofing that you probably need. You’re not bringing water in - the issue is only condensation of moist warmer air on the cold surfaces created by the cooler. Typically all you’d need to prevent that is a good vapor barrier on the “warm” side. As you’ve done foam insulation that should be enough. If you put vapor barriers on top of vapor barriers you run the risk of trapping moisture between them, leading to worse results.
On the Cellar Pro - two thoughts: 1) leave a bit of a gap in case your next cooling unit is a different size; stuff the gaps with insulation; 2) I don’t know this model specifically but I thought the online instructions show how to move the power cord from the inside to the outside (or vv).
The insurance isn’t for the wine but for the rest of the condo . . . for example, say you screwed up the wiring and that starts a fire. Your wine is the least of your worries.
Anyway, I don’t know the rules for permits in NYC - most places allow some level of DIY work even on electrical and plumbing - just putting framing in a closet wouldn’t be much of an issue in most places. The worst you have to do if you sell though is rip it out - besides, purchasers might prefer a real closet.
Good call. The last thing I want to do is create a double vapor barrier that traps moisture. The thought of tile was simply for aesthetic reasons. A quick internet search is showing it’s difficult for tile to adhere to greenboard drywall that’s not Durock cement board. At the end of the day, I want to sleep well knowing the cellar will not run the risk of trapping moisture/ creating mold. If that means sticking to prepping the drywall for painting, then so be it.
I did have a professional electrician through a reputable company come in to reconfigure the light and run a dedicated circuit for the cooling unit. I’ll probably contact my insurance company in the near future for their thoughts as well.
I believe Chicago has some kind of “improve and replace” permit that they give out pretty easily.
Source: i gut renovated a Chicago condo and it was the only permit my contractor would agree to get for us without jacking the price up by $10K.
While a busy holiday season temporarily put the breaks on the cellar build, I’m happy to report I just finished my second round of mudding. Unfortunately, my drywall panels had some pretty noticeable gaps, but I’m confident that a few more rounds of mudding and sanding will fully conceal the taped joints. Thankfully, the small plastic tubs of mud I’ve been buying are easy to work with and only cost around $4 a can. So far, two rounds of mud have only set me back $28-$30. Once I have my walls even and sanded, I’m planning on tiling the floor and then taping over the floor to finish priming and painting the walls. Wish me luck.

Why bother sanding? It just makes a lot of dust and the walls are going to be covered or hidden anyway. Just use a trowel that you dip in water frequently for the final coat. You’ll really cut down on the mess. And for filling gaps, if you didn’t measure the pieces well, use something like Dryrock that won’t shrink. Most of the mud hardens by evaporation - that stuff is more like plaster and hardens by hydration. It’s just not as forgiving and doesn’t give you as long to work with it.
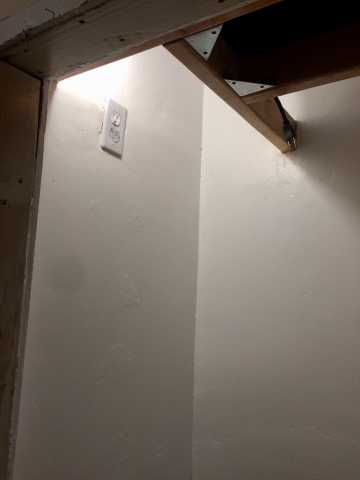
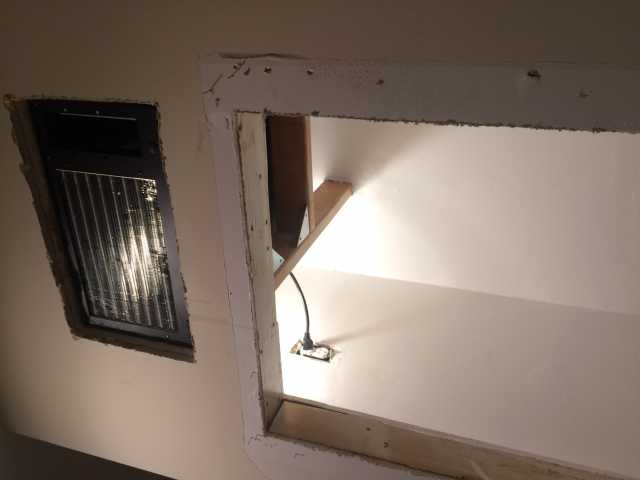
After many months of being swamped with worked, I’ve finally gotten back on track. Nearing the finish line, all that’s left is tiling the floor, putting a plate over the electrical outlet, putting in the racking, putting a vent cover over the exhaust for asthetics, and installing the glass door. I’ll throw up more pictures as things progress.
Yay!
I love this kind of thing!
Get ready to start expanding it! ![]()
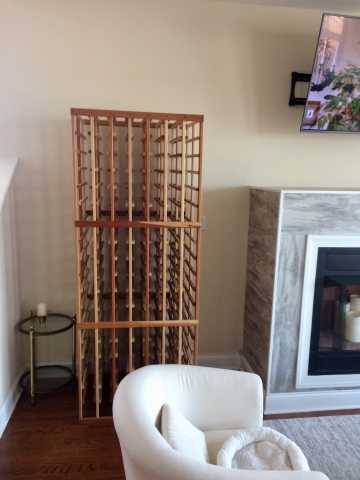
Got a bit of work done today. Fit the Durock, cut my tiles, and put a plate over the electrical outlet. I bought my racking preassembled off craigslist for $300. Unfortunately, I will have to cut a column or two out of the rack for it to fit through the door frame. Total bottle capacity will be either 170 (17x2x5) or 204 (17x2x6) depending on how many columns I have to remove.