In the last 2-3 years I watched the Air Fryer-hype from the sideline. In my view to fry french fries in such a machine was really no incentive for me. In addition these airfryers were ugly like hell. Fair to say I fully understood that this machine helps people for daily business-cooking and helps to reduce energy costs. An important factor these days.
BUT several months ago I discovered some very interesting Airfryer videos from asian people on youtube that got my attention, as they made Chinese porkbelly, pork/chicken CHAR SIU etc. and the food crisped up nicely. AND I discovered the first beautiful designed Air Fryer. As you could imagine, no ugly-designed piece comes in our apartment. haha
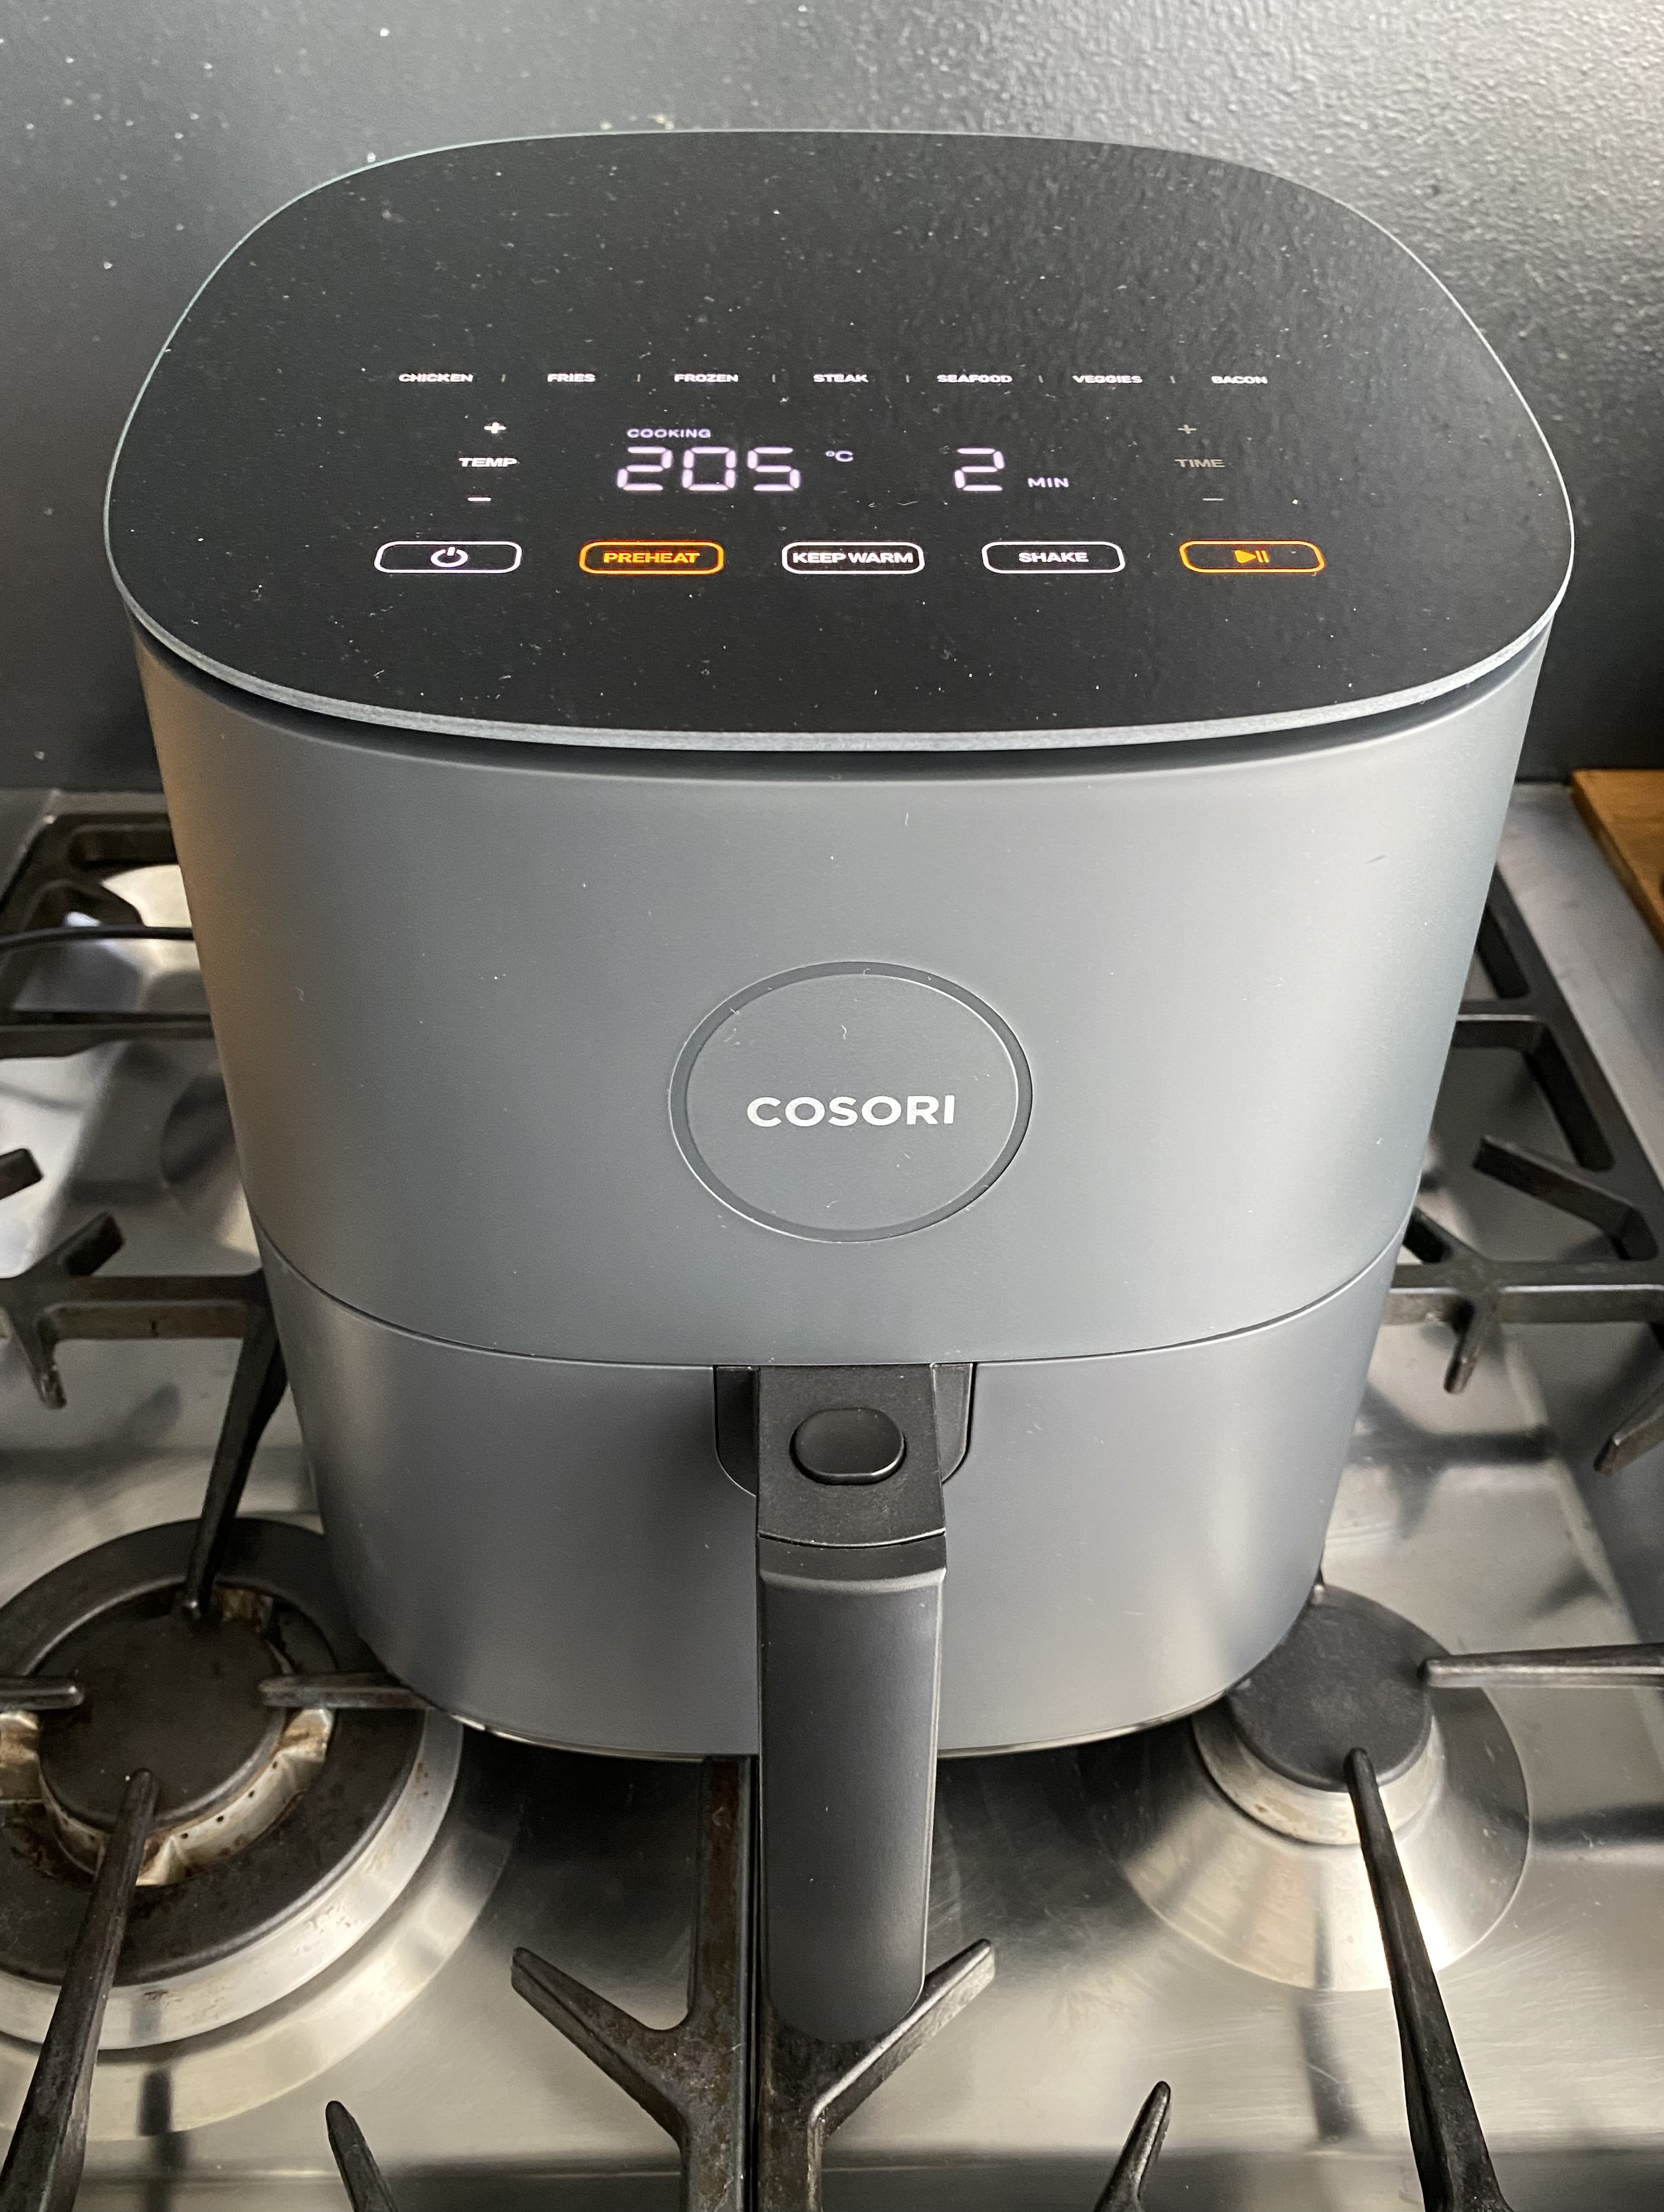
So I bought last week an Cosori Airfryer which also got a very good review by SeriousEats. Yesterday I made my first dish, Chinese porkbelly, and I was quite happy with the result. I have to admit that I never got a porkbelly right in the past, my versions tasted good, but regarding the important crisp crust I failed.
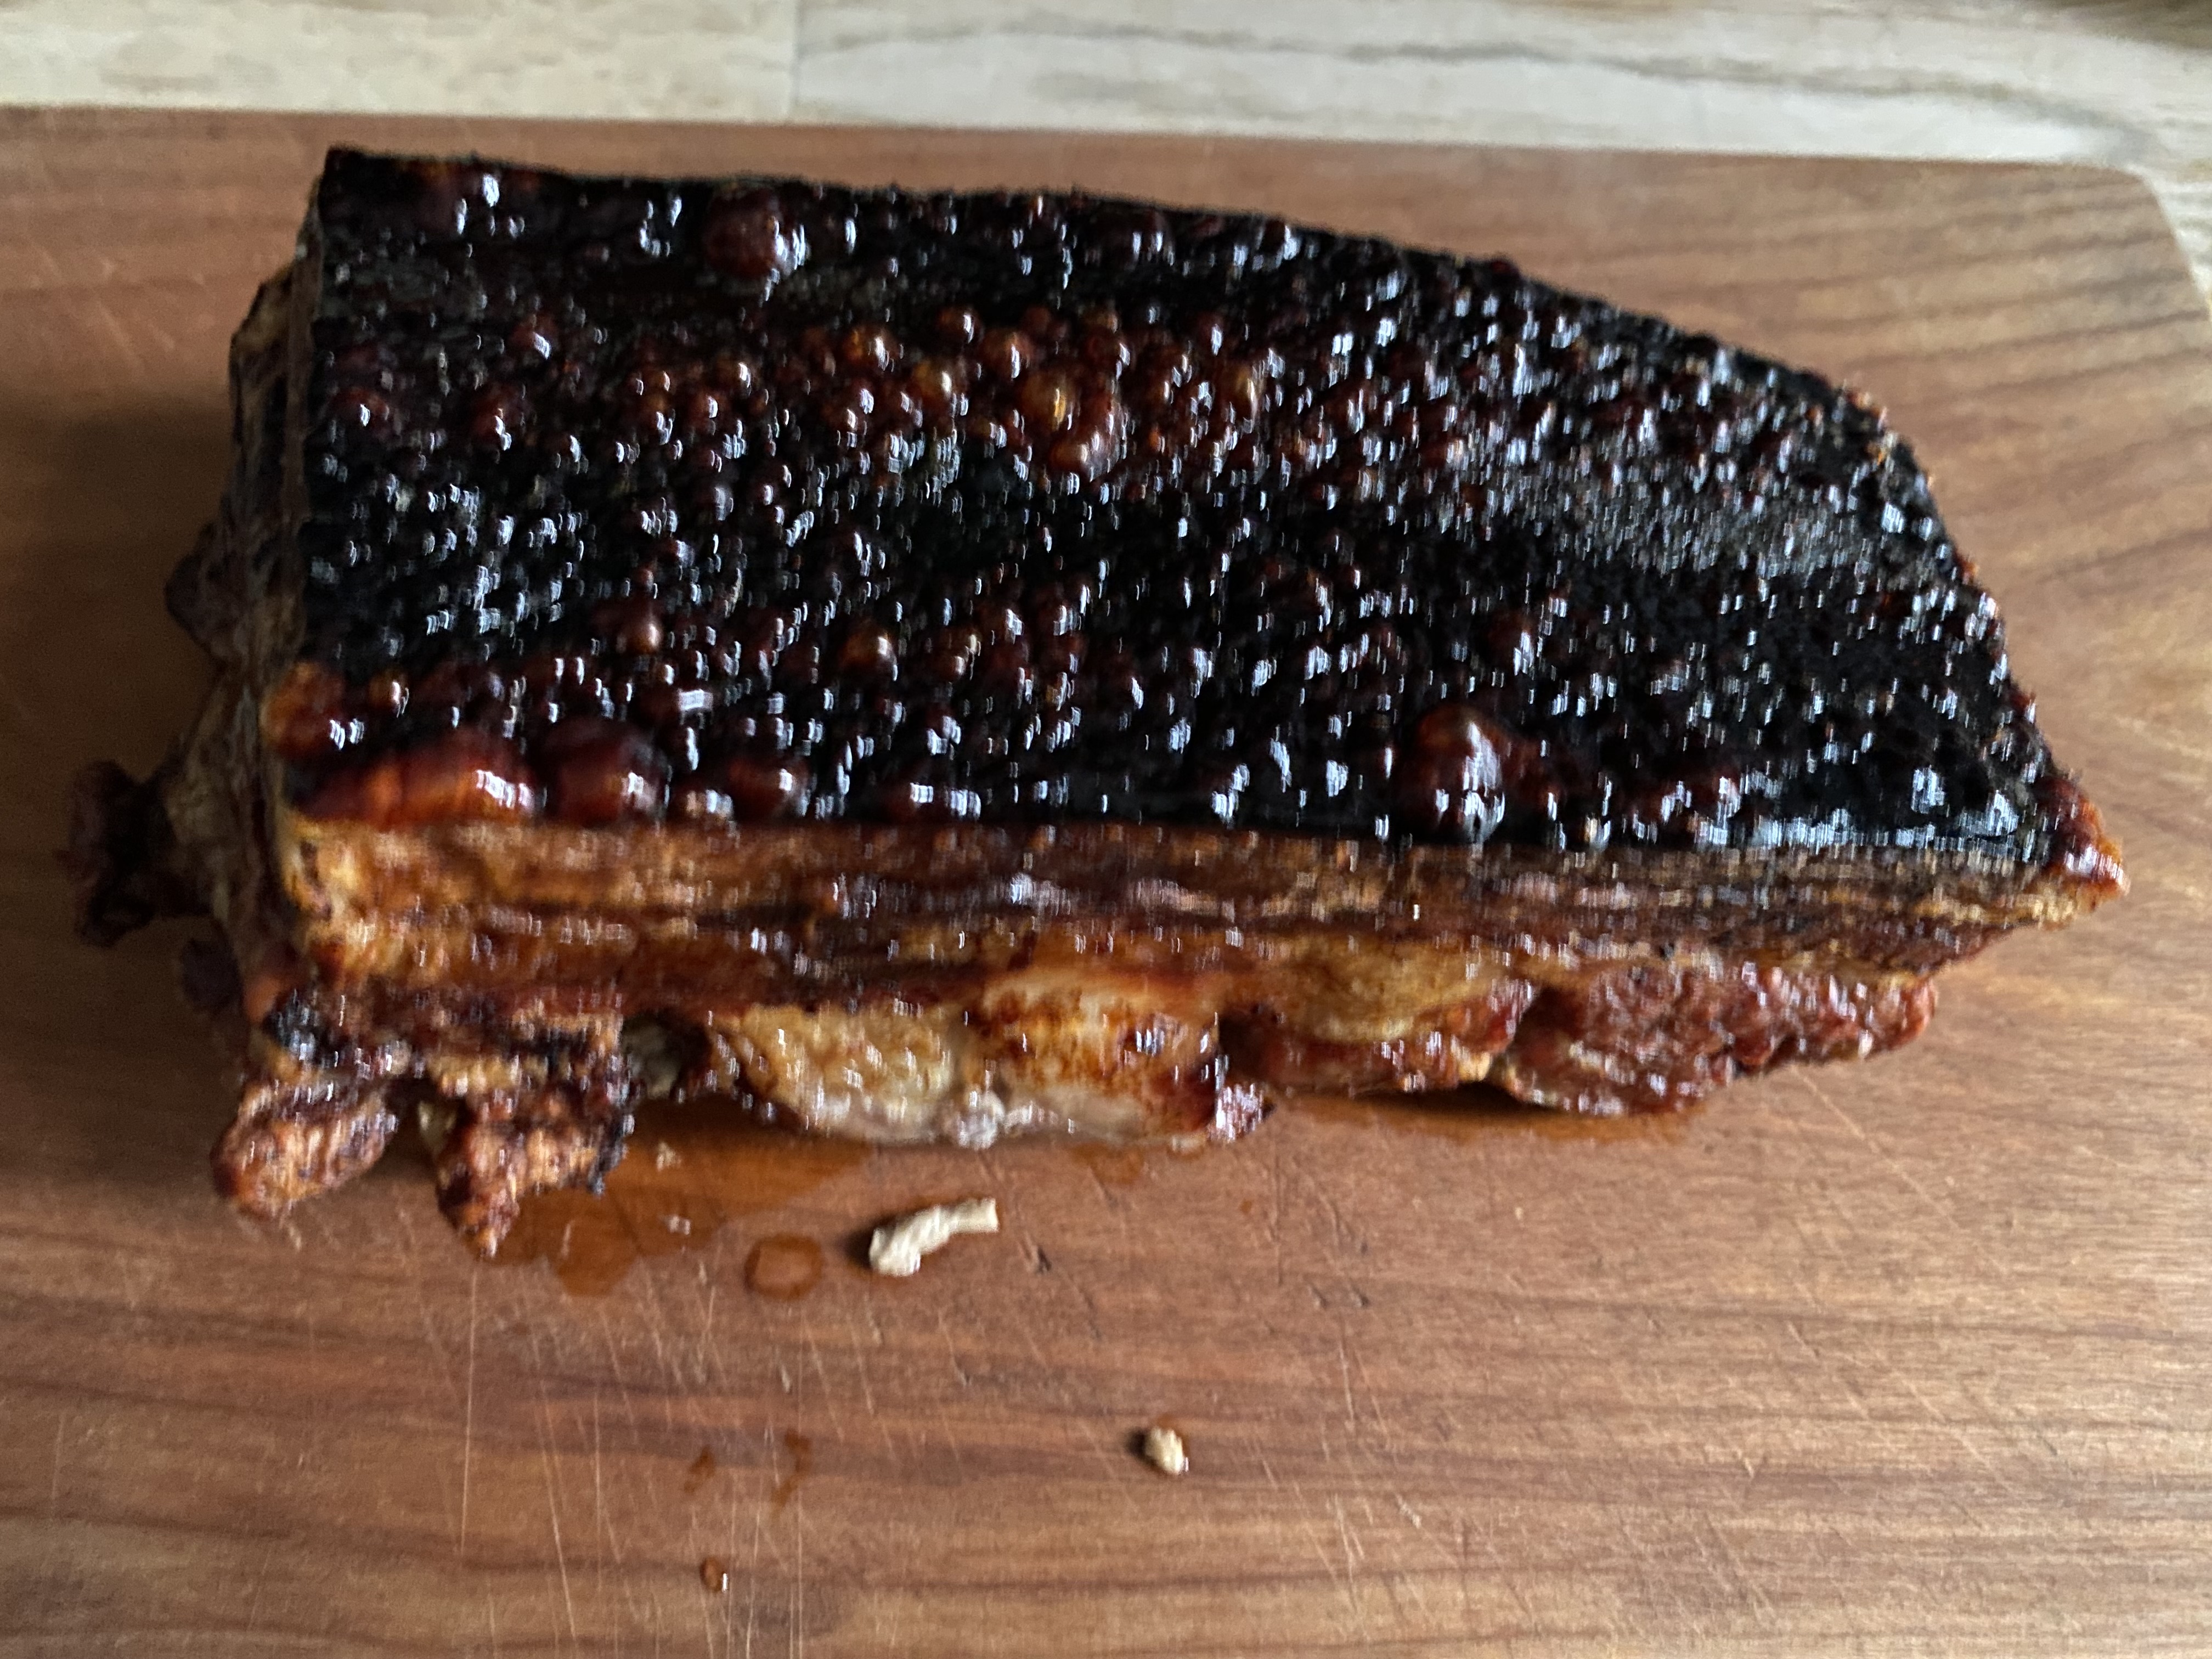
Of course the crust was much too dark yesterday, but the crust itself was great and the meat was perfectly juicy. So I have to reduce the heat and maybe also the cooking time, I will find out next time. To my innocence/excuse, I made the chinese porkbelly as advised by a Chinese cook on youtube, maybe the Cosori Air Fryer is much more powerful?! Anyway it was a good start.
Ingredients
1kg porkbelly
1 tsp five spice or Quatre Èpice or any wok spice
1 tsp salt
1 tsp sugar (optional)
1 tbsp vinegar
1 tbsp sunflower oil
Dip: Hoisin Sauce
Preparation
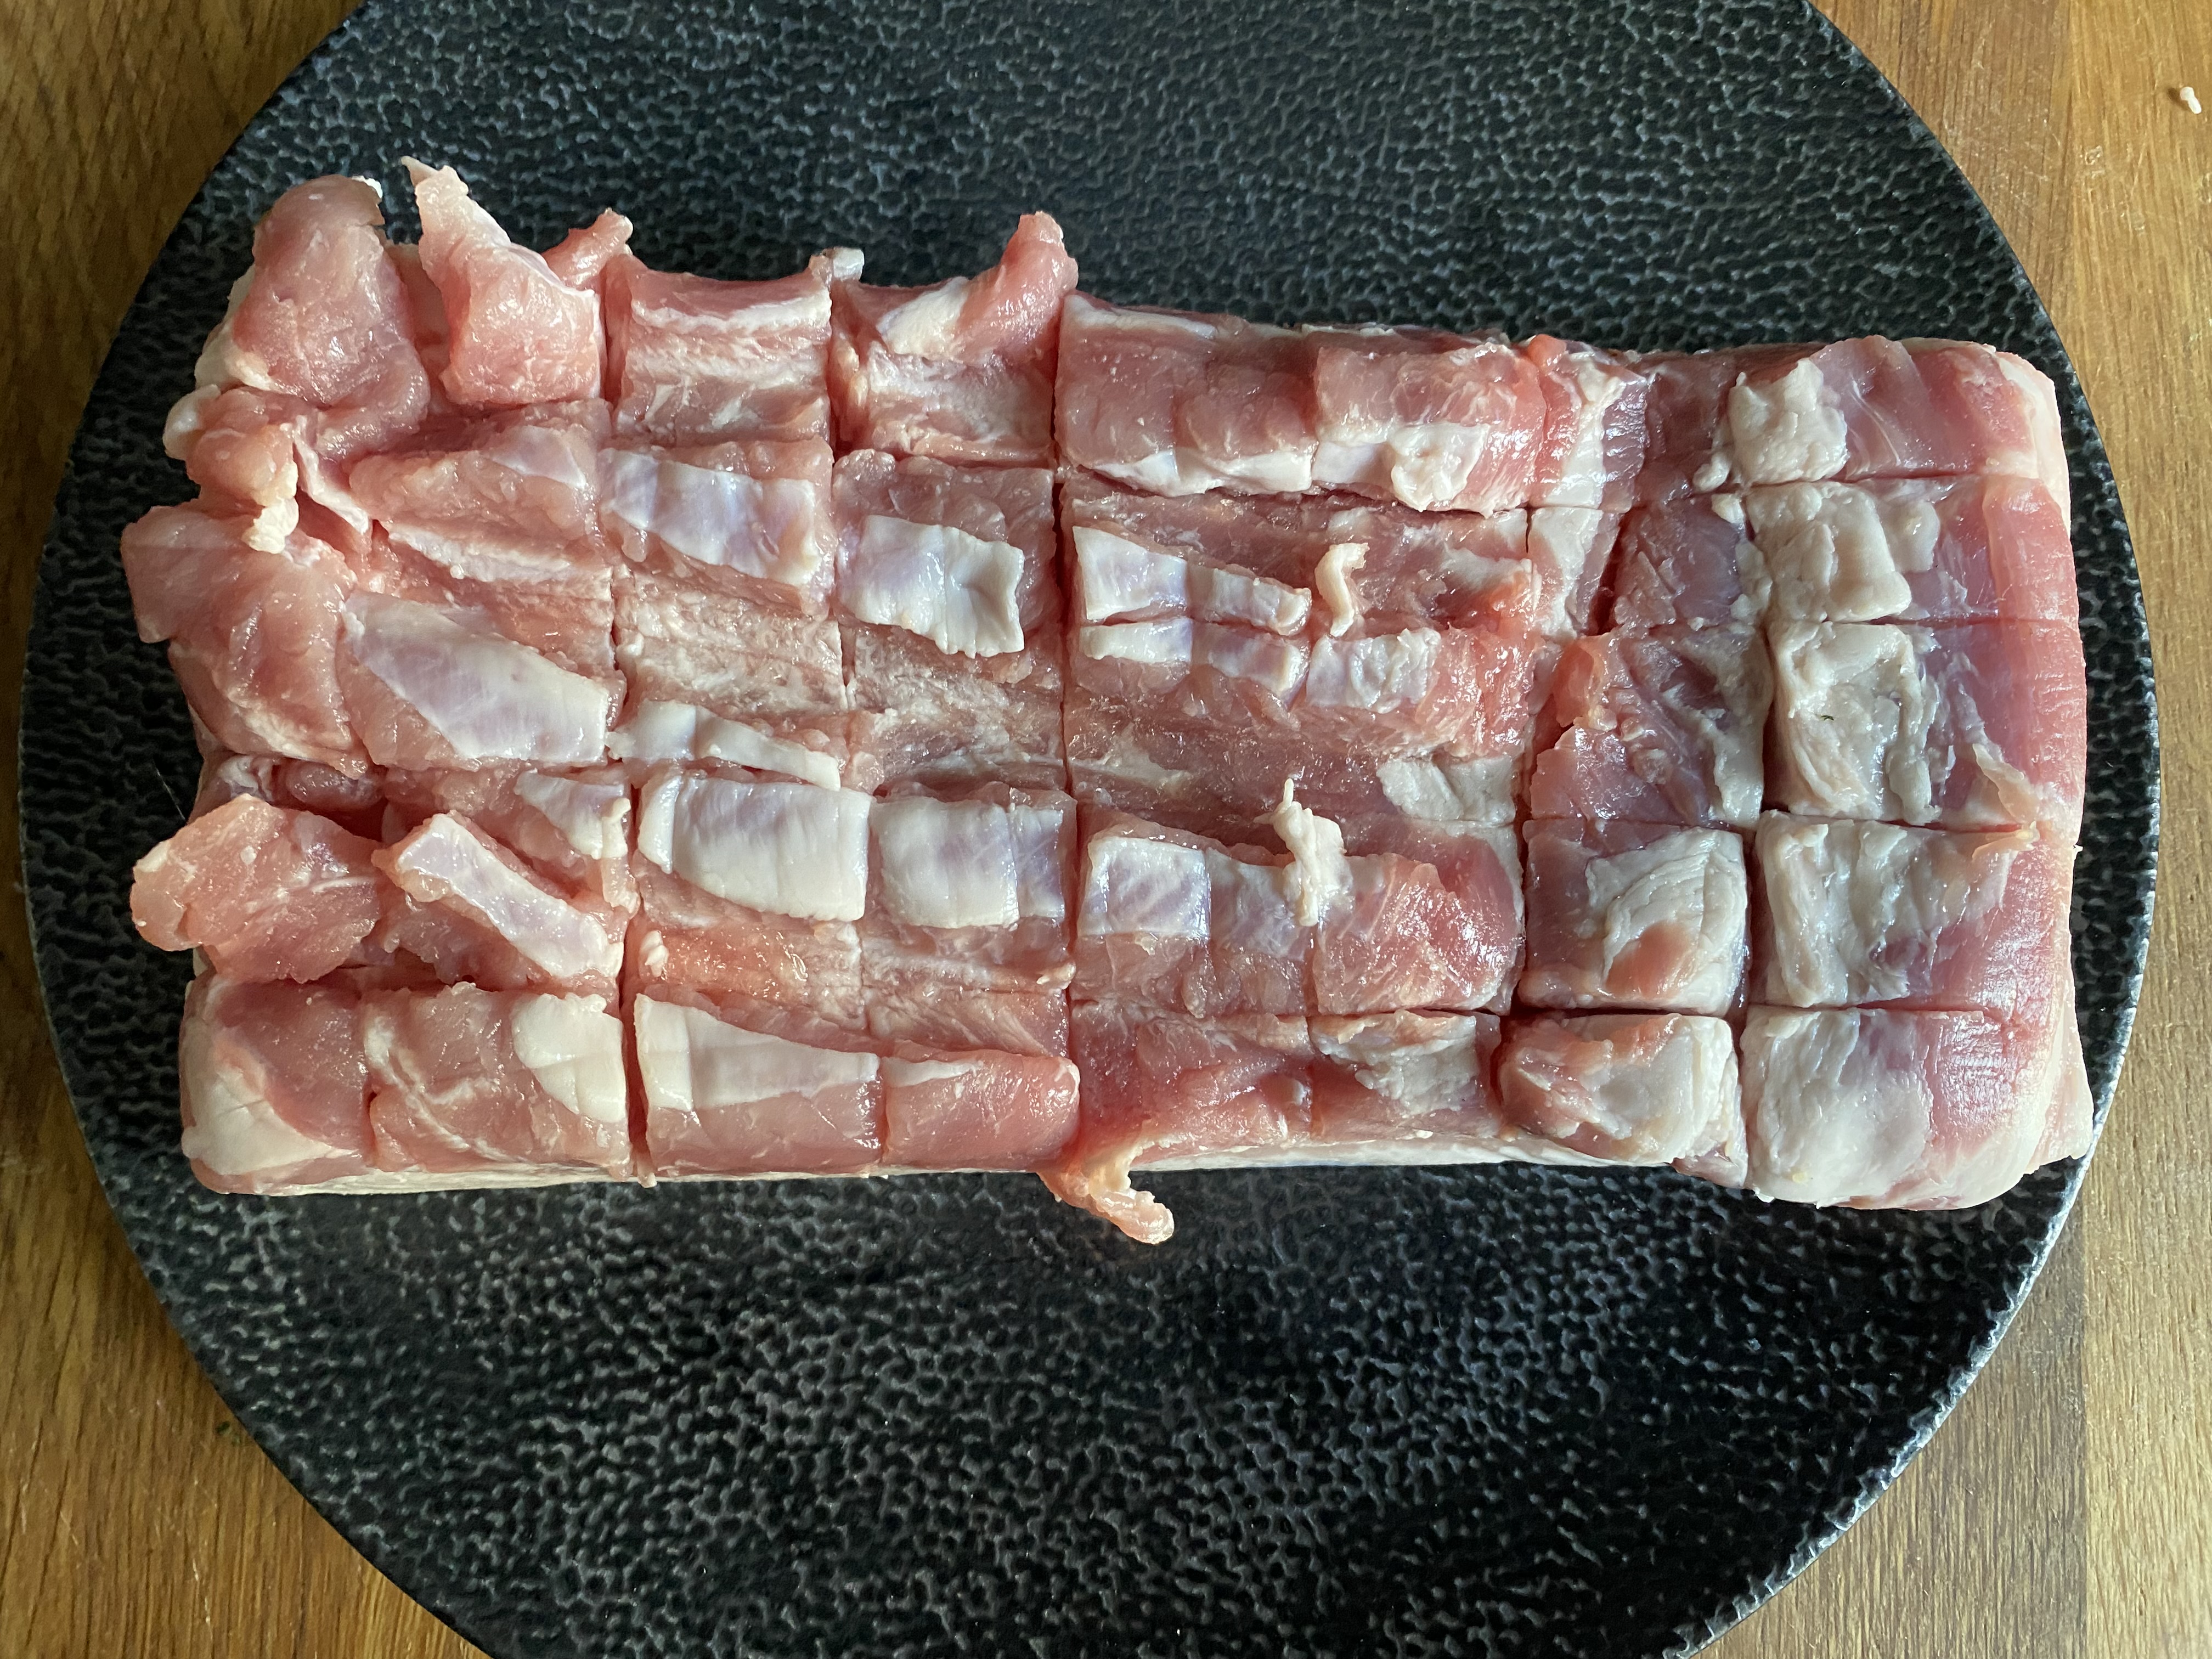
- Criss-cross the meat (optional), but let the skin intact.
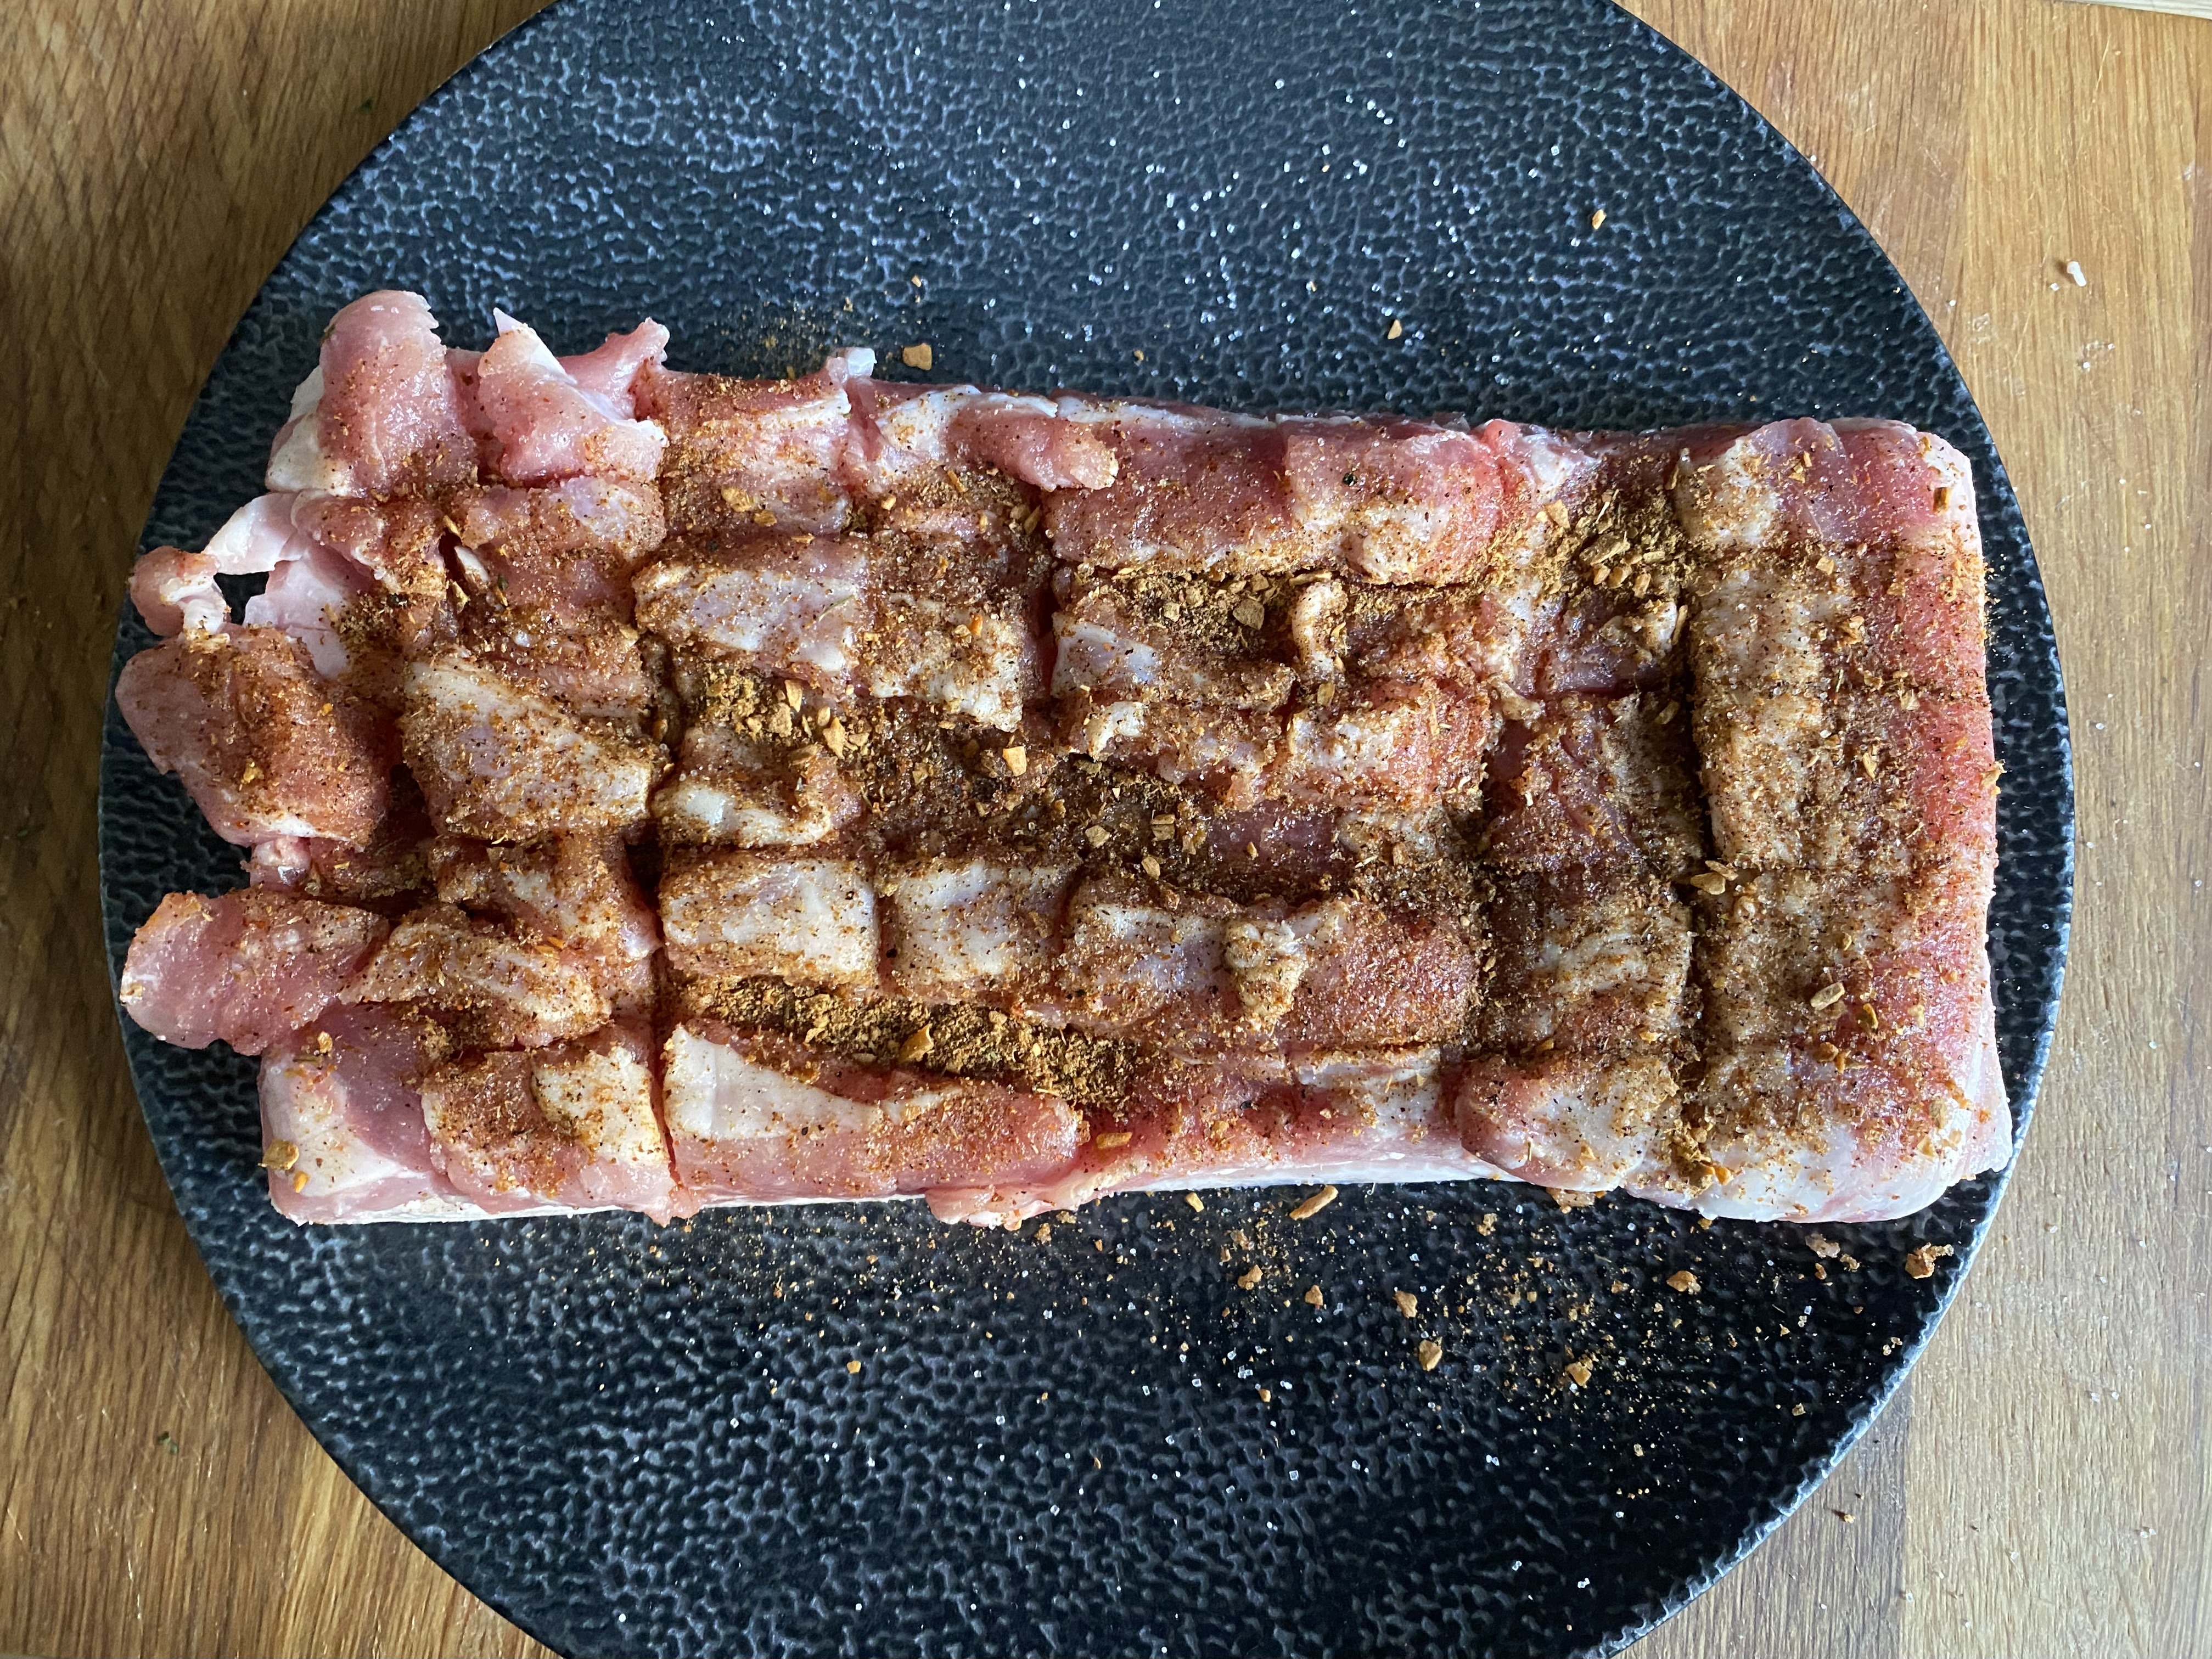
- Add spice, part of the the salt and optional sugar. Let it marinade uncovered for a few hours or overnight in the fridge, skin upside
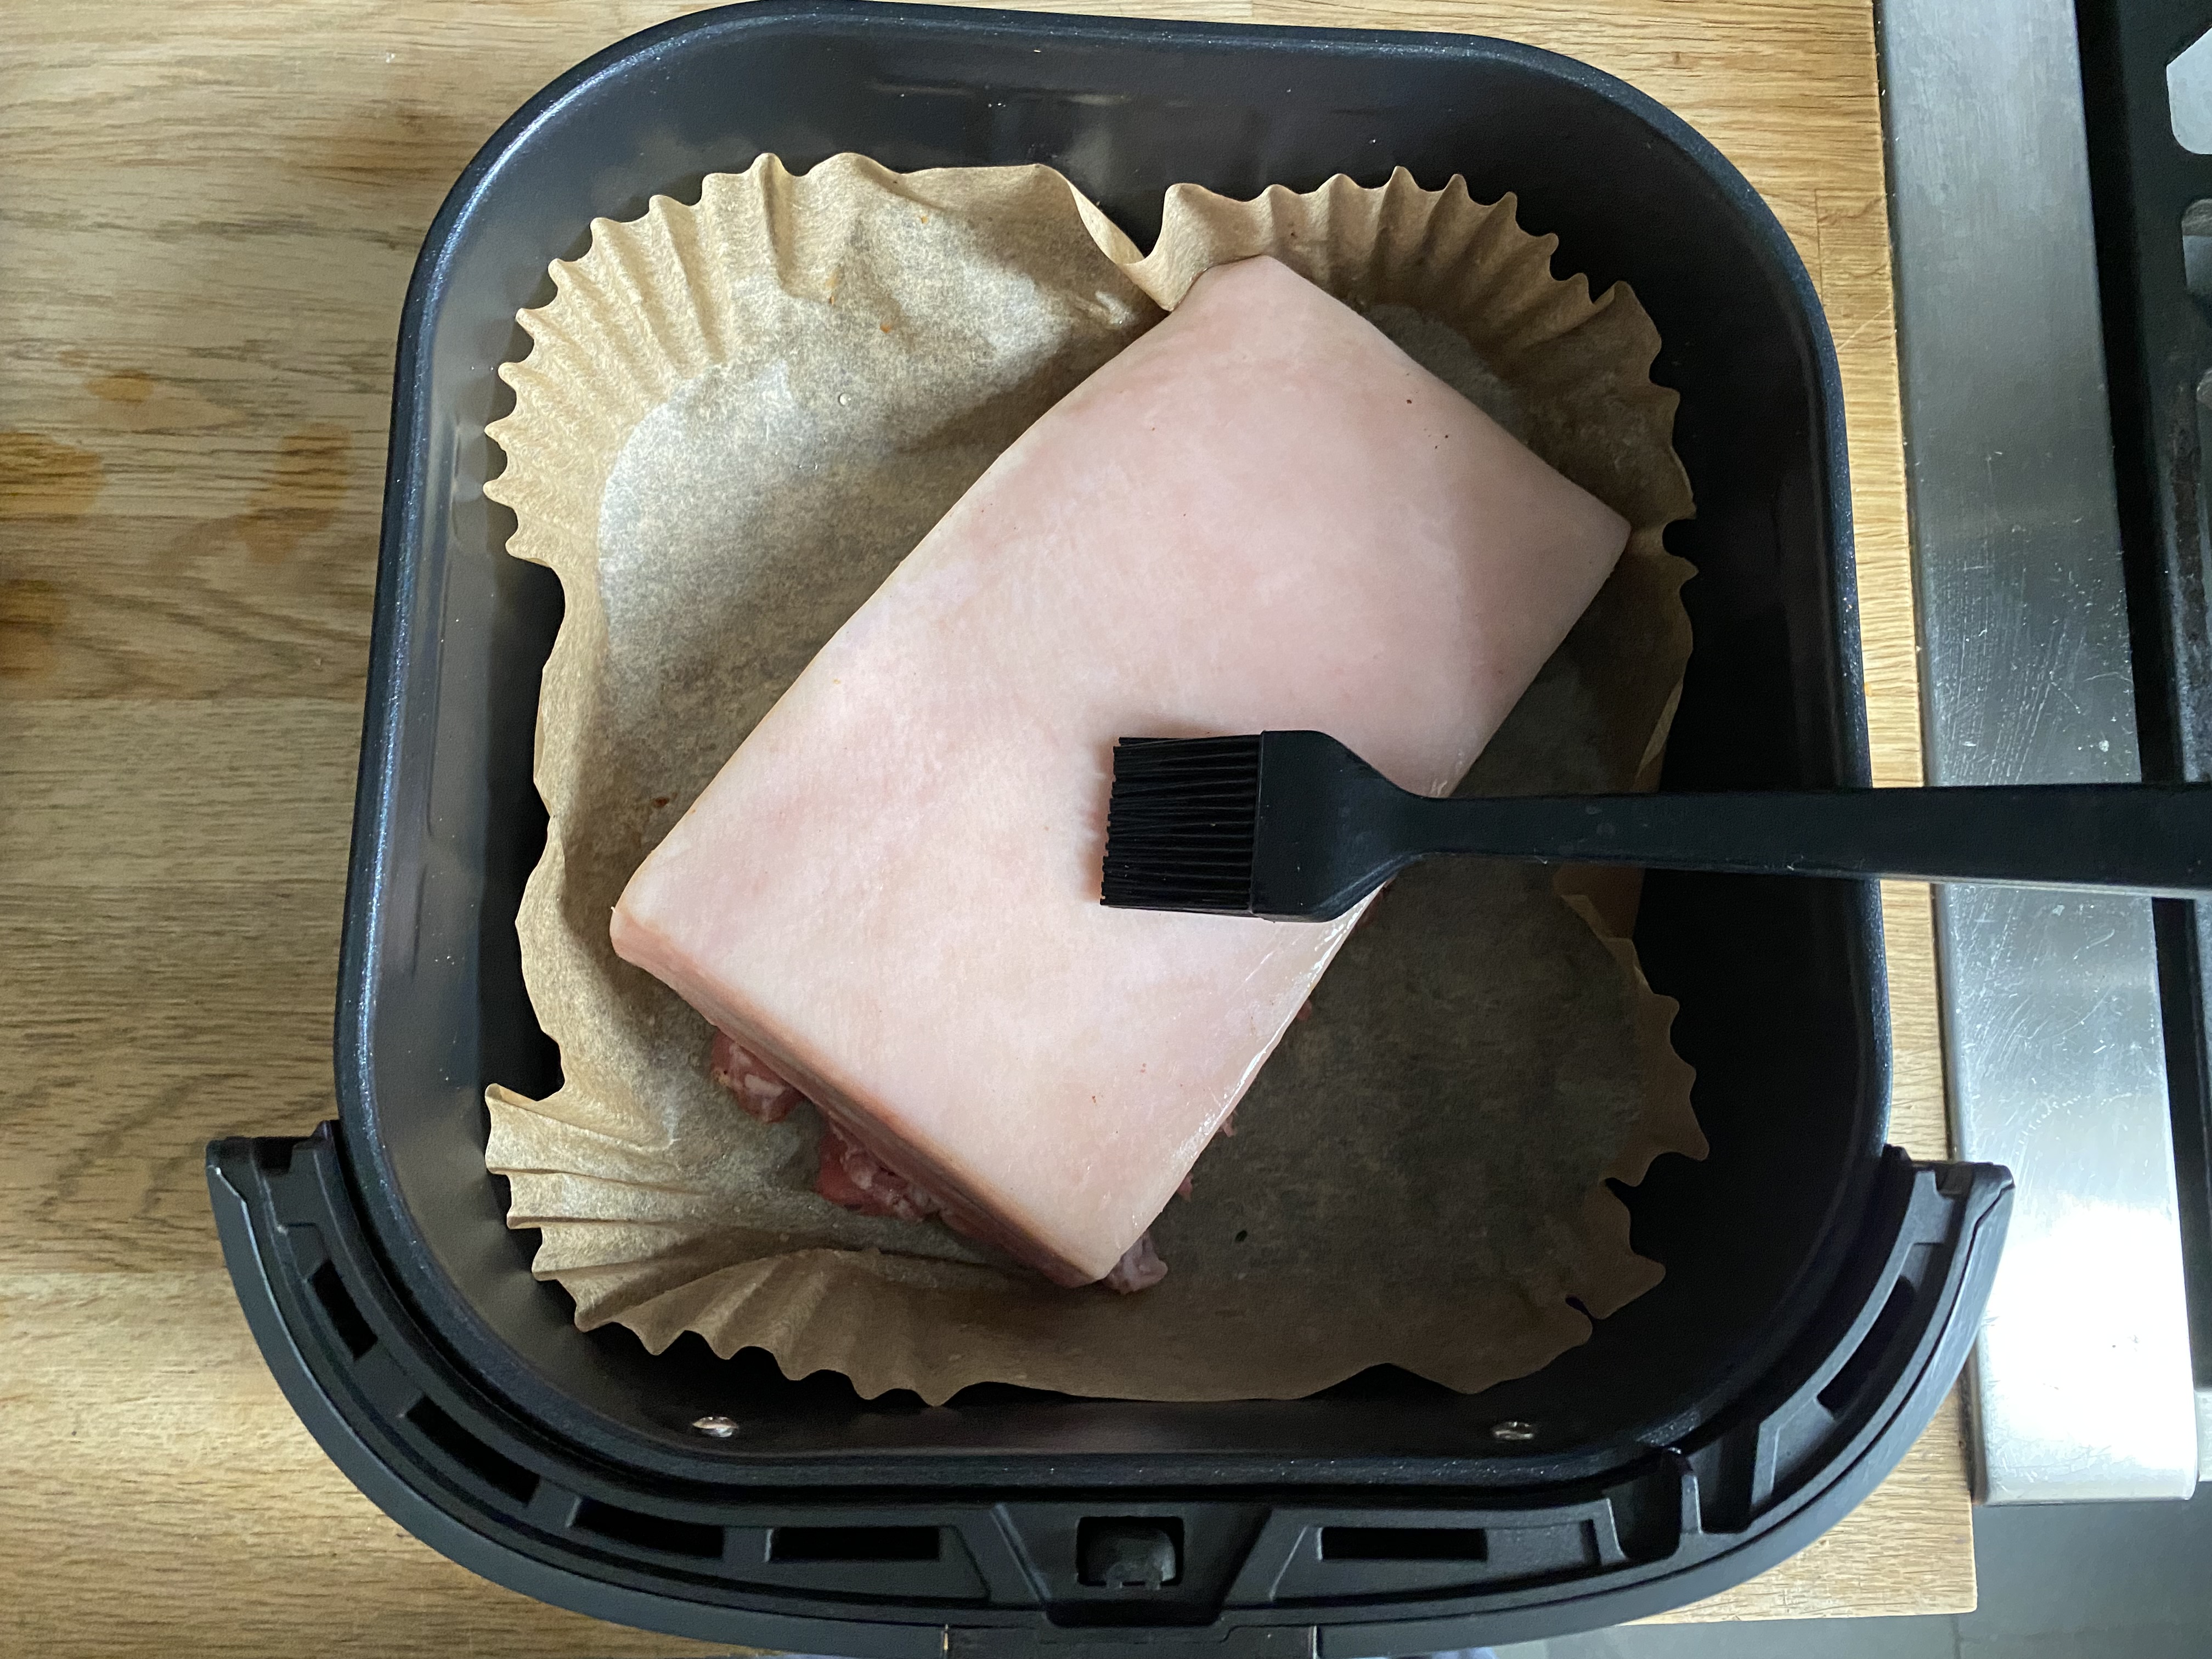
- Add the meat to the Air Fryer basket, optional with special Air Fryer parchment paper or make a alufoil boat and add the porkbelly. Brush the skin side with vinegar. Now let it cook for 30min by 100 C or 200 F
- After 30min. add salt to the skin side and also brush with sunflower or other oil. Now let it cook for 40min by 180 C or 360 F. Maybe you check it after 30min.
Note: original recipe is 200 C or 400 F for 40min
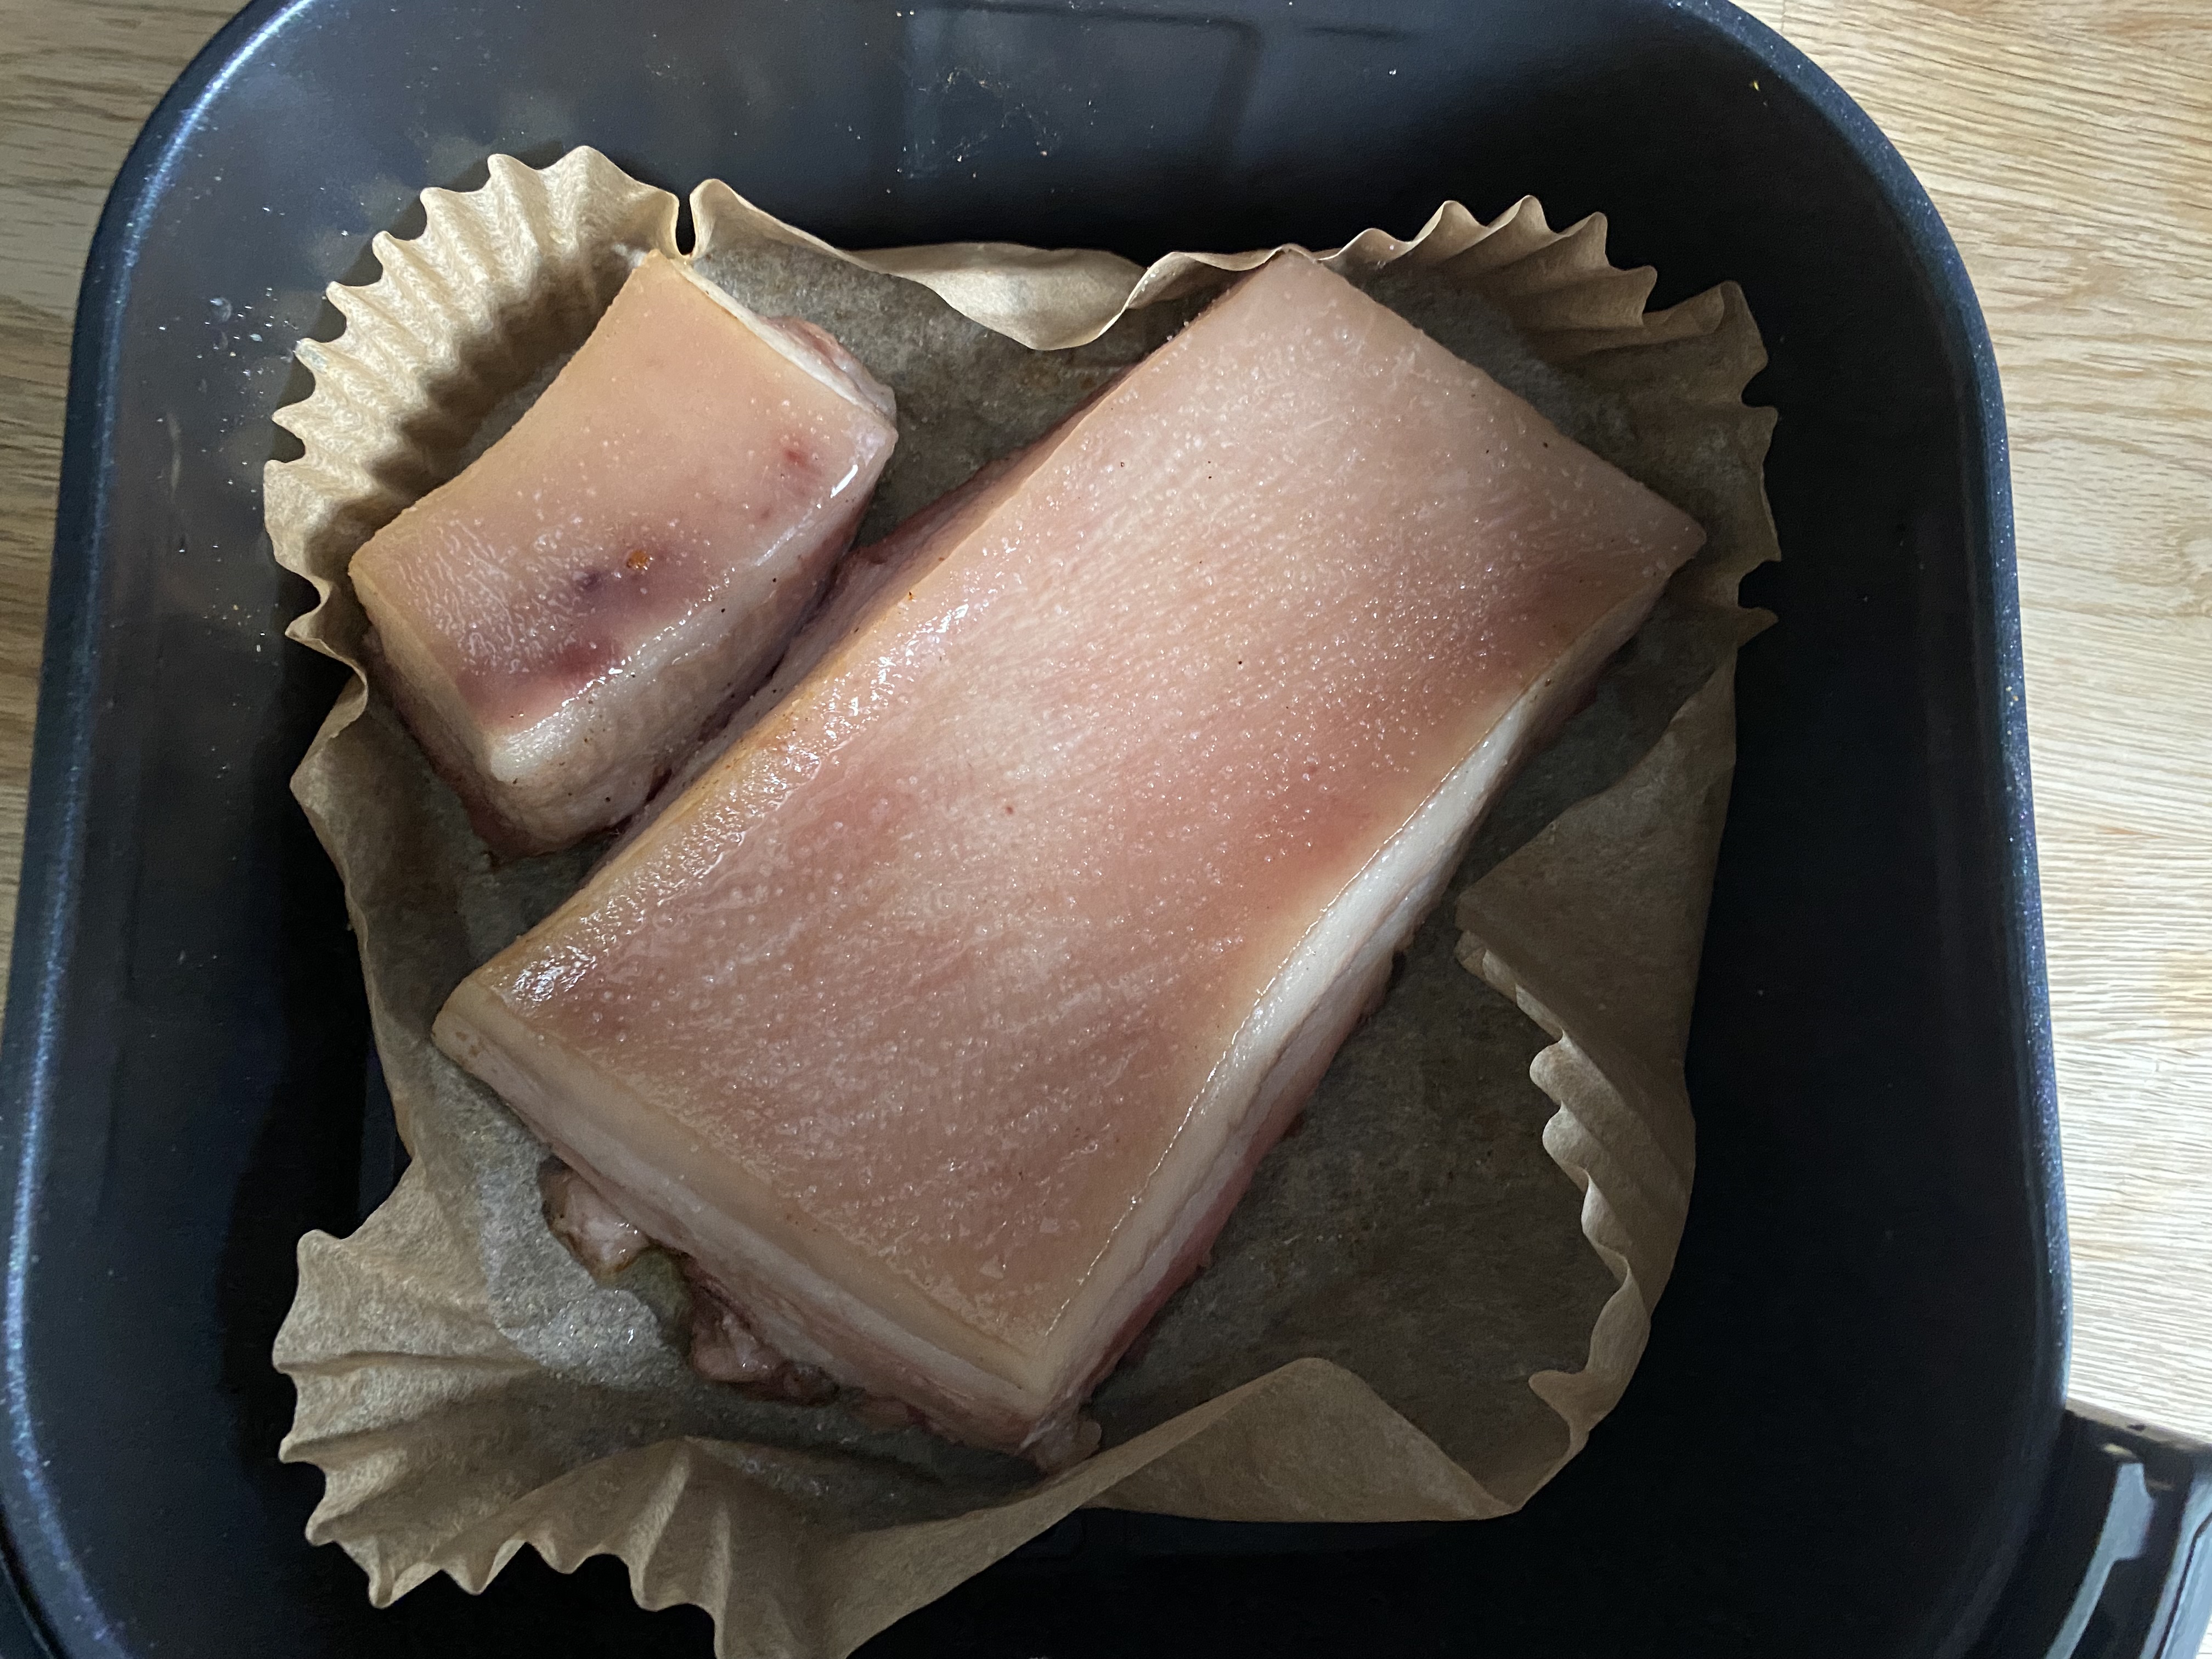
- Voilà………of course it is too dark, But as I said before the skin was crisp and the meat was perfectly juicy.