Foodies,
As a native Montrealer, there’s only one food item I associate Montreal with and love as much as smoked meat and poutine: a good authentic bagel. Not bread baked in the shape of one, I mean a real authentic bagel. One that goes the extra expense and step of boiling in sweetened water before being baked. The Montreal style bagel shops in Toronto make a killing. Well I’m tired of the lineups and was sure I could do them one step better. So that’s exactly what I did. And if you want to make your own, here’s what to do:
TL; DR SUMMARY: Prepare your favorite bread dough by hand, mixer or bread machine on the Dough setting. Let the dough ferment and rise once, punch it down, and shape into bagels. Let them ferment and rise again using either a quick warm or overnight cold ferment. Boil them in baking soda and honey water for 1 minute each side. Bake for 15 minutes at 400 degrees, flip and bake again for 15 minutes at 400 degrees. Voila, fresh bagels.
BAGEL DOUGH RECIPE:
6 cups of flour(s) of your choice OR 5 cups of flour and 1 cup mixed milled grains of your choice (see notes below) MINUS 3 TBSP OF FLOUR IF YOU ARE USING GLUTEN FLOUR (see notes below)
OPTIONAL 3 TBSP gluten flour (1 for every 2 cups of flour; remove 1 TBSP flour for every 1 TBSP gluten flour used)
1 1/4 cups warm liquid (Water, milk, buttermilk, beaten egg, see notes below)
1 TBSP dry active yeast or bread machine yeast
1/4 cup oil
1 TBSP salt
1/4 cup sweetener (sugar, honey, molasses, maple syrup, agave syrup, etc.)
DIRECTIONS:
-
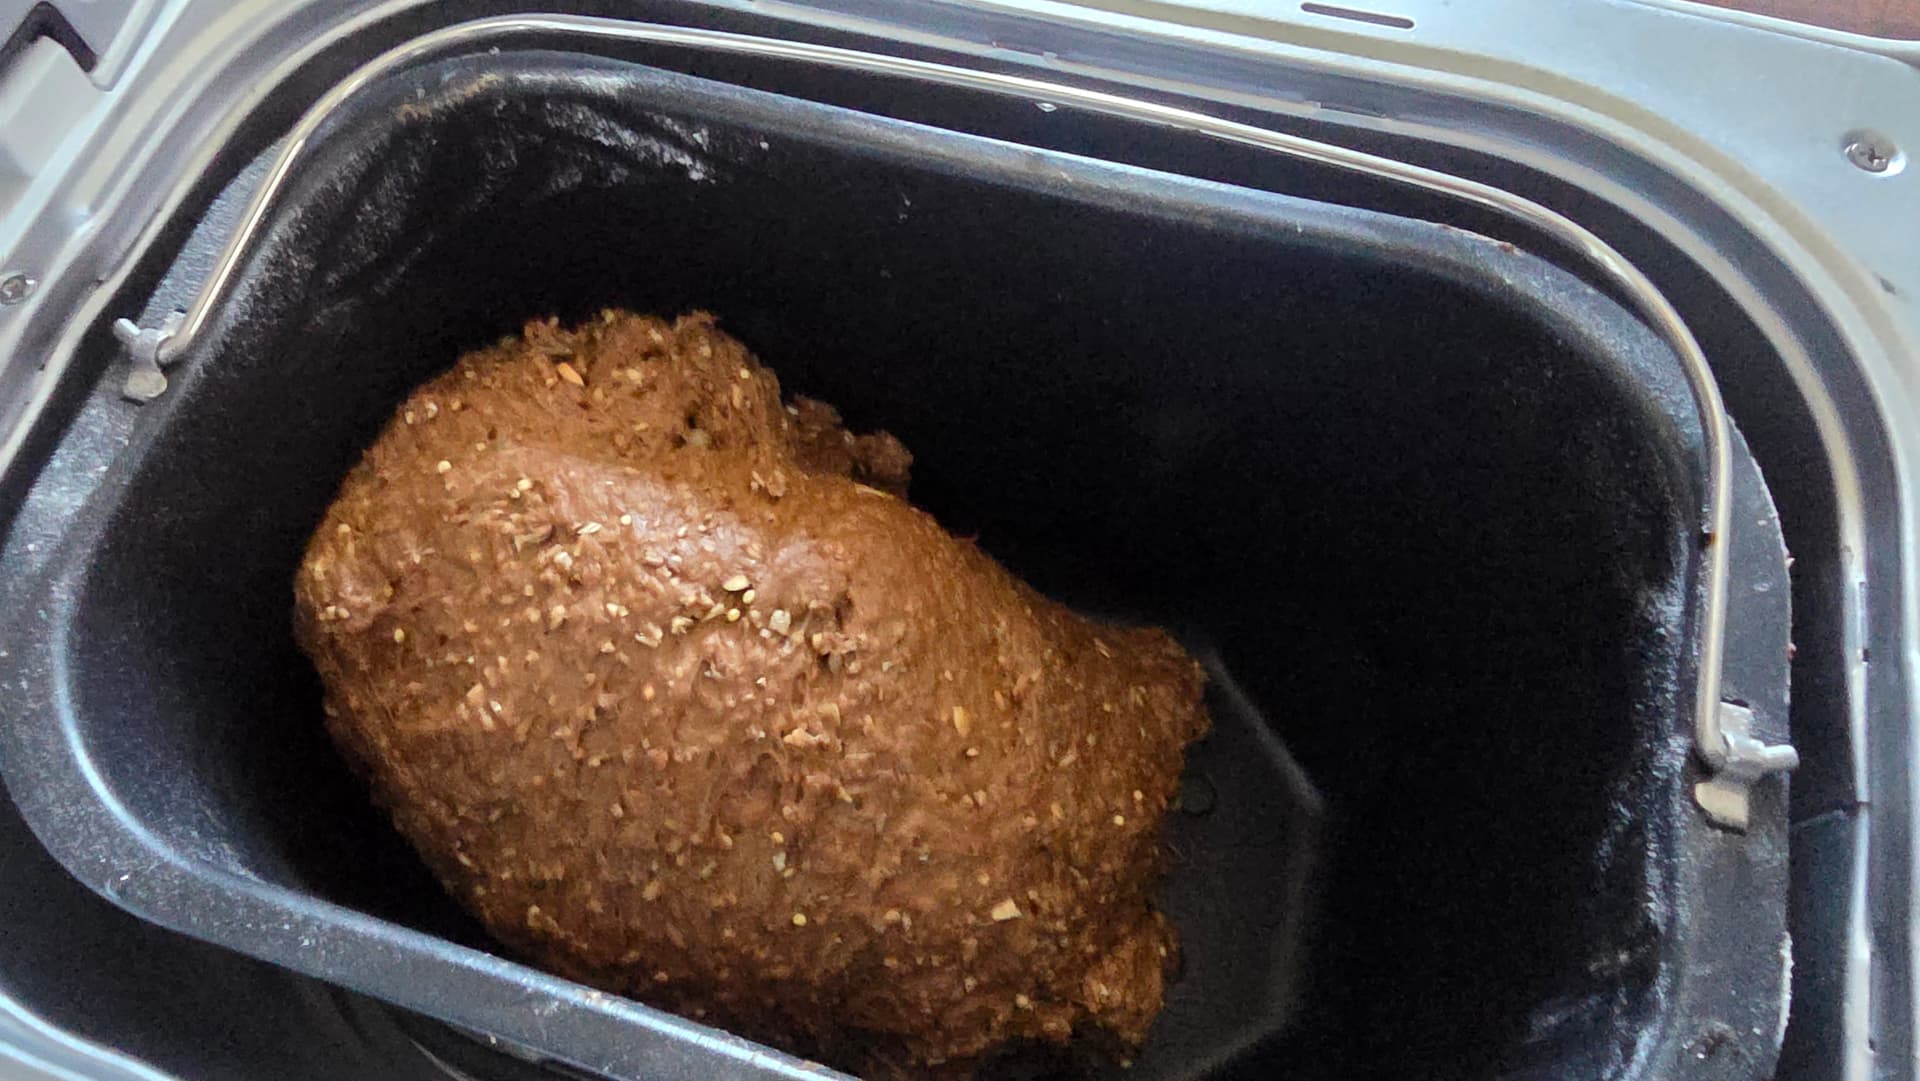
Make your bread dough with your preferred choice of flours in your preferred method. You can do it by hand, get an assist from a mixer machine with a dough hook attachment, or use a bread machine as I did here. If using a bread machine, follow the directions and ingredient proportions for the Dough setting. You want a single mass of dough that is slightly sticky. Not too dry and crumbly, but not a goopy wet mass either. You’re looking for just slightly over the hydration point where it will stick together as a ball.
-
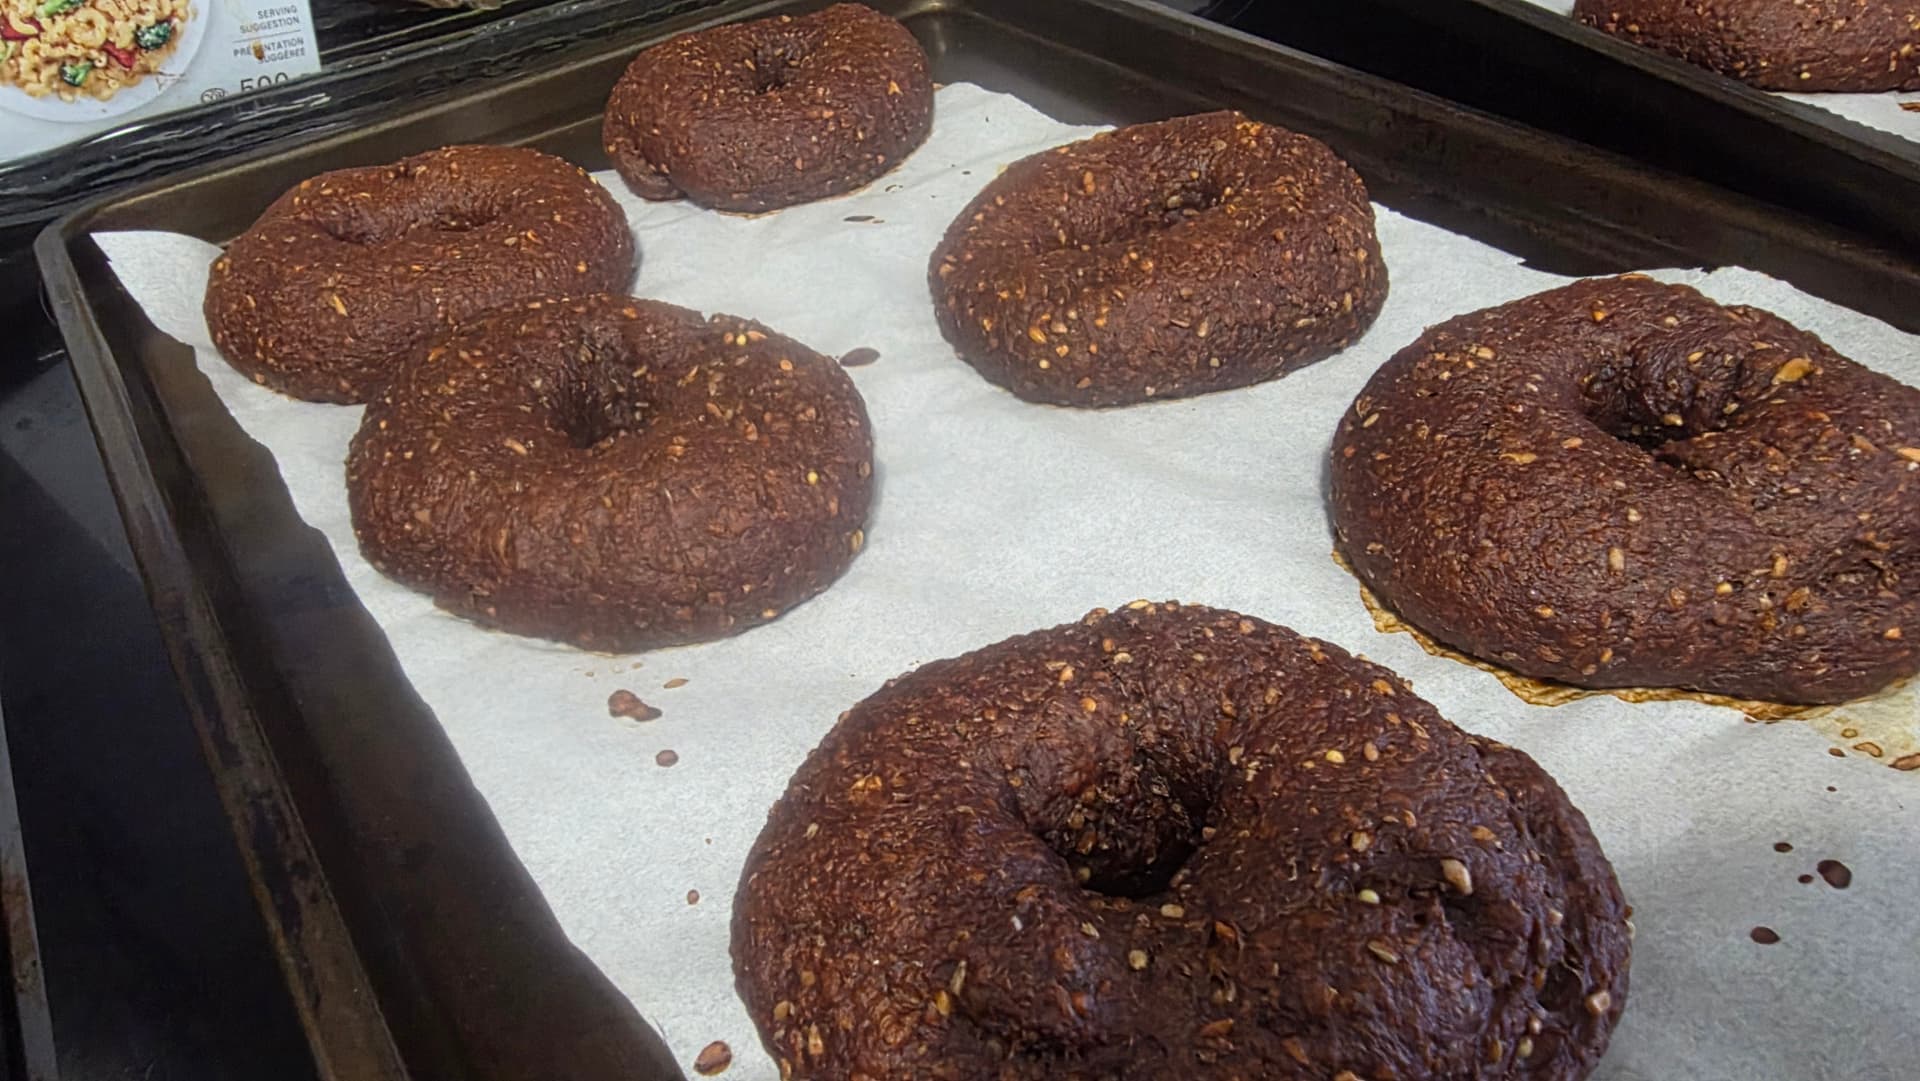
If you’re wondering why my dough is so dark and speckled, it’s because it’s a Pumpernickel 12 Grain dough. I’ll get to the specific recipe at the end.
-
Once the dough is mixed and properly kneaded, let it rise in a warm area or or oven with a proofing setting or the bread machine itself if you’re using one.
-
When the bread has risen once, punch it back down and grab the dough to work it.
-
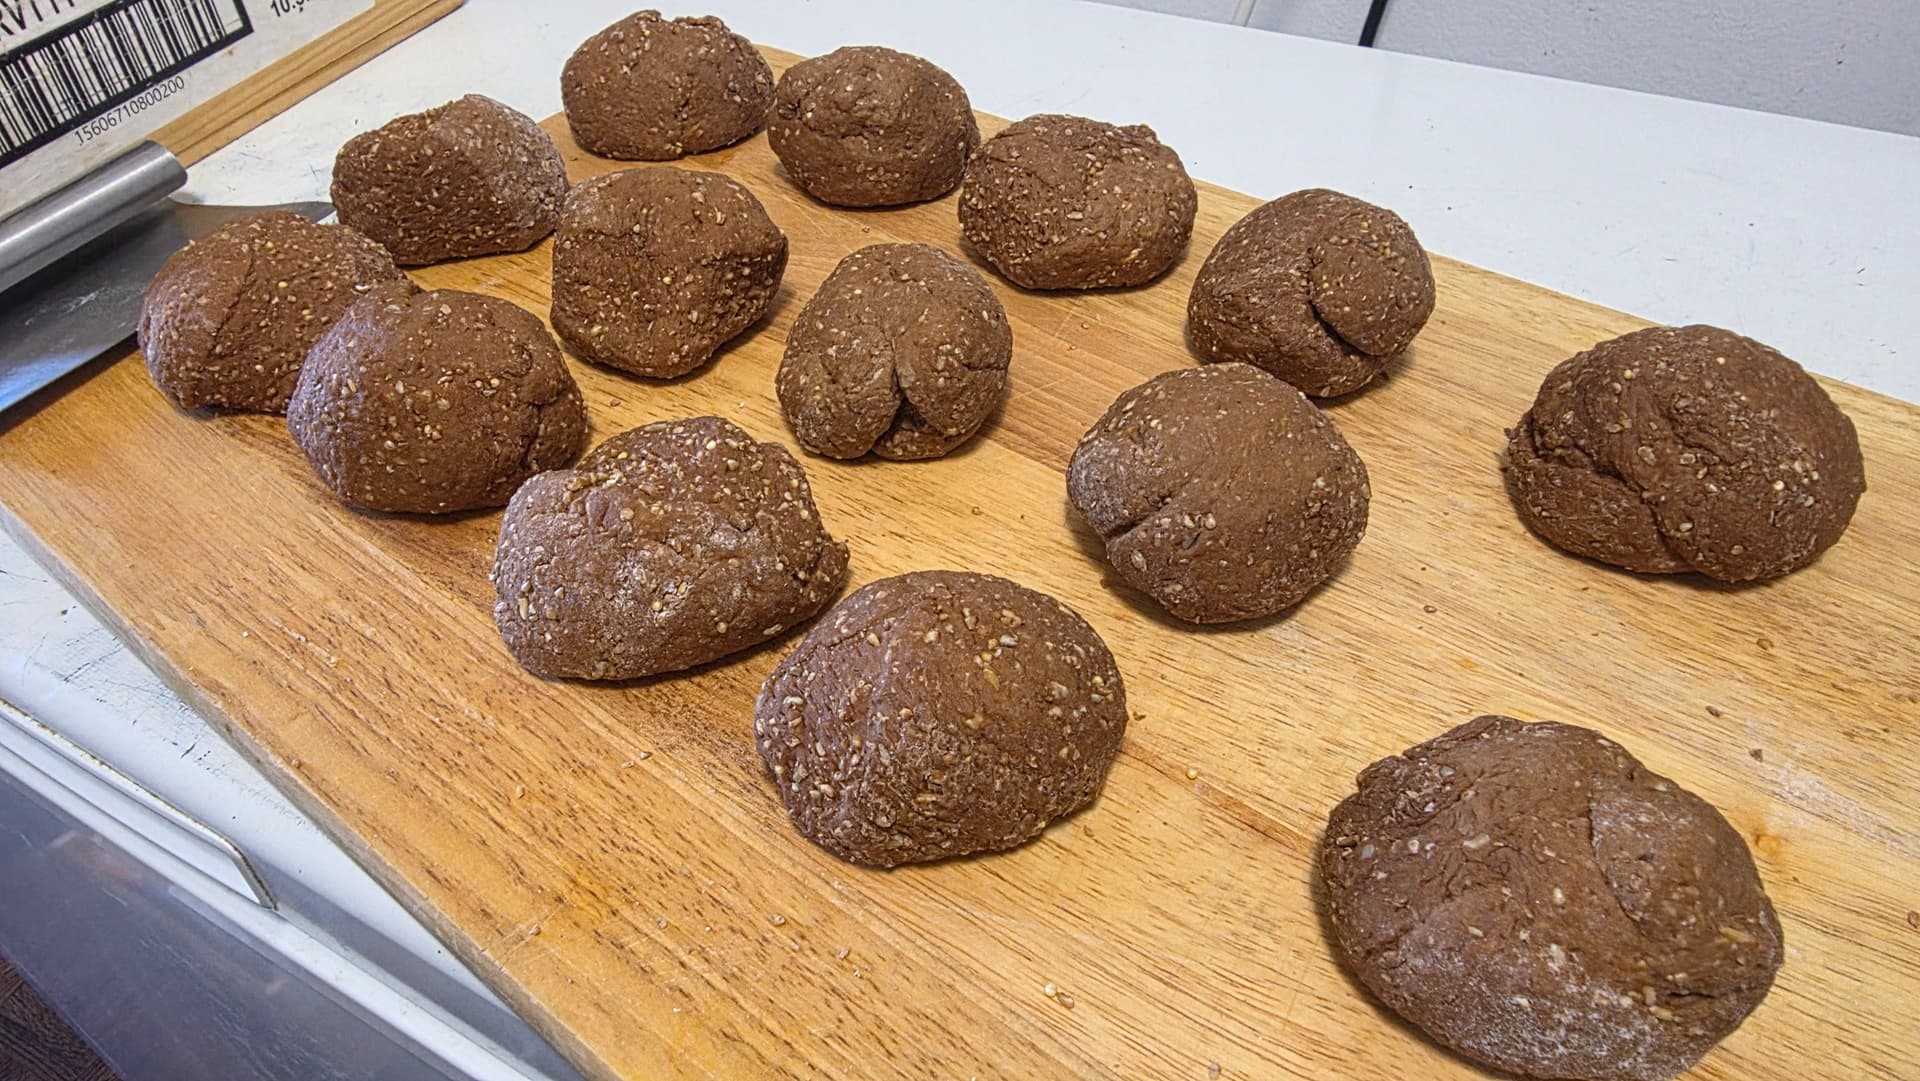
Time to work the dough. First, divide the large dough mass into 12 - 16 evenly sized balls depending on how big you like your bagels.
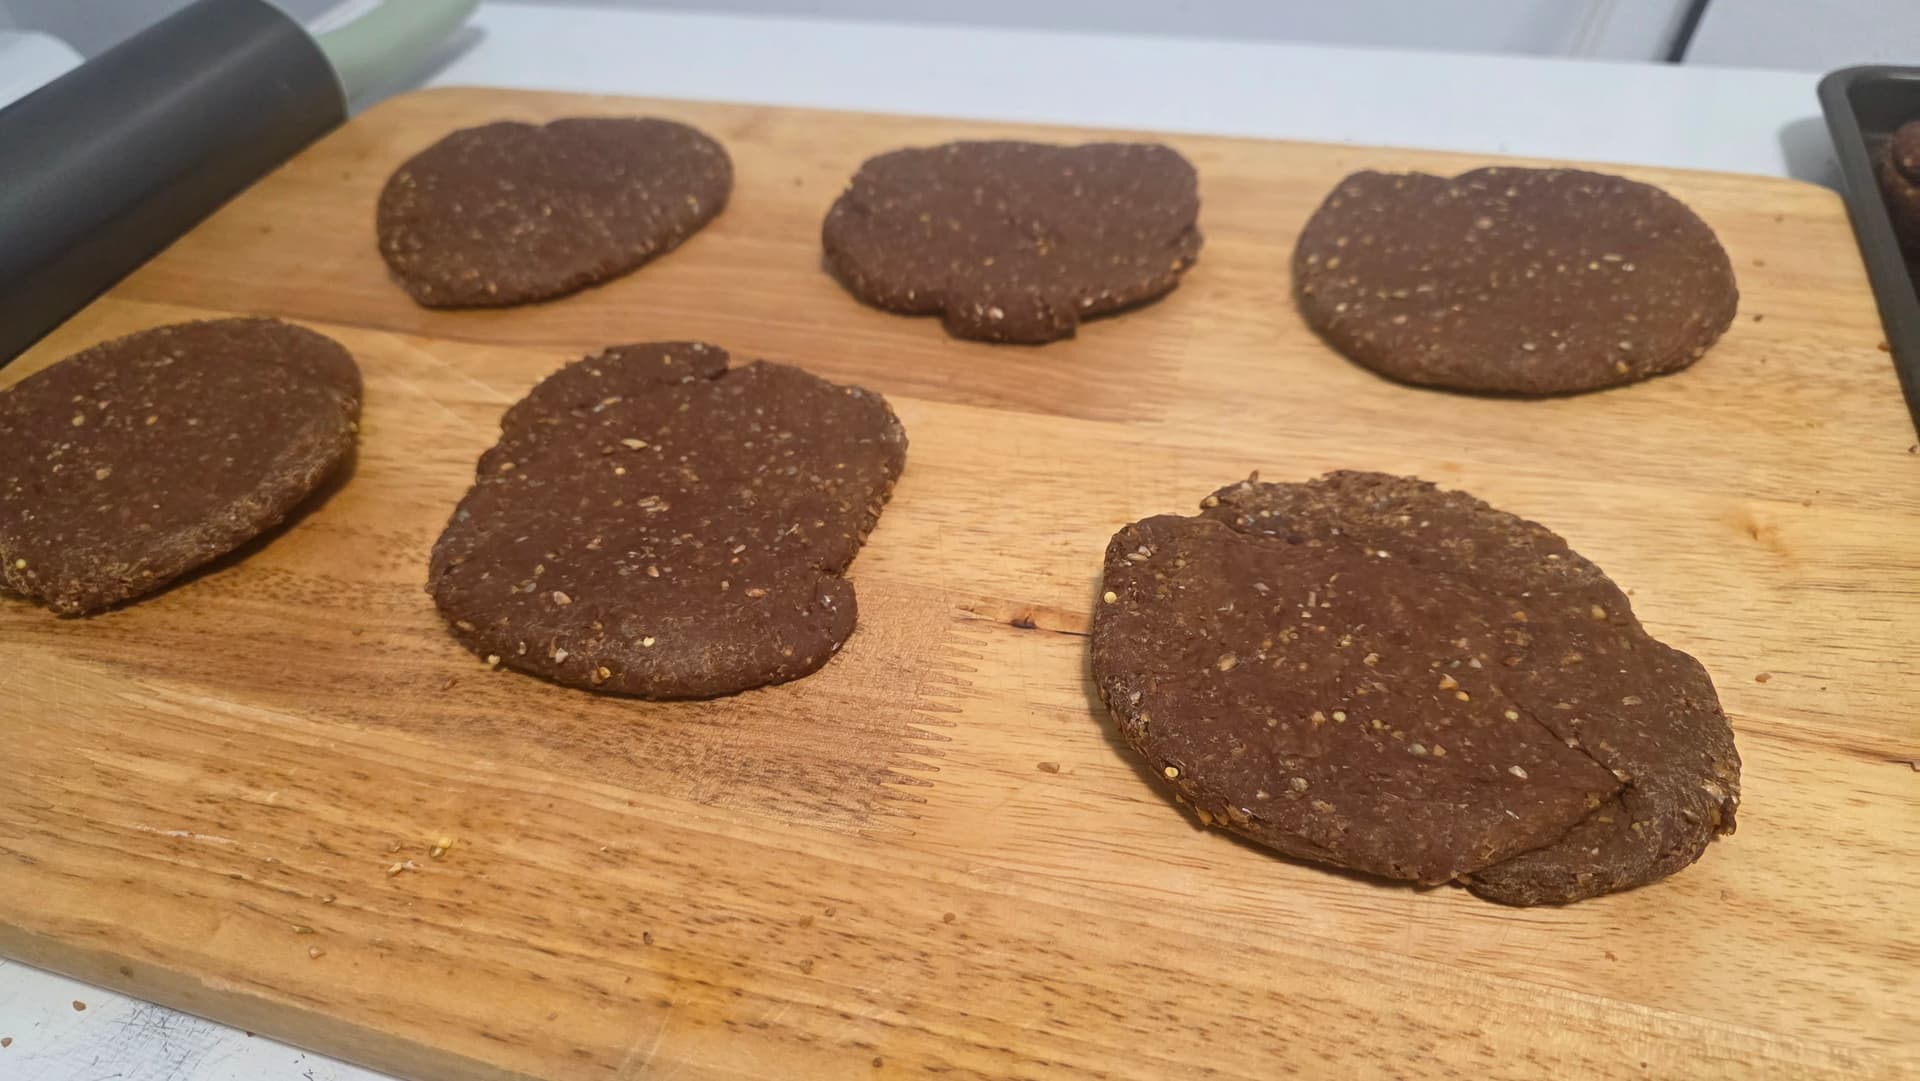
- Now it’s time to shape your bagels. The easiest and IMHO best way to get a perfect shape is to flatten the dough balls with a rollling pin and then poke a hole in the middle with your two thumbs and then run the dough in a circular motion with your hands until it looks like a little car tire.
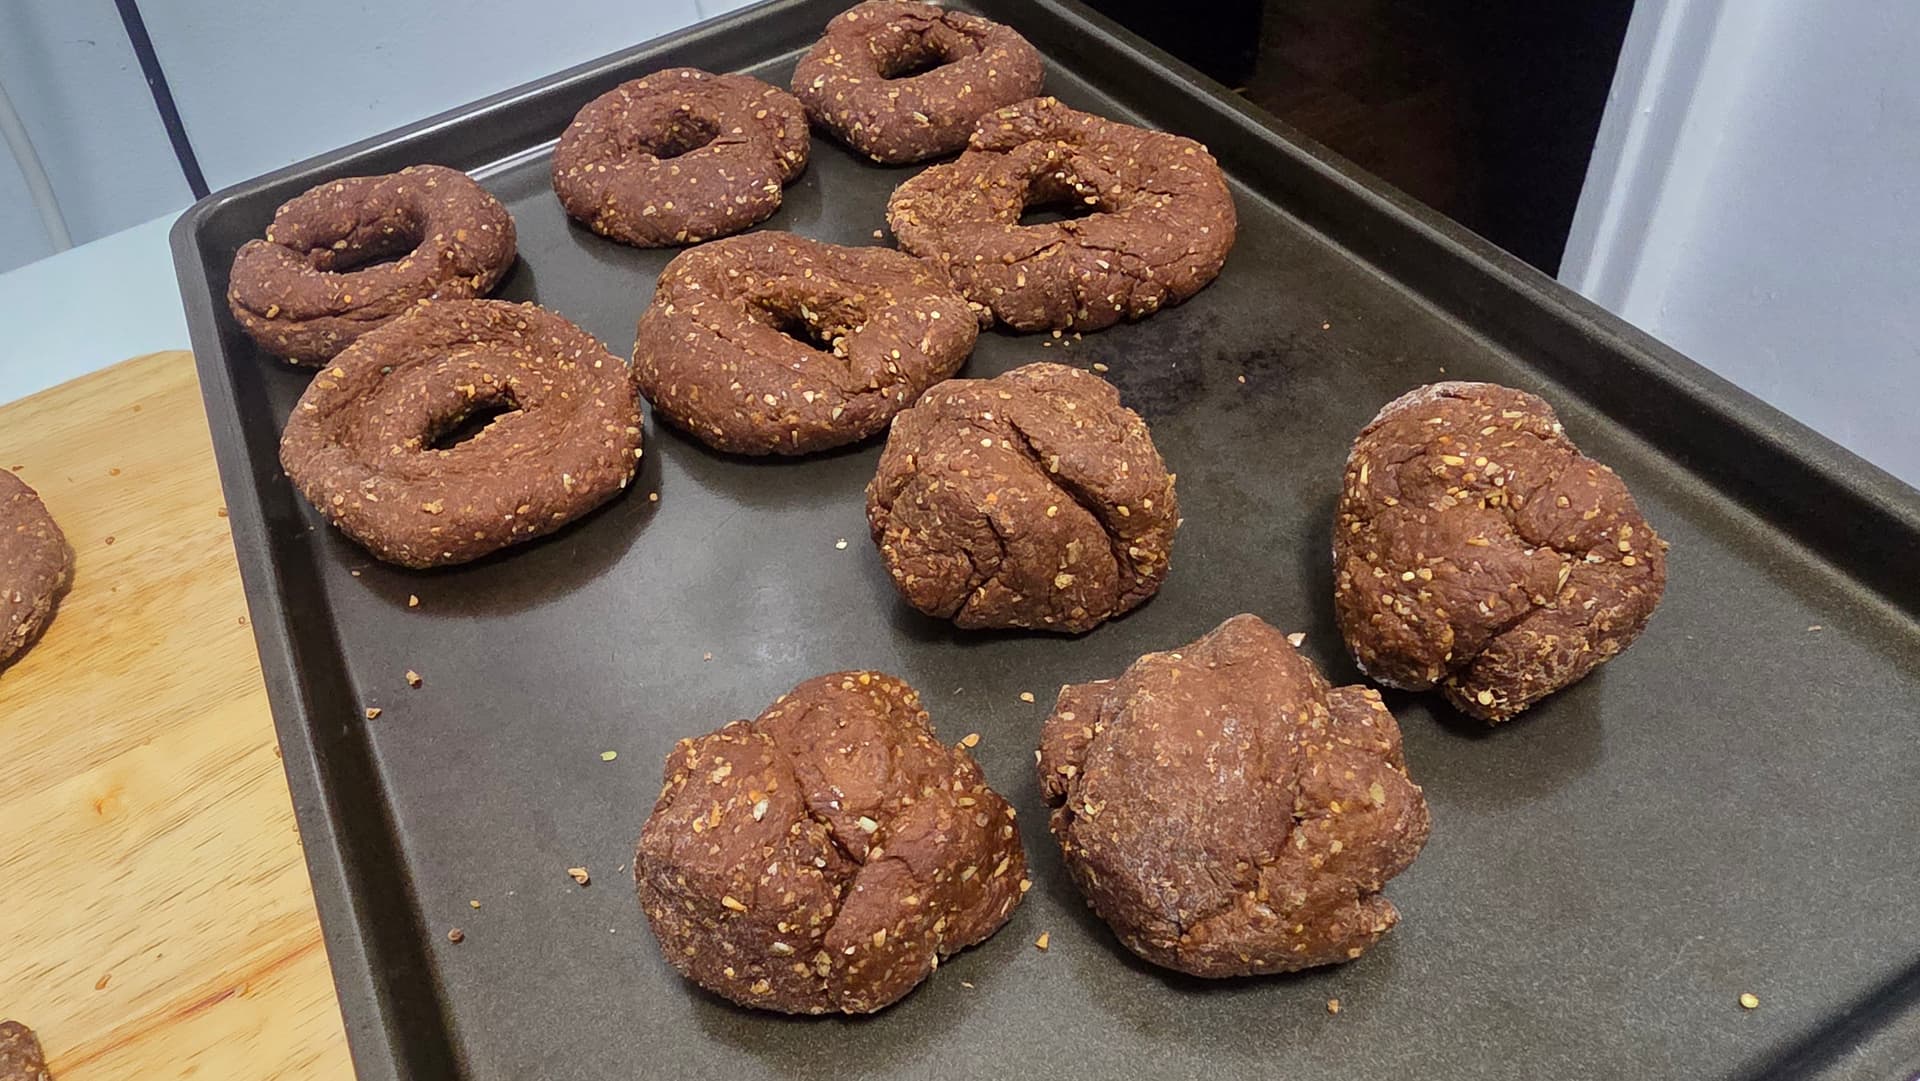
- Now comes the hardest part of the entire process: WAITING. You must let your bagels go through a second rise. Do not attempt to cook them right away in the sweet boiling water bath unless you want a bagel disaster on your hands. They absolutely need time to rise. Place all your shaped bagel doughs onto floured or parchment paper lined trays, cover them loosely with clean dish towels or plastic wrap or paper towels and then wait and let them rise a second time.
Now, you have two choices here. You can do a warm rise by placing the bagels in a relatively warm area and they will rise fairly quickly. Your other option is a cold ferment where you place them in a cold environment. Like your fridge though it doesn’t really have to be that cold. Your wine cellar if you have one would be perfect.
Each method of second rising has pros and cons to them. The obvious pro to warm rising is that you’re going to be eating fresh bagels very, very soon. Like within 2 - 3 hours more. The pro to cold fermenting is that by slowing down the yeast activity, actual fermentation happens to the dough and that process gives complex flavors to your finished bagels that warm rising just doesn’t give. If this sounds familiar, it’s because this is the exact same process you would use to make pizza dough. Use whichever method you prefer best and have the time for.
If you’ve done everything properly so far, then you will end up going from this…
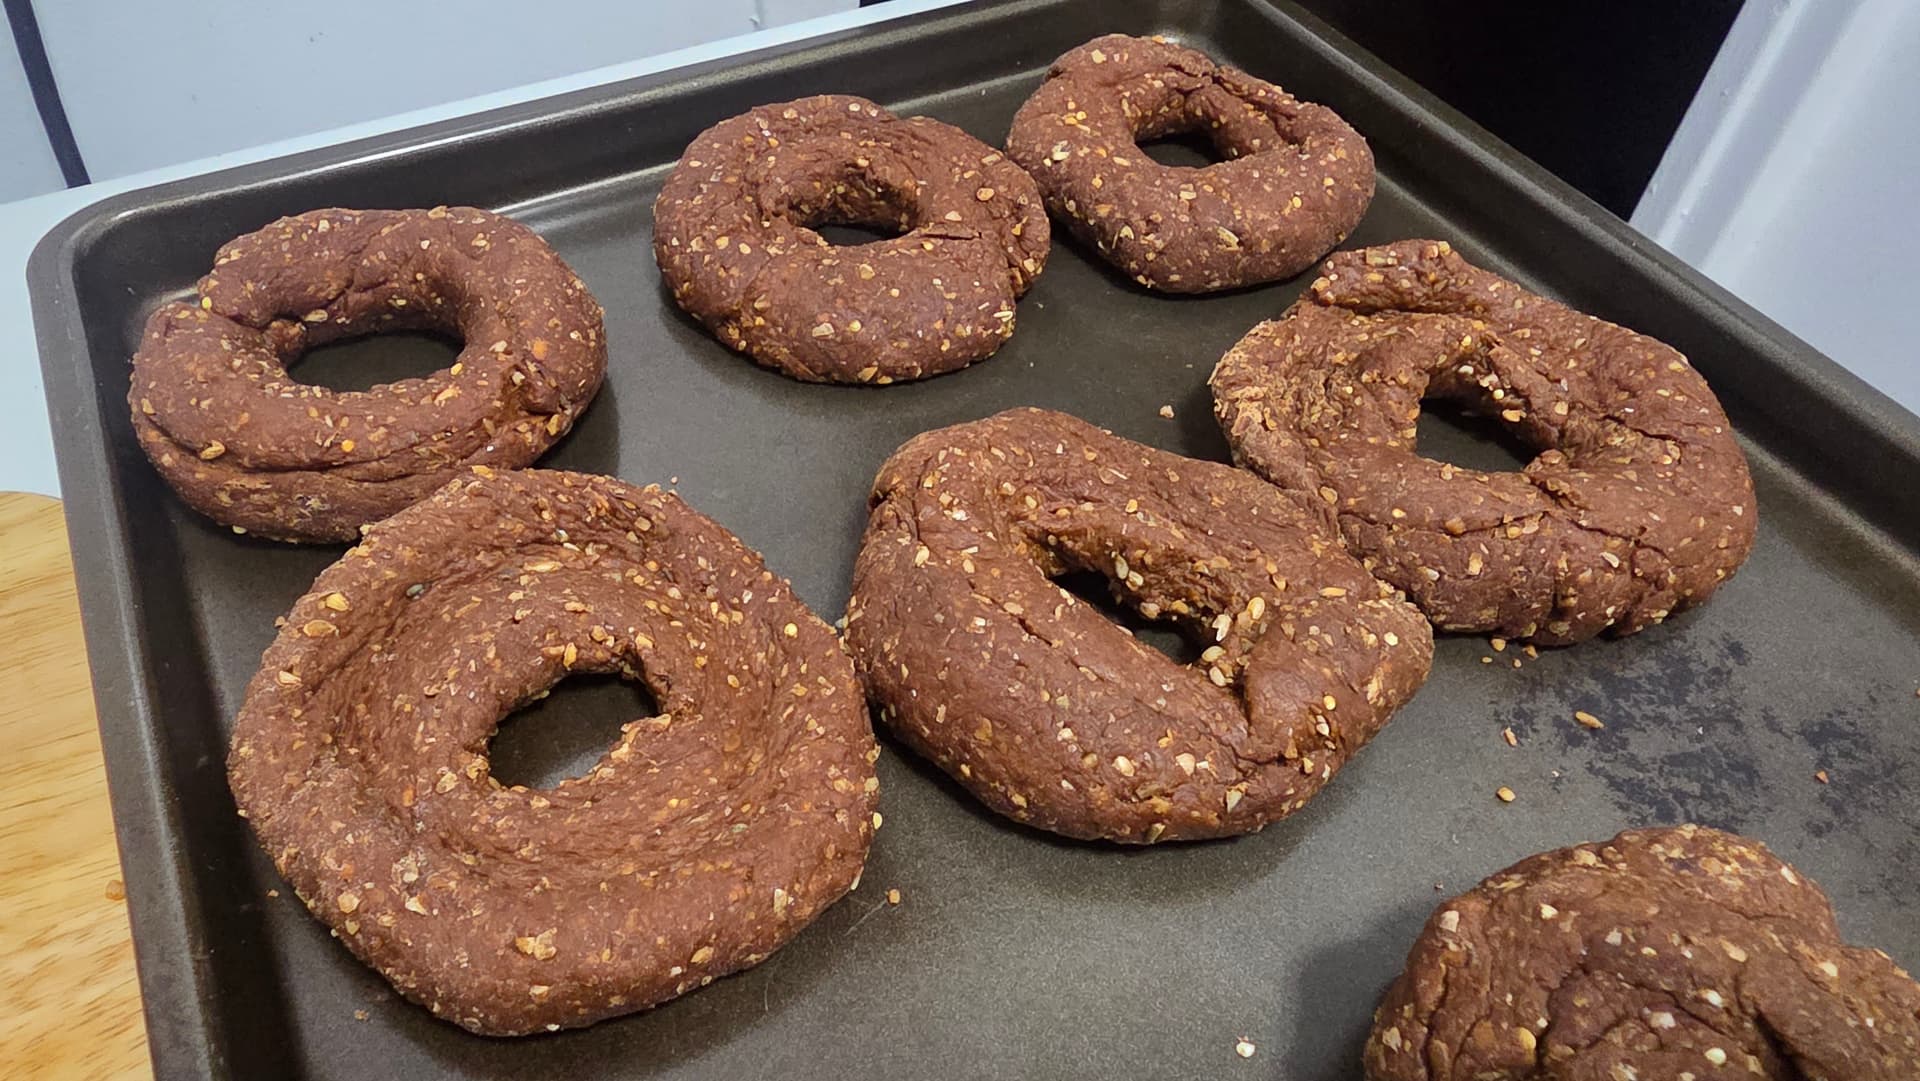
… to this.
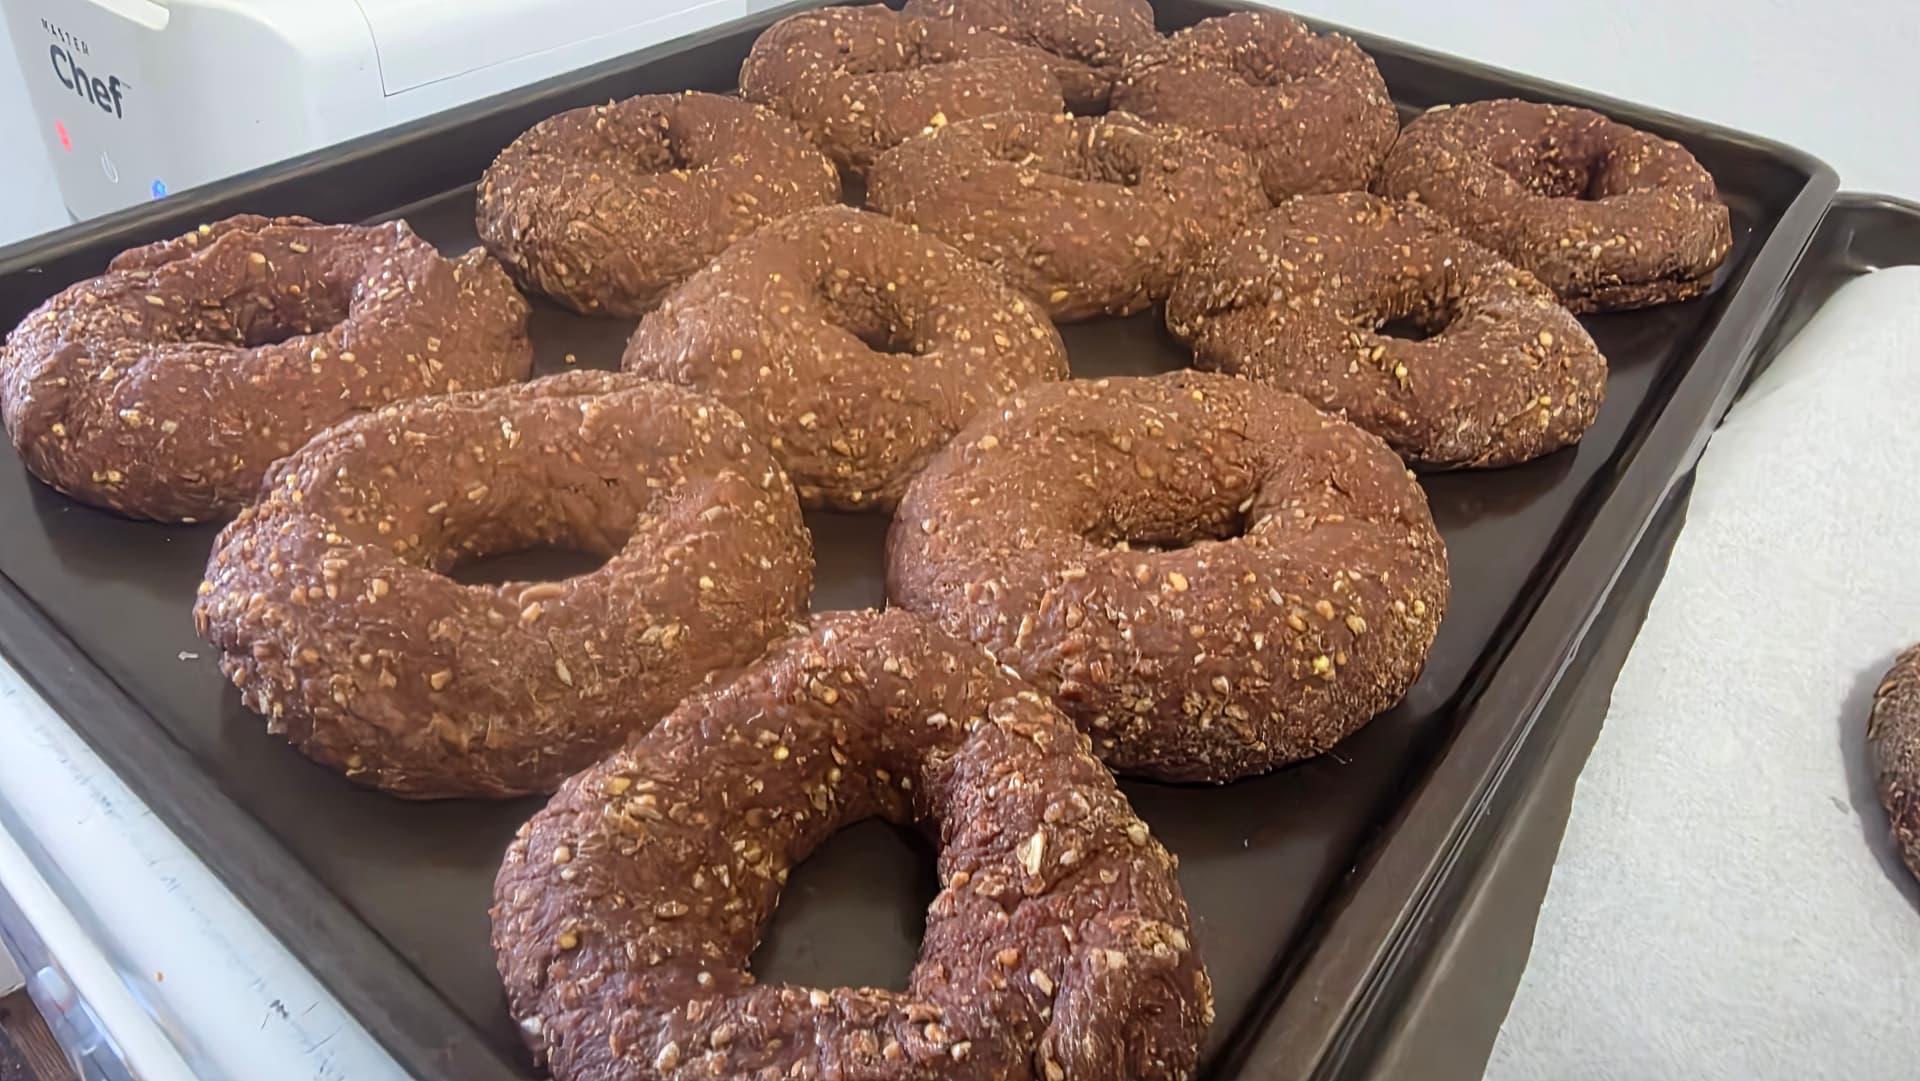
See how nicely risen they are? Your patience and hard work have now paid off. On to the next step.
- Prepare the sweet water bath. In a large deep saucepan or pot, boil 2 quarts of water together with 2 TBSP baking soda and 2 TBSP of sweetener. Malt syrup and honey are the classic choices, but honestly you can use any sweetener. If you are using a larger pot or saucepan and feel you need more liquid, use the exact same 1 quart/1TBSP/1TBSP proportion.
The purpose of these two specific ingredients is to give your bagels a nice shiny crust with a bit of a pretzel like crunch, some sweetness, and to give the boiled bagels some cling for the toppings if you choose to use any. You can omit the sweetener and just use baking soda if you like, but be aware that you will end up with a drier flavor in your bagels somewhat akin to a pretzel. Which is perfectly fine, by the way, pretzel bagels are a thing.
Now, by the way, is a good time to preheat your oven to 400 degrees F. You want a hot oven that’s ready to receive bagels from out of the boiling sweet water.
- When the sweet water bath is boiling, add in a few bagels at a time in a single layer and boil for 1 minute. Flip the bagels and boil the other side for another full minute.

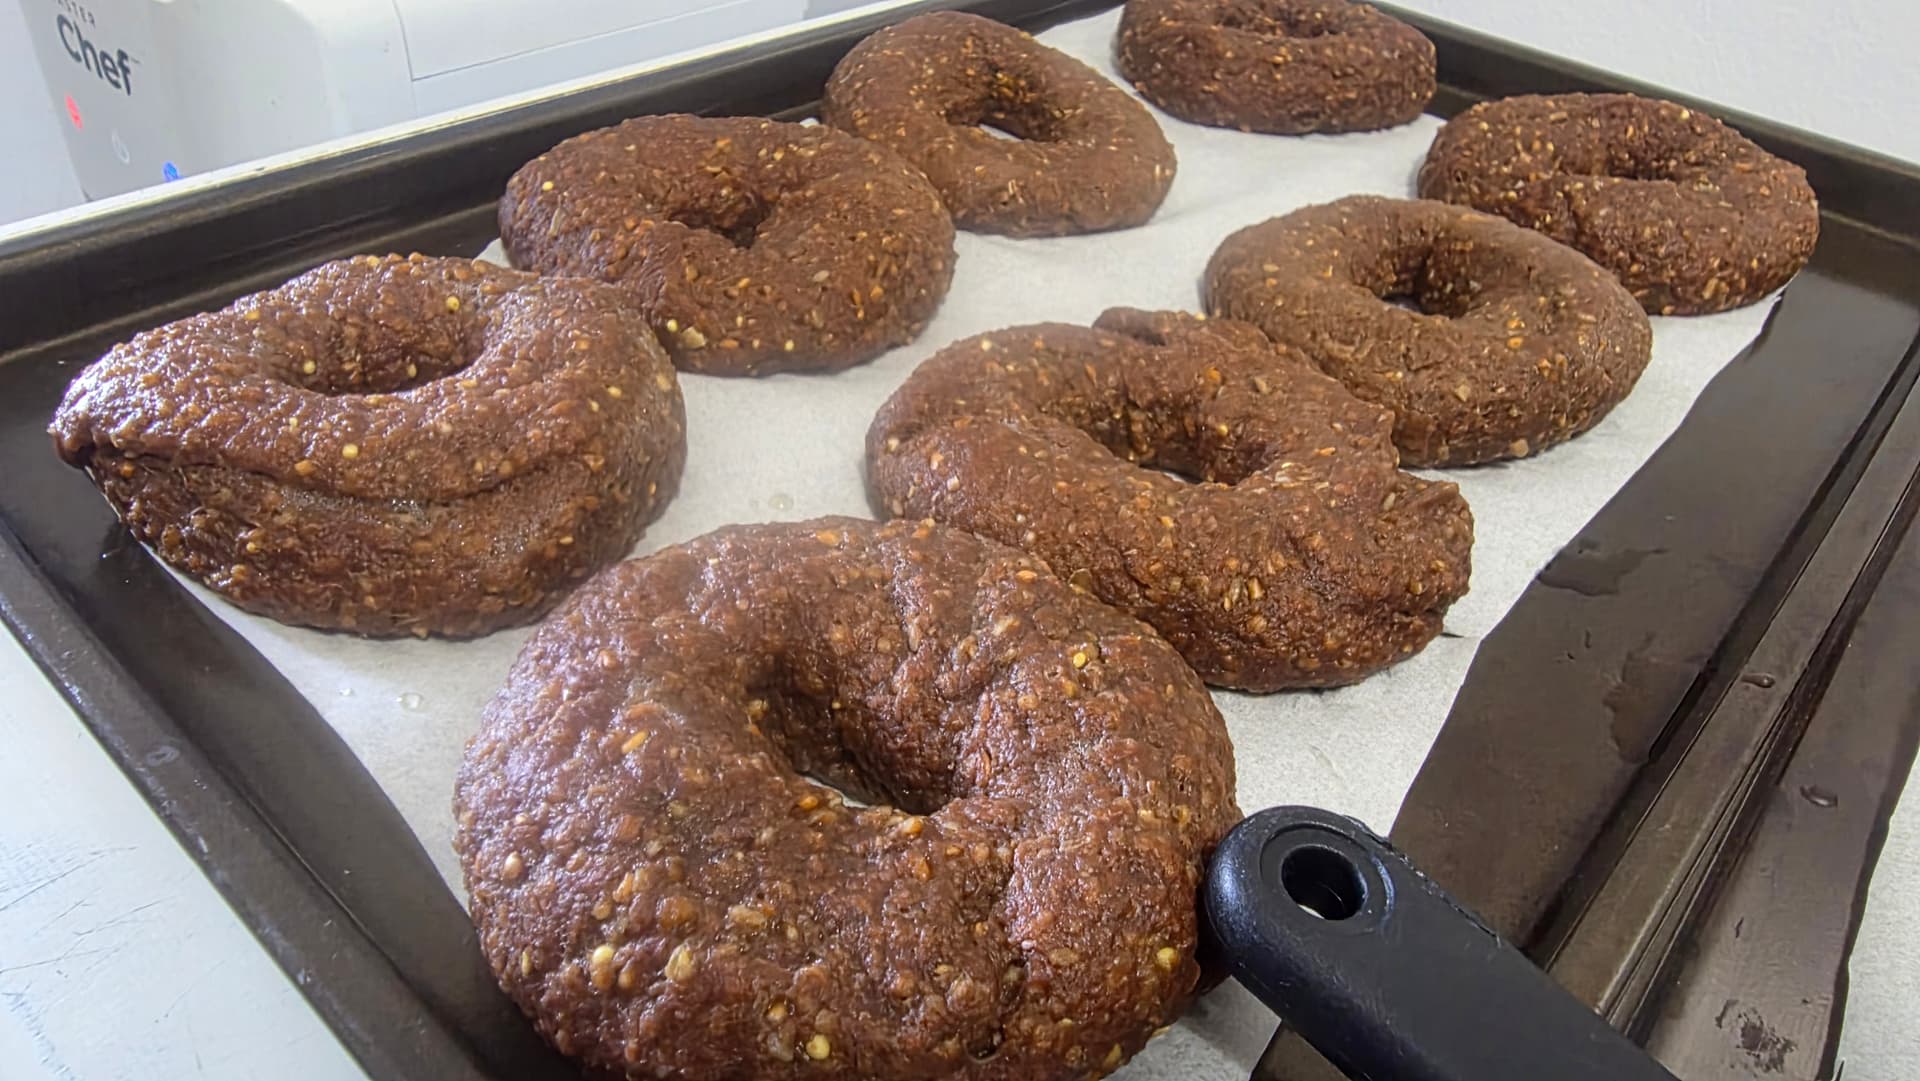
- Pull your bagels out of the sweet boiling water bath immediately using a slotted spatula or spider web ladle and gently shake off the excess water to drain. Place them immediately onto a parchment paper lined baking tray (yes, you can use the same one you used to rise the bagels) and boil the next batch. You must work quickly here because if the bagels get too cool before you throw them into the oven, they will actually deflate a bit.
Notice both how how large and shiny the boiled bagels are. Your extra efforts and time spent have once again paid off. It’s finally time to start baking.
- As soon as you have filled your first baking tray, put them into the hot 400 degree F oven IMMEDIATELY. Do NOT wait to complete another tray before throwing the first one in. Yes, you will have to deal with the minor annoyance of separate timers in your head or on your smartphone. Deal with it. Again, you don’t want the now boiled bagel dough to cool down and deflate.
-
Repeat the boiling process for all bagels until you have boiled them all and place each filled baking tray into the oven as soon as the tray is filled.
-
Bake each tray for 15 minutes. Then flip the bagels over and bake another 15 minutes. Remember your staggered start, flip and end times here.
-
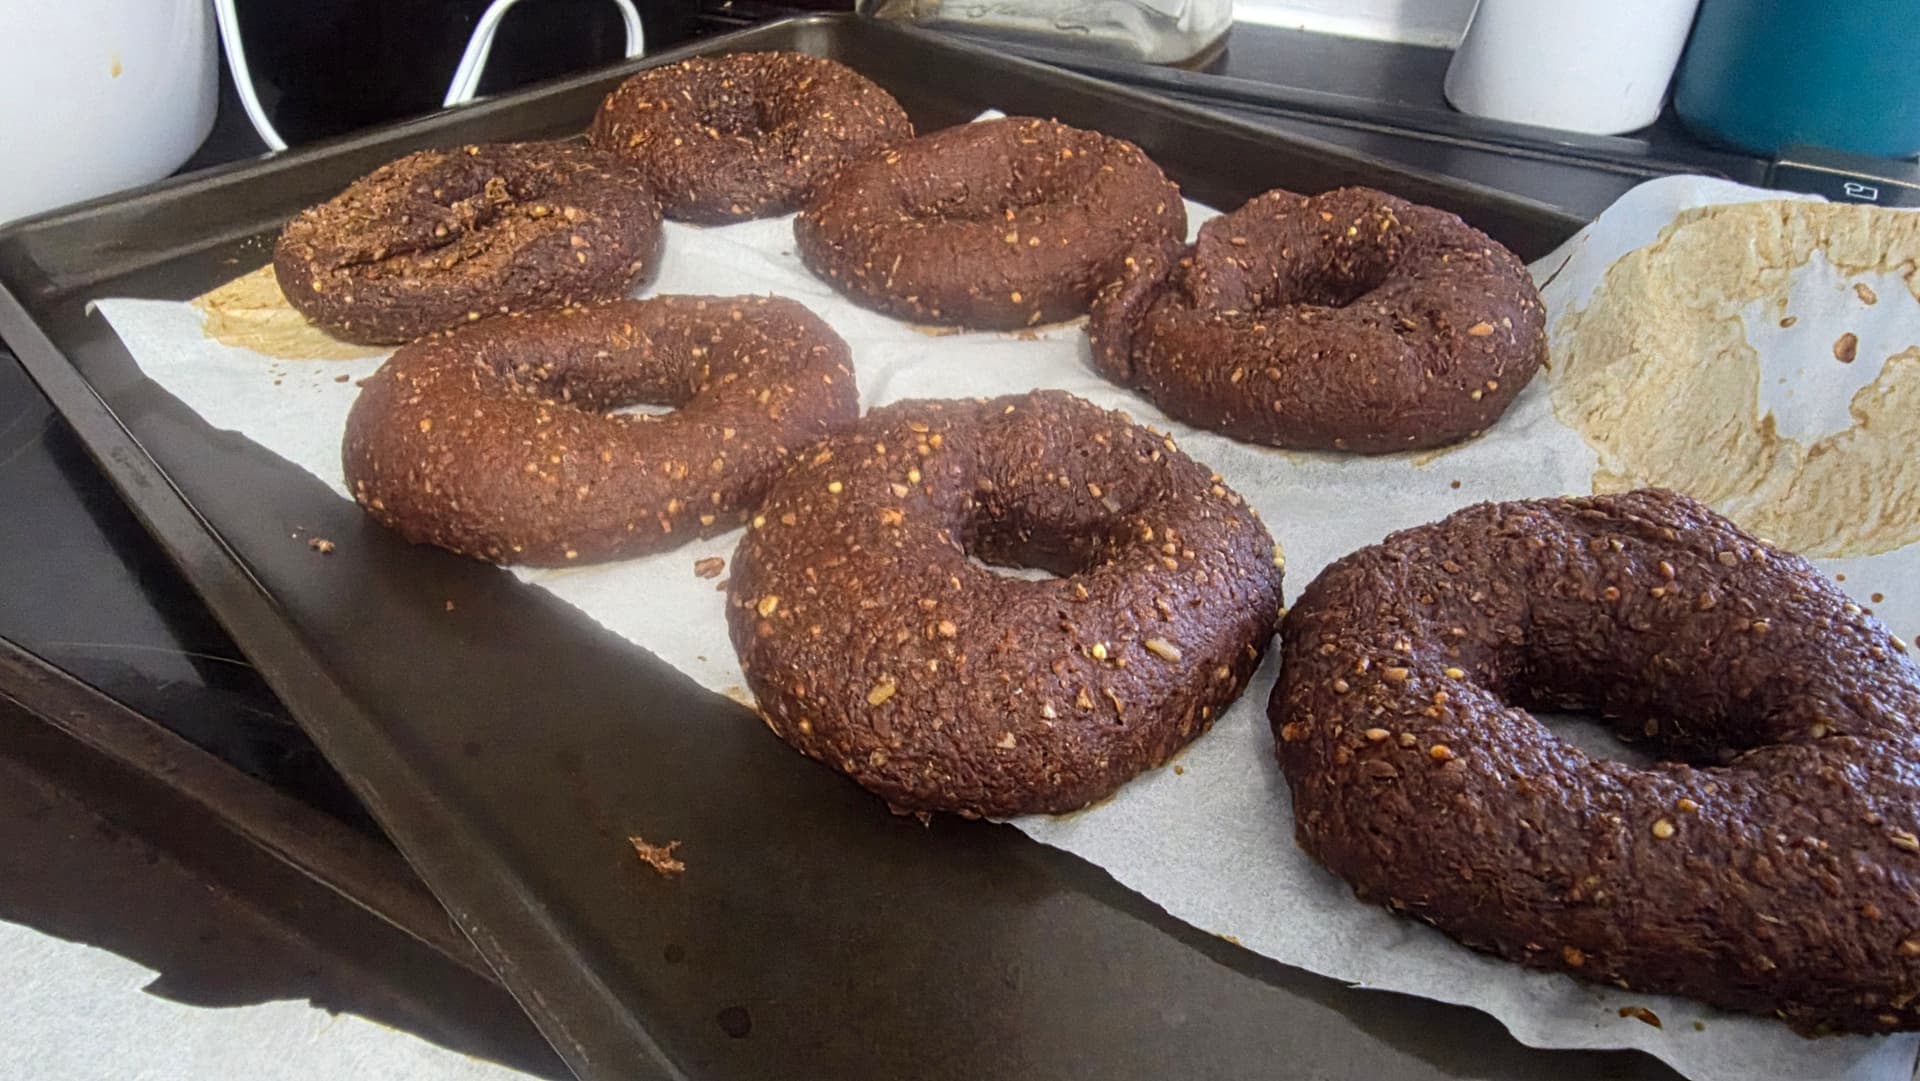
Pull the freshly baked bagels out of the oven at their appropriate finish time. Here’s what the end result looks like below. Congratulations. You can now enjoy freshly made bagels.
PUMPERNICKEL 12 GRAIN BAGEL DOUGH RECIPE
2 cups whole wheat flour (minus 1 TBSP for the gluten flour)
2 cups white flour (minus 1 TBSP for the gluten flour)
1 cup grain flour (minus 1 TBSP for the gluten flour); you can use oat, rye, rice, cassava, corn, buckwheat, quinoa or a mix of any and all of the above
1 cup pre-mixed multigrain hot cereal or mixed milled and cracked grains of your choice (rolled oats, cracked rye, cracked barley, buckwheat, millet, etc.)
3 TBSP gluten flour
1/4 cup cocoa powder
1 TBSP instant coffee
1 1/4 cups warm water or milk
1 TBSP dry active yeast or bread machine yeast
1/4 cup oil
1 TBSP salt
1/4 cup molasses
NOTES:
-
You can use any mixture of flours to make your bagels. However, it is important to have gluten in the flour so that the dough can actually rise. This is reason why all the baked goods we consume is either 100% or at least majority wheat. It has by far the most gluten of all grains. Without it, you’ll end up with baked pucks instead of bagels. That’s why you can’t, for example, use 100% corn flour or rice flour or oat flour. There just simply isn’t enough gluten. You need wheat flour as the base.
-
So what proportion should you use? I recommend a 2: 1 ratio of wheat flours to other flours. Use 2 cups of wheat flour for every cup of non-wheat flour. You can use white, whole wheat, or a mix of both as I do. However, you could very likely get away with a 1: 1 ratio.
-
All those other “flours” on the market that you can use? They’re not really flours. They’re other grains ground up so fine that they have the powdery consistency of a flour. However, they lack the crucial component of gluten needed for rising. Great for making non-yeast baked items using baking powder, not so great for real bread making on their own. Again, a mix with wheat based flour is important in bread making.
-
Gluten is so important for bread making that you can actually buy gluten flour separately for use in your bagel making. I personally recommend using it, it does make a difference in the final product’s size as you can see in my pictures and you need a relatively small amount of it. As long as you’re not wheat or gluten intolerant, feel free to use this magic ingredient. It’ll make a difference, but it’s not 100% entirely necessary if you don’t feel like bothering with it.
-
If you wanted toppings on your bagels, like the classic sesame seed, poppy seed, or whatever bagel seasoning you prefer, sprinkle them on when they come out of the boiling sweet water bath. They will cling to your bagel dough. Have the toppings ready in a shaker or on a plate to be used immediately because, again, you must move fast to prevent unwanted deflation.
